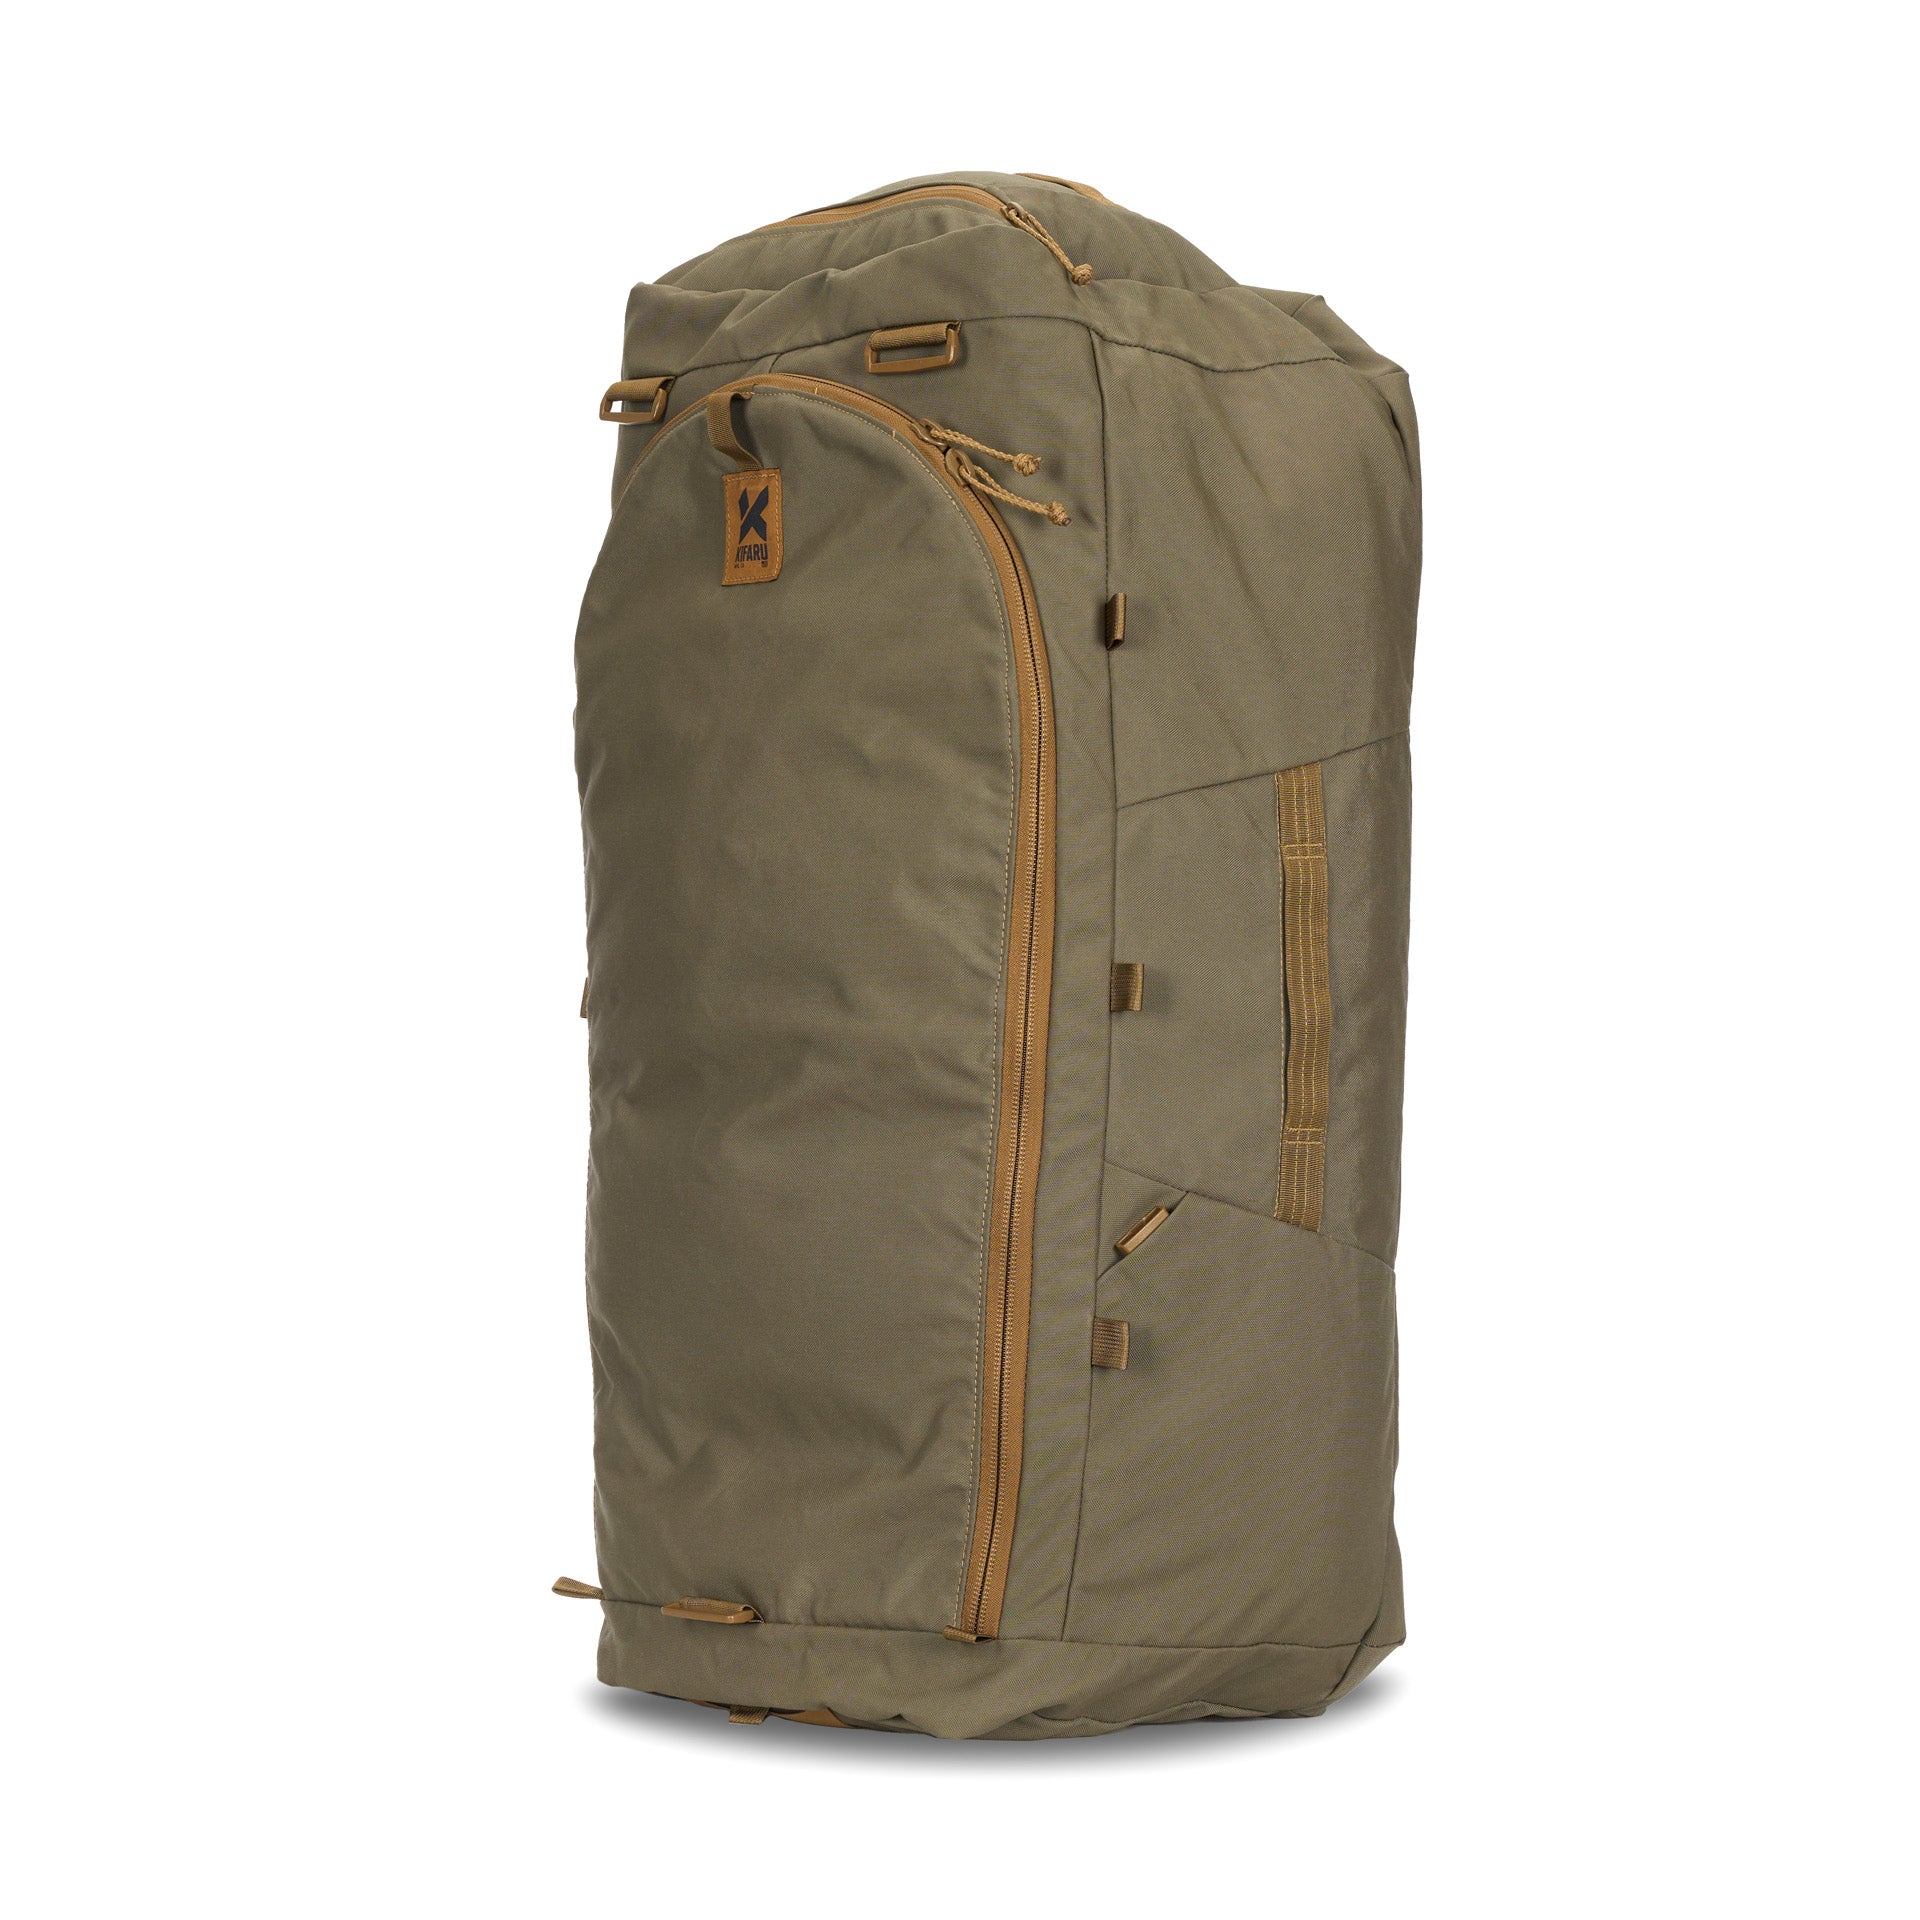
NEW
products
NEW
From $350.00
NEW COLOR


$225.00
NEW
From $699.00
NEW COLORS

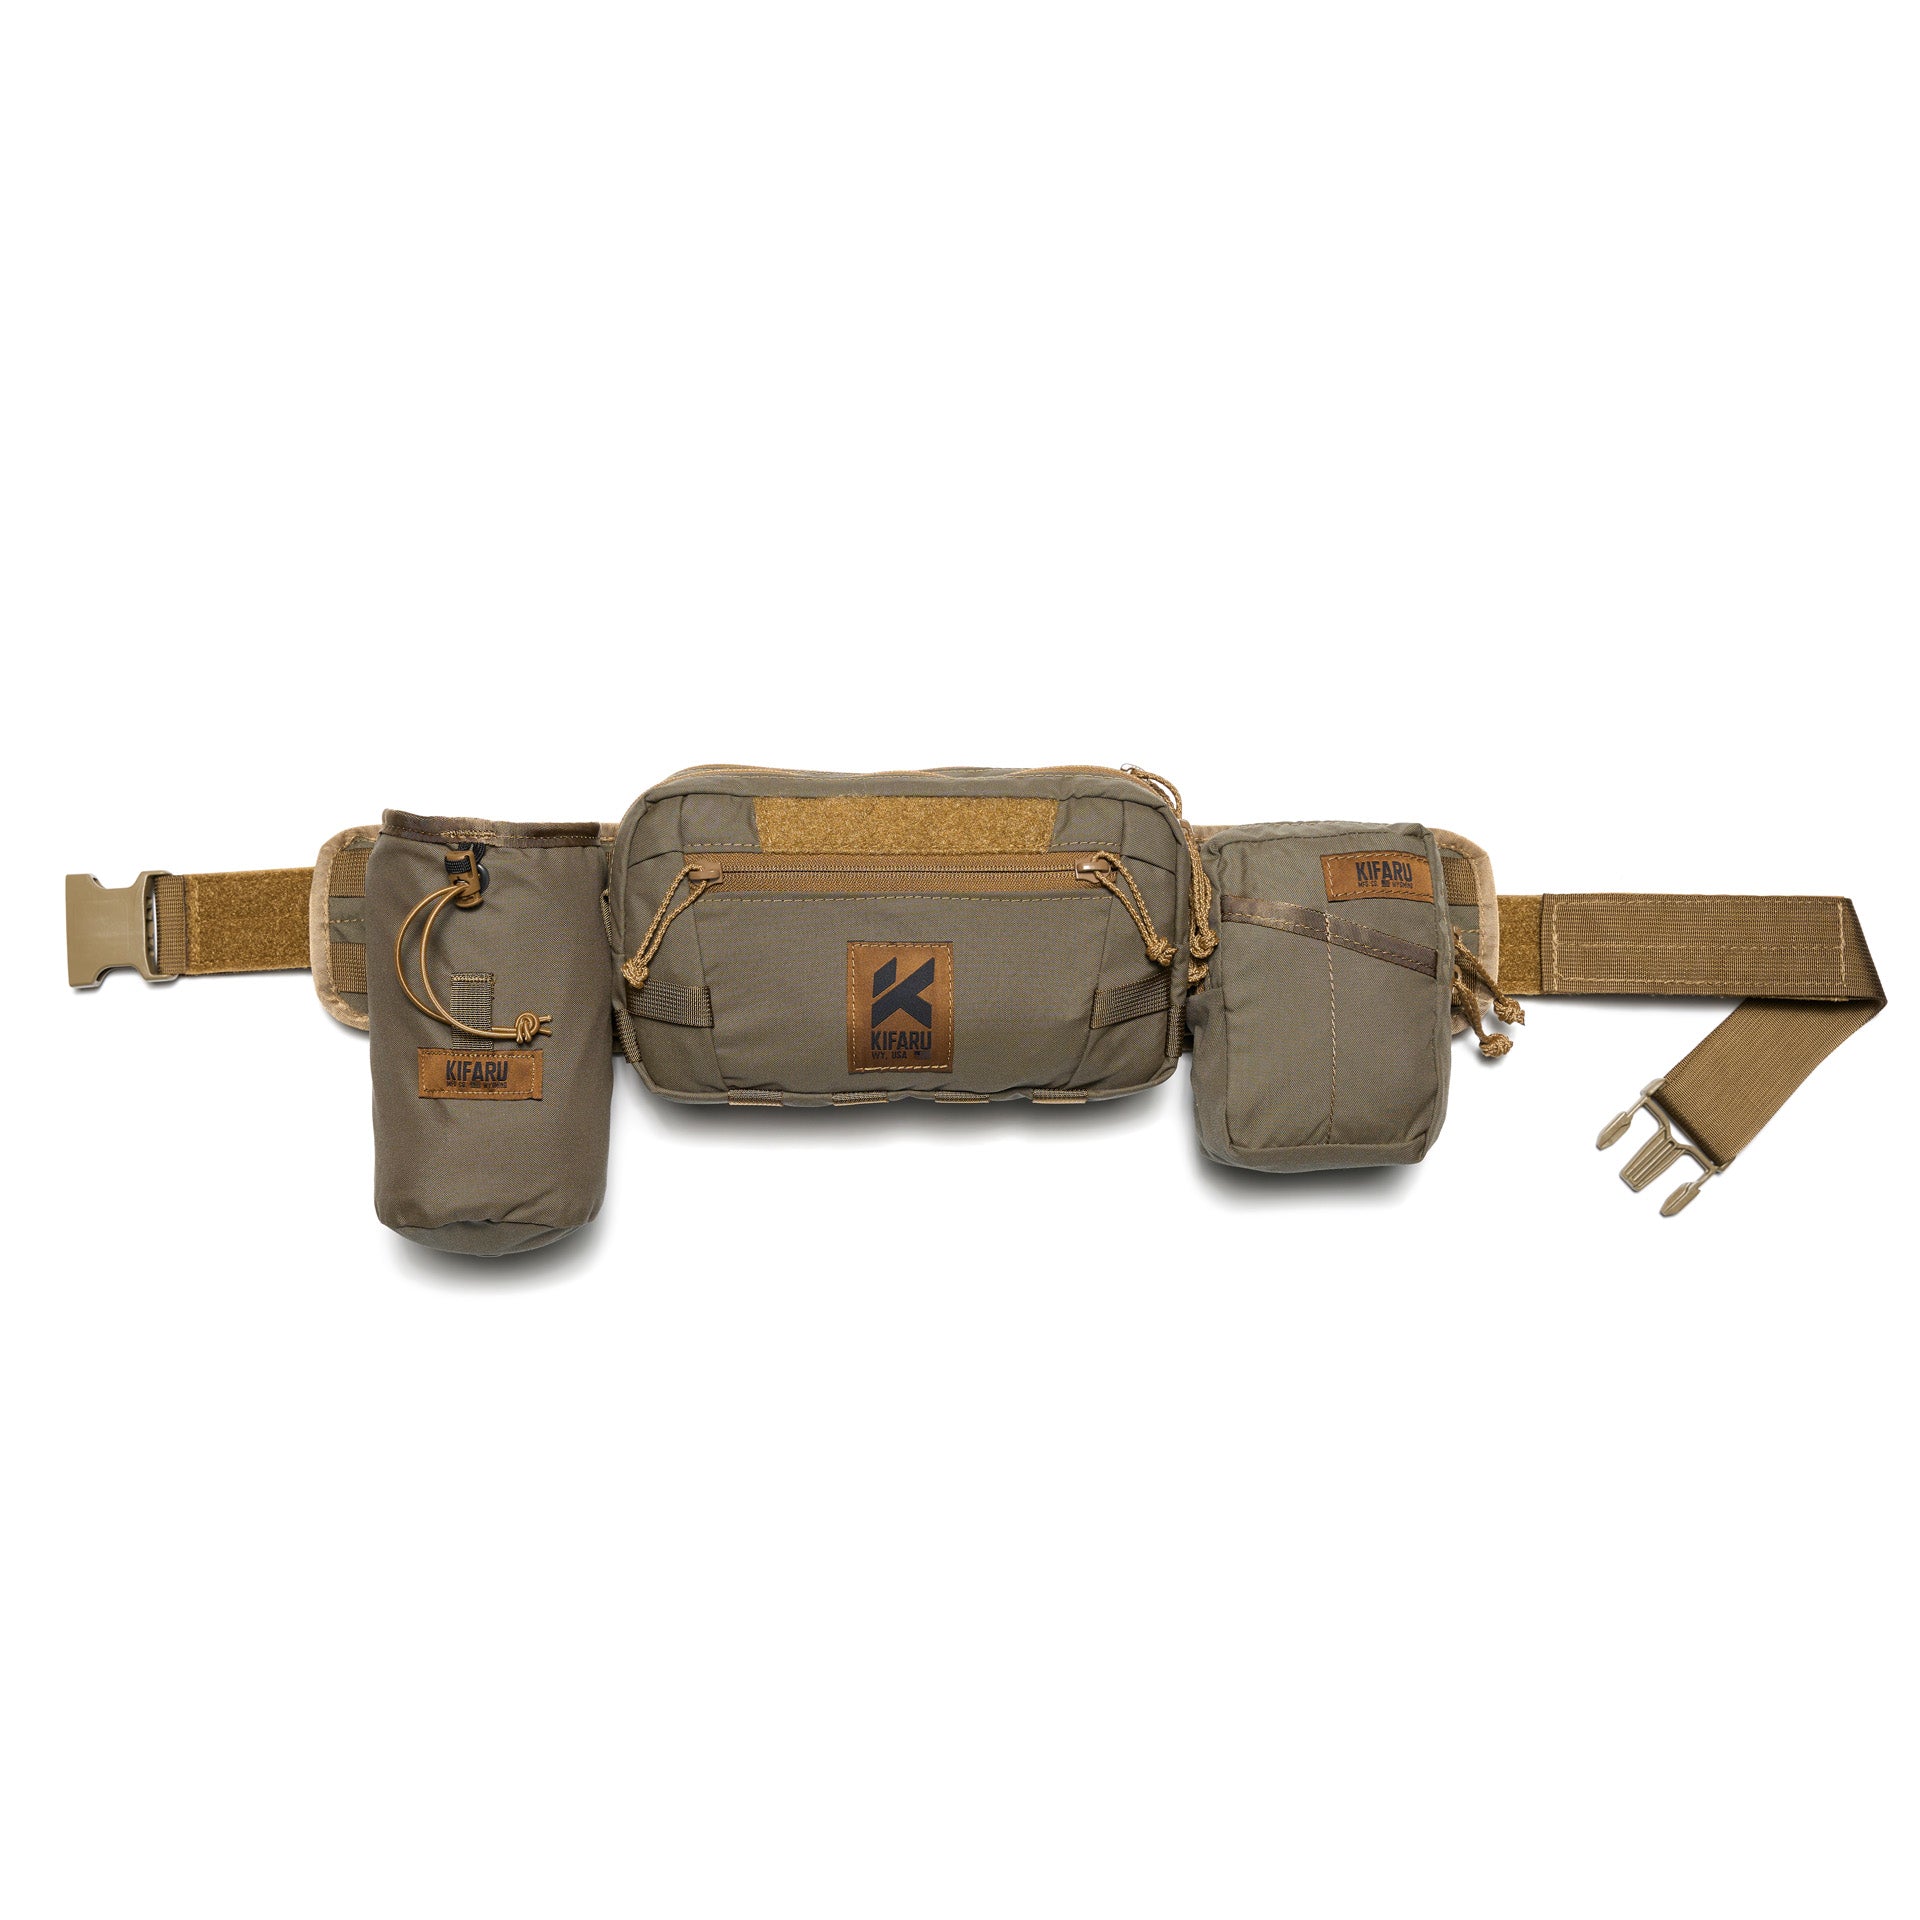
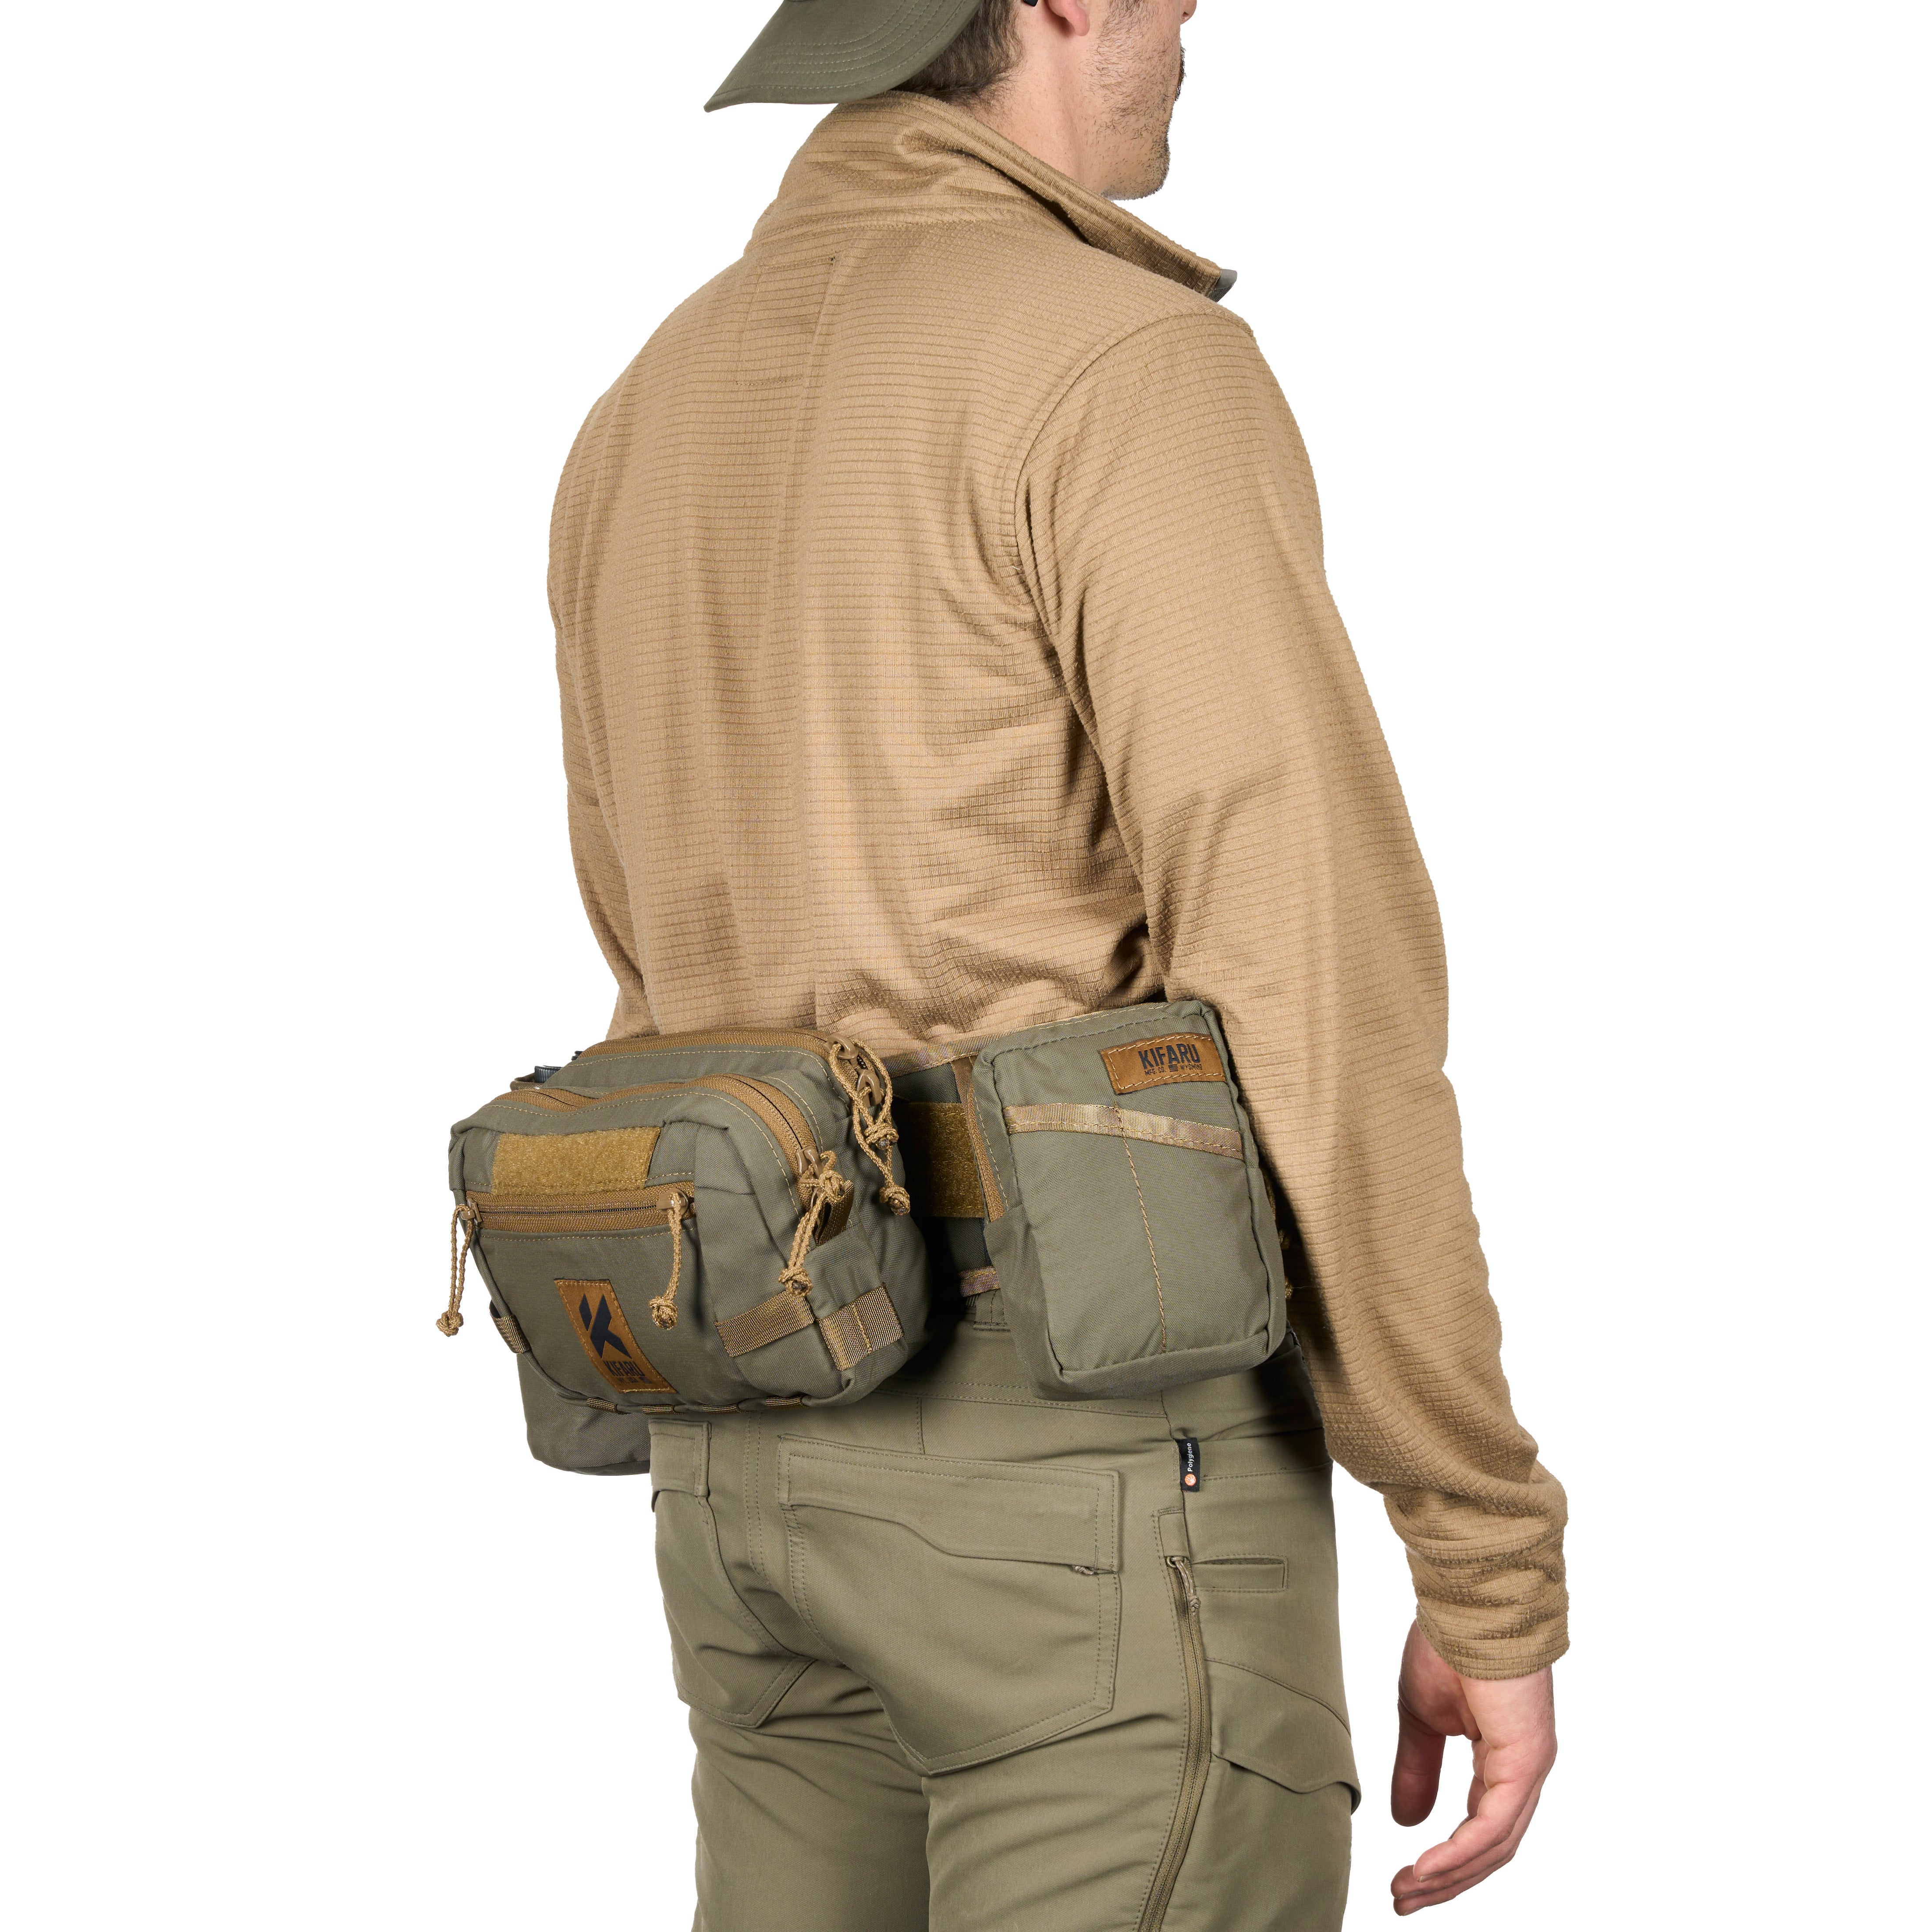
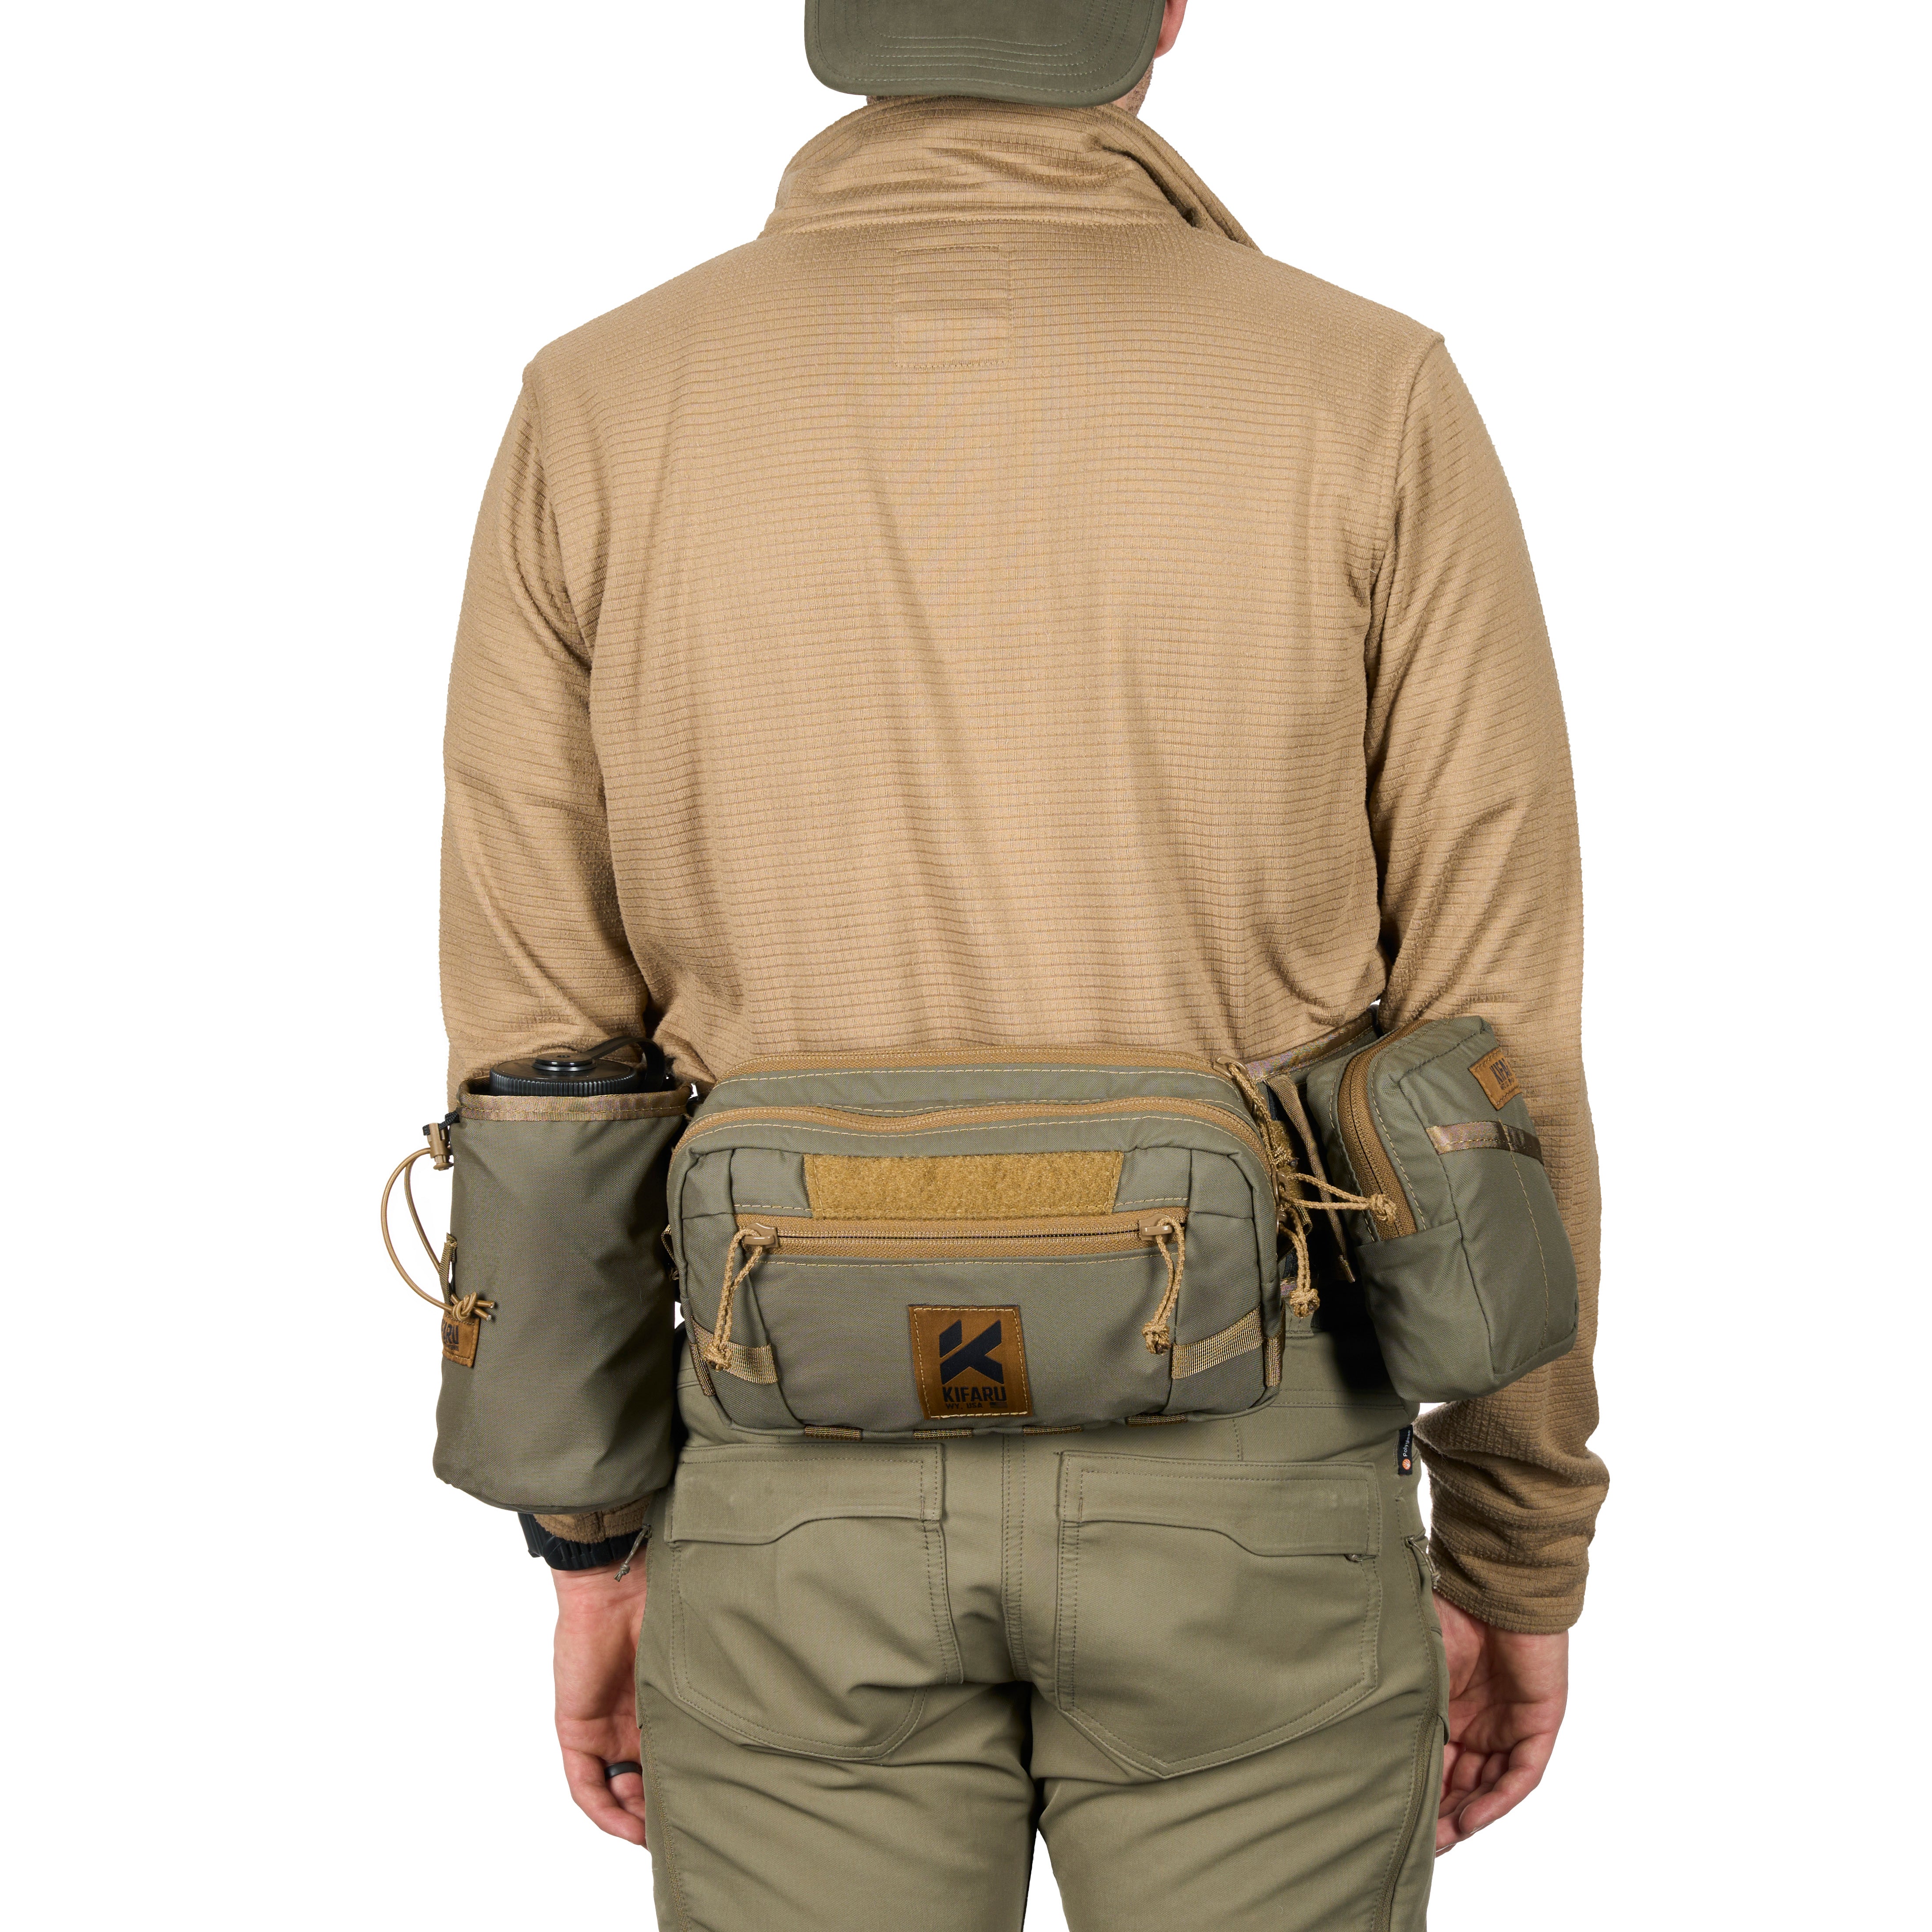
From $99.00
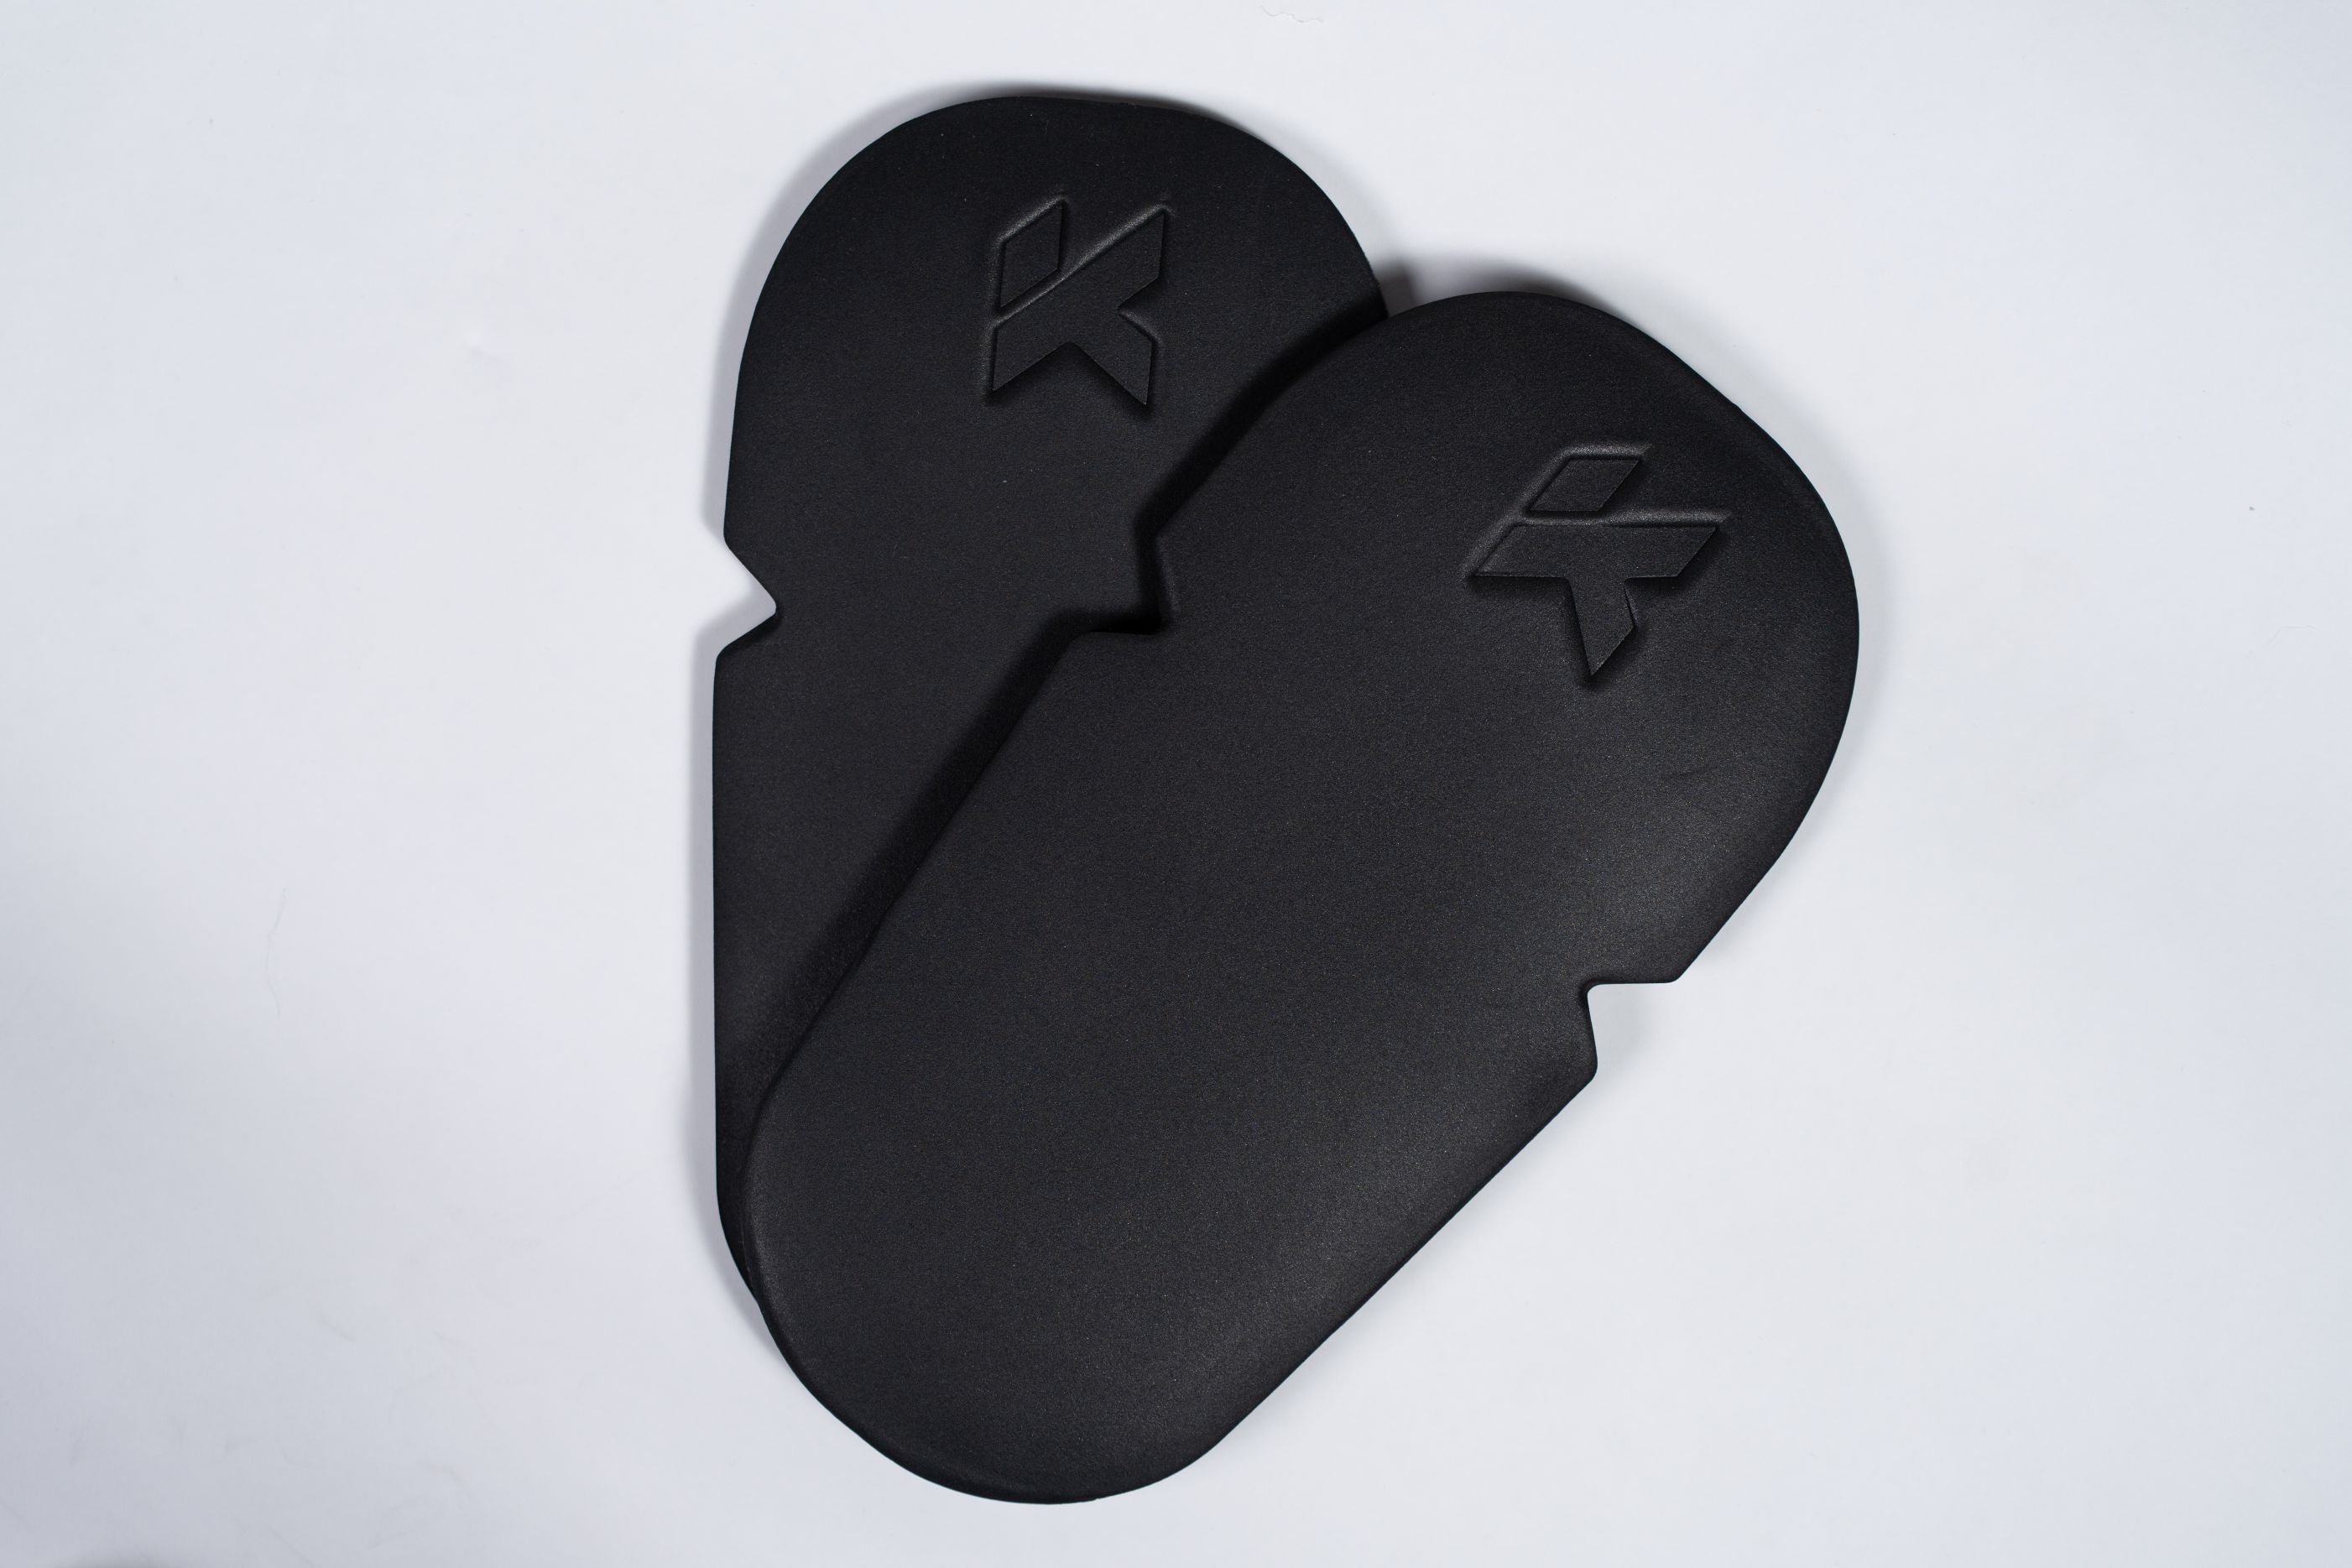
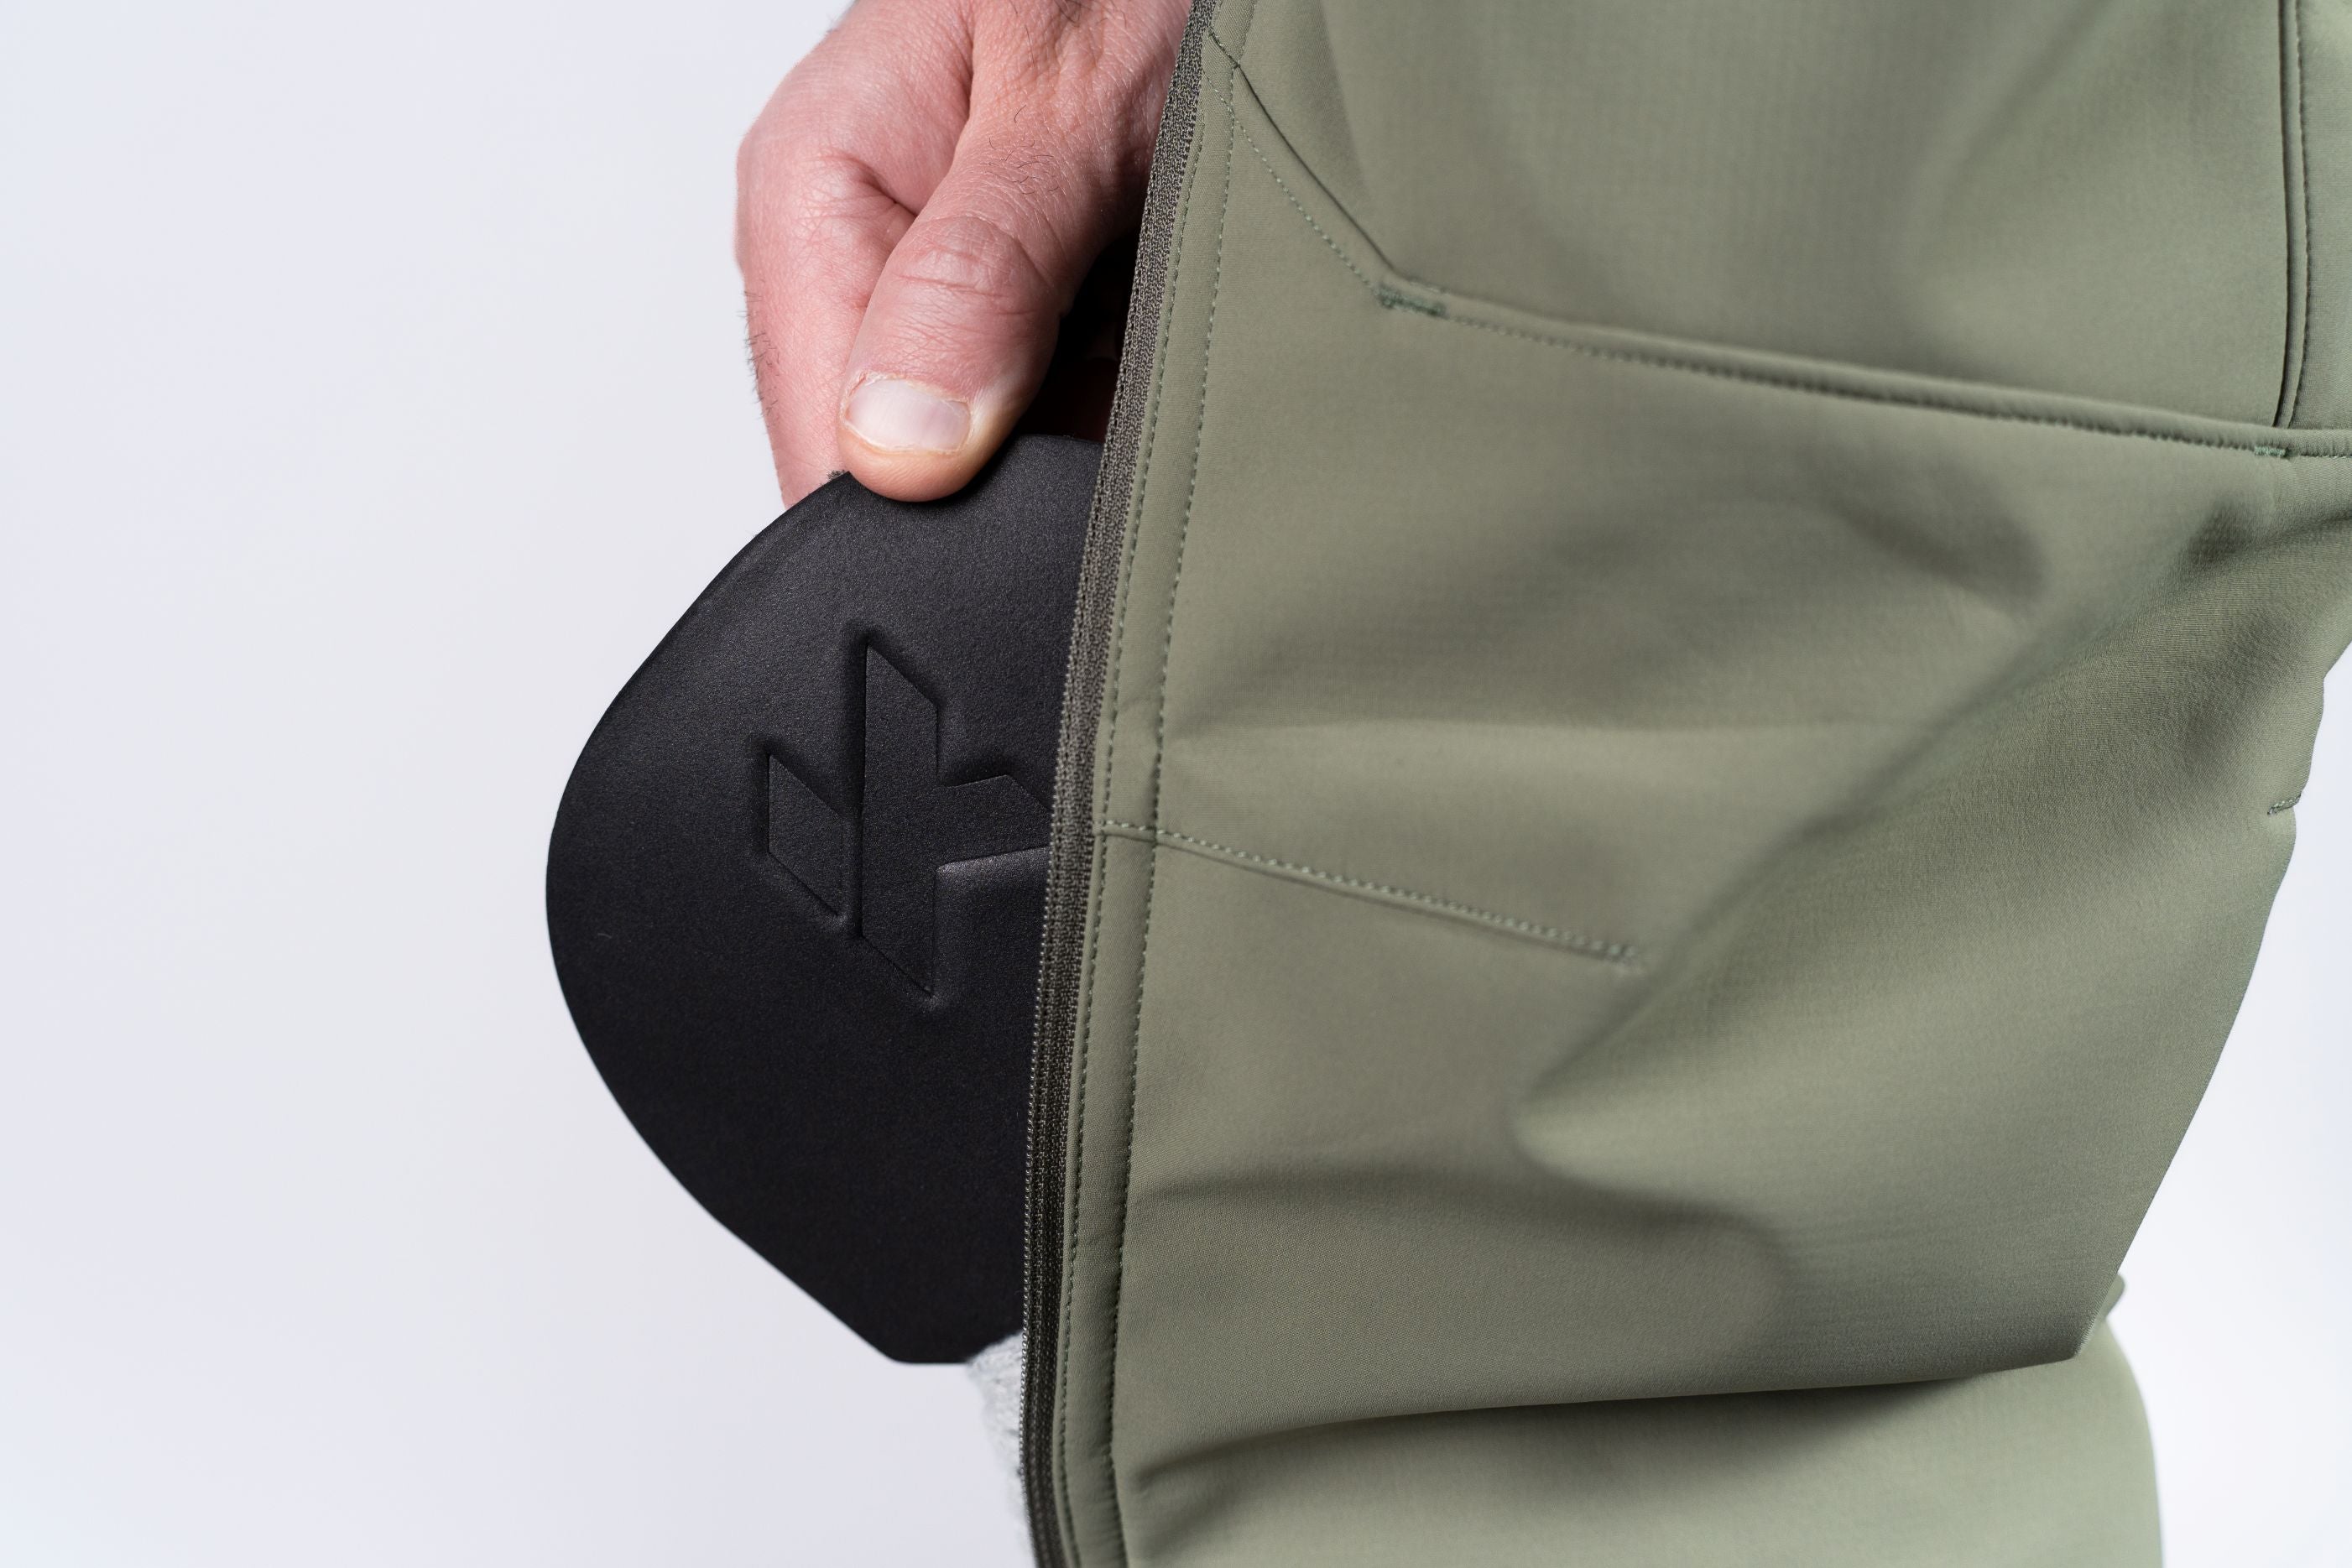
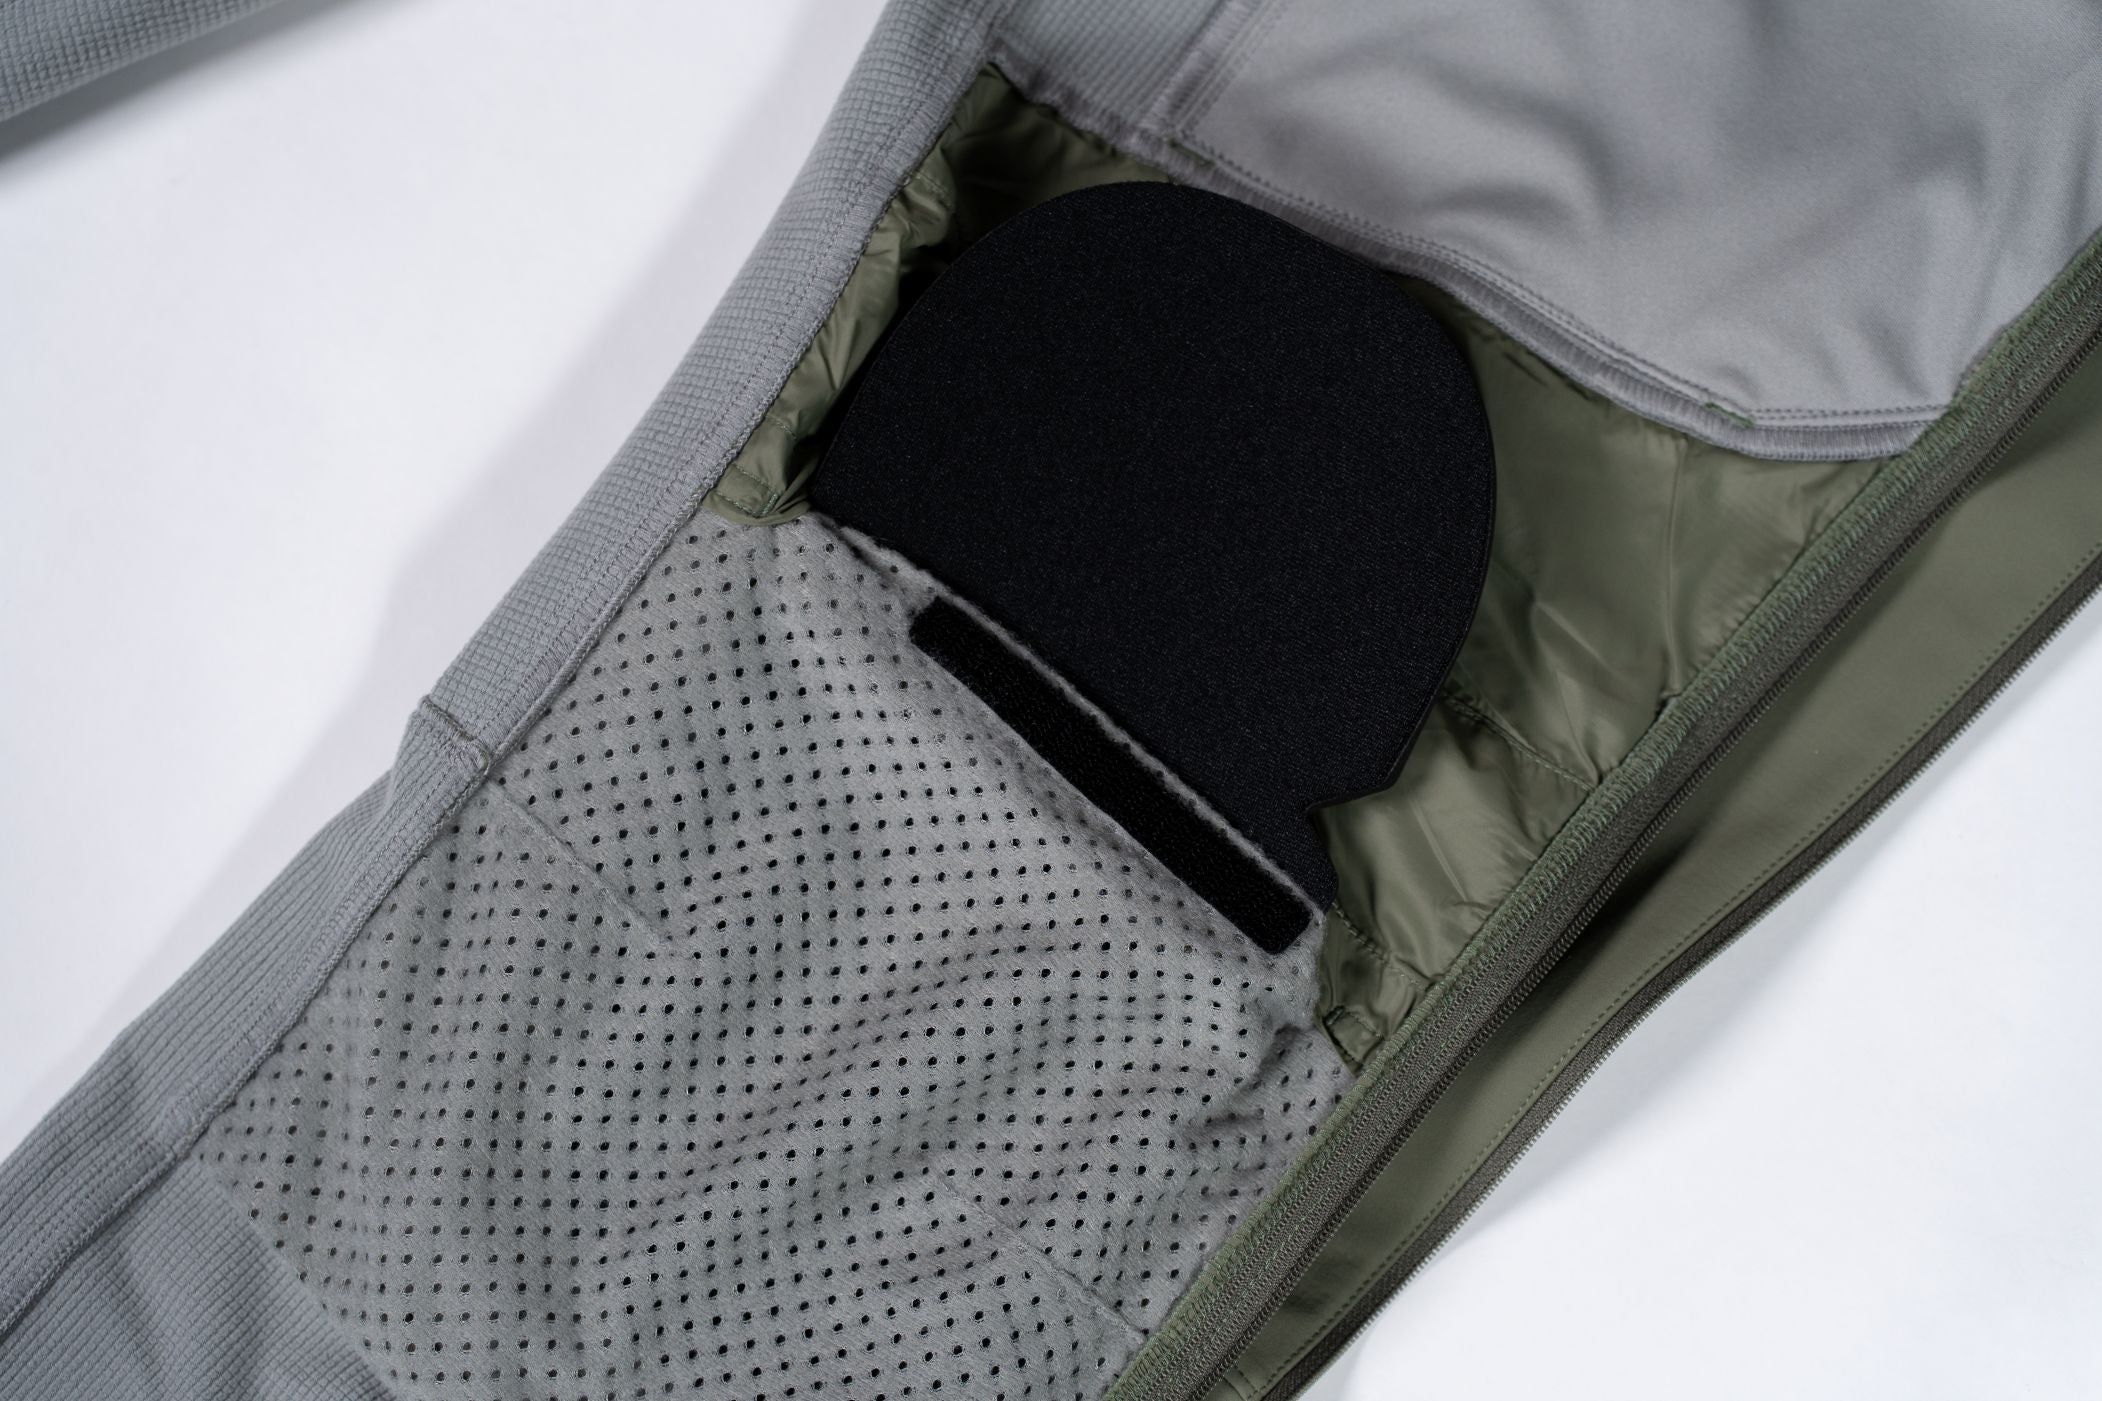
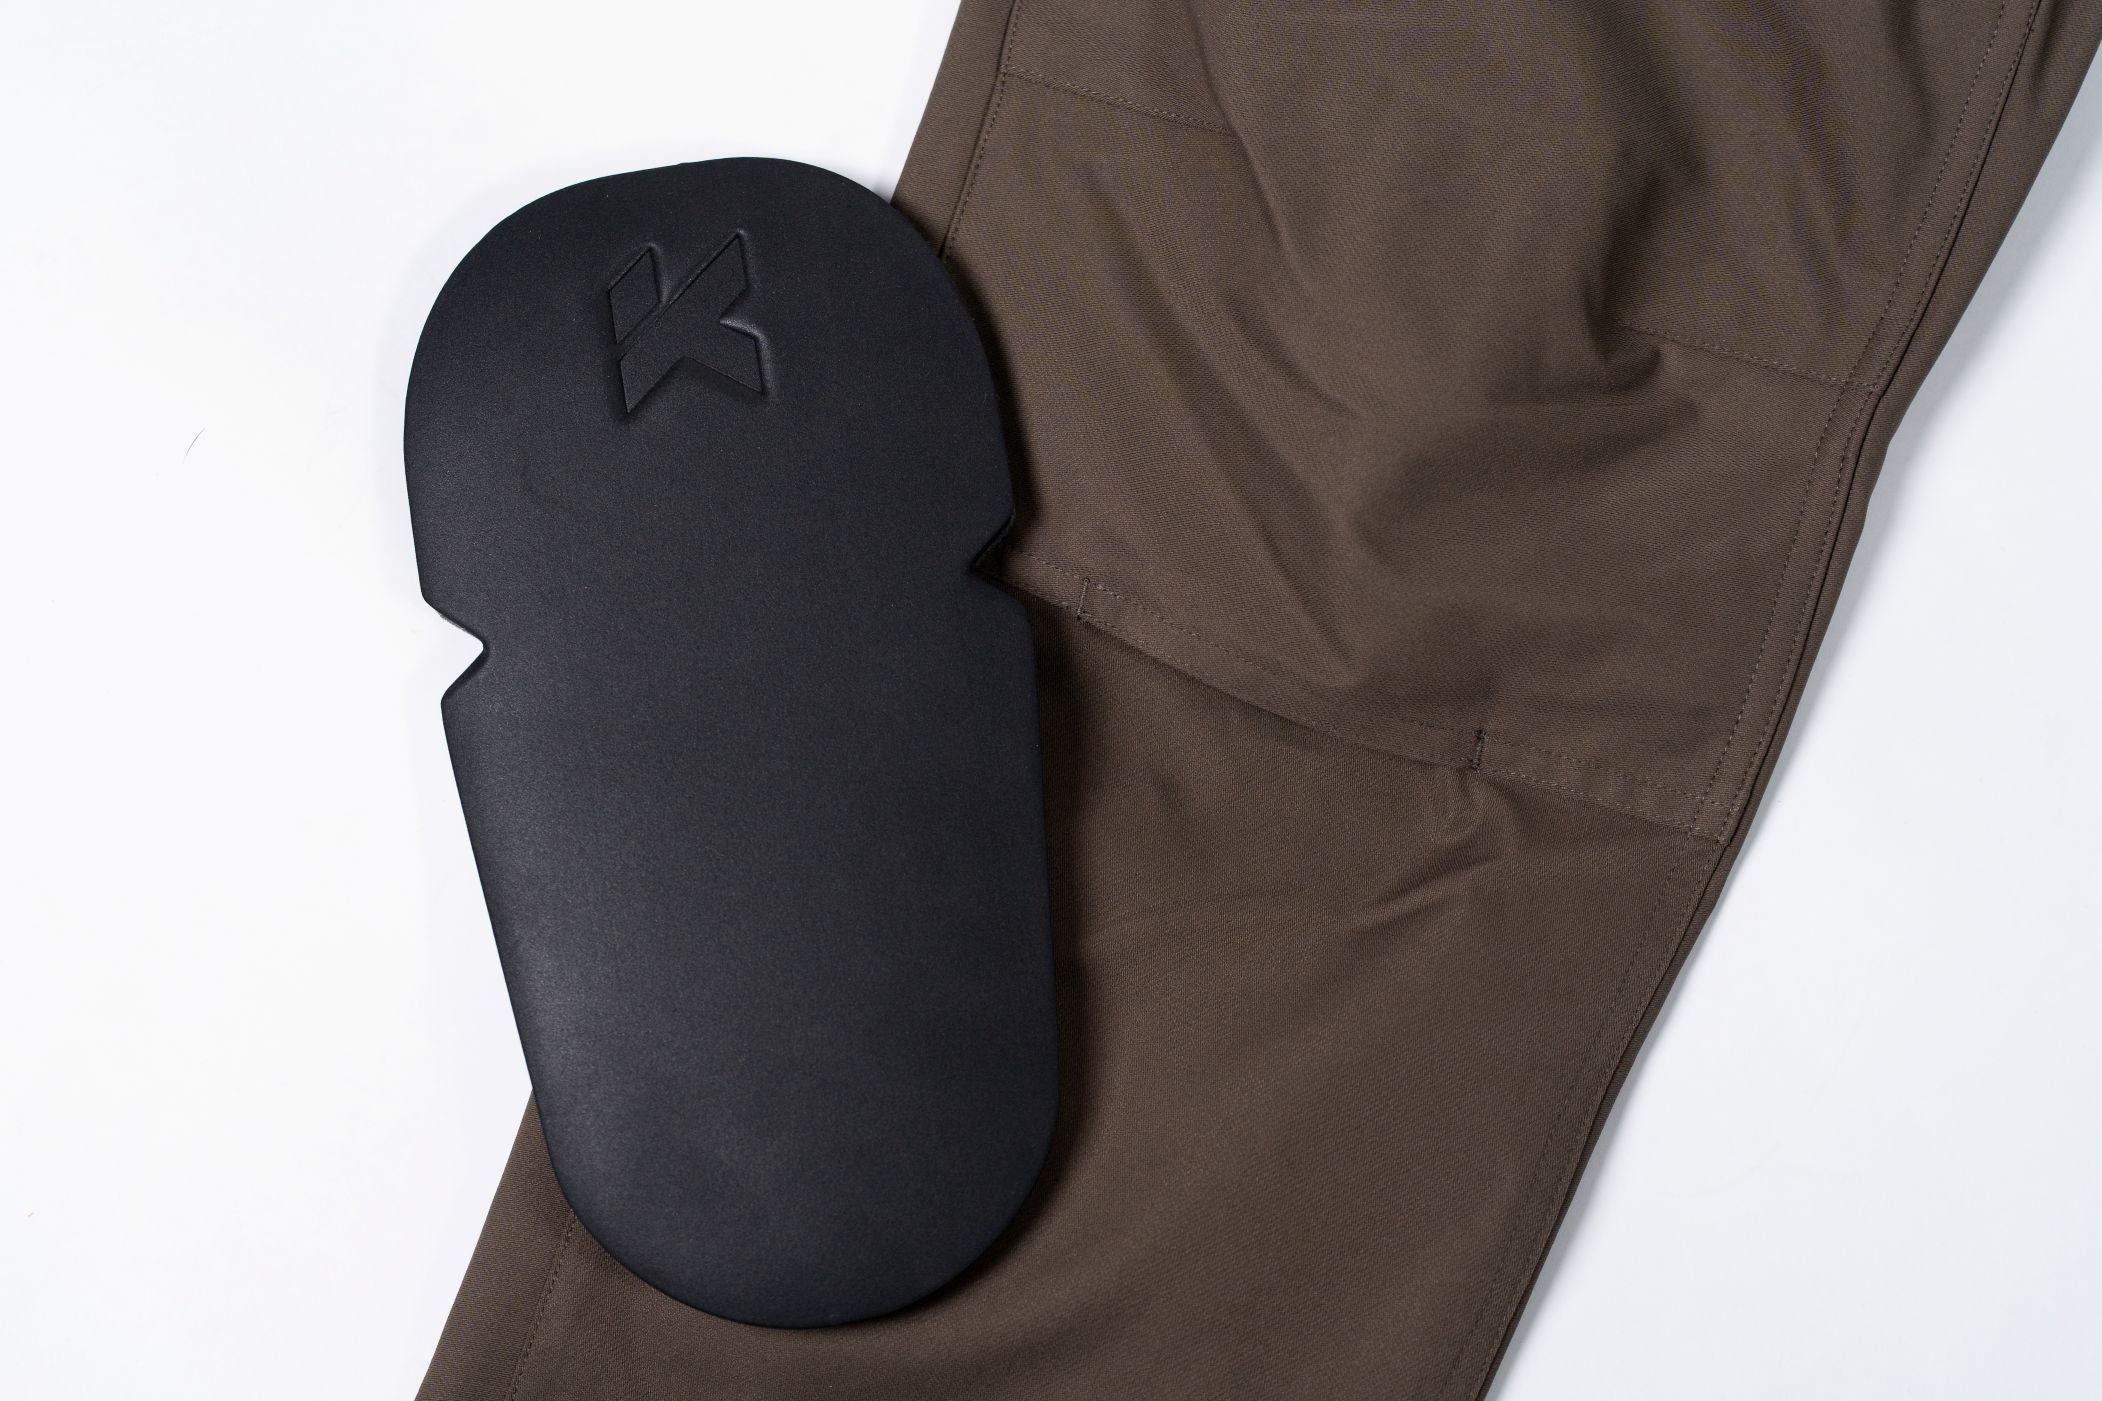
Removeable Foam Protection (pair)
$20.00
NEW

From $115.00
NEW

$149.00
Traditional Richardson 112


$30.00
360° Twill Cap with Logo Patch


$30.00
New
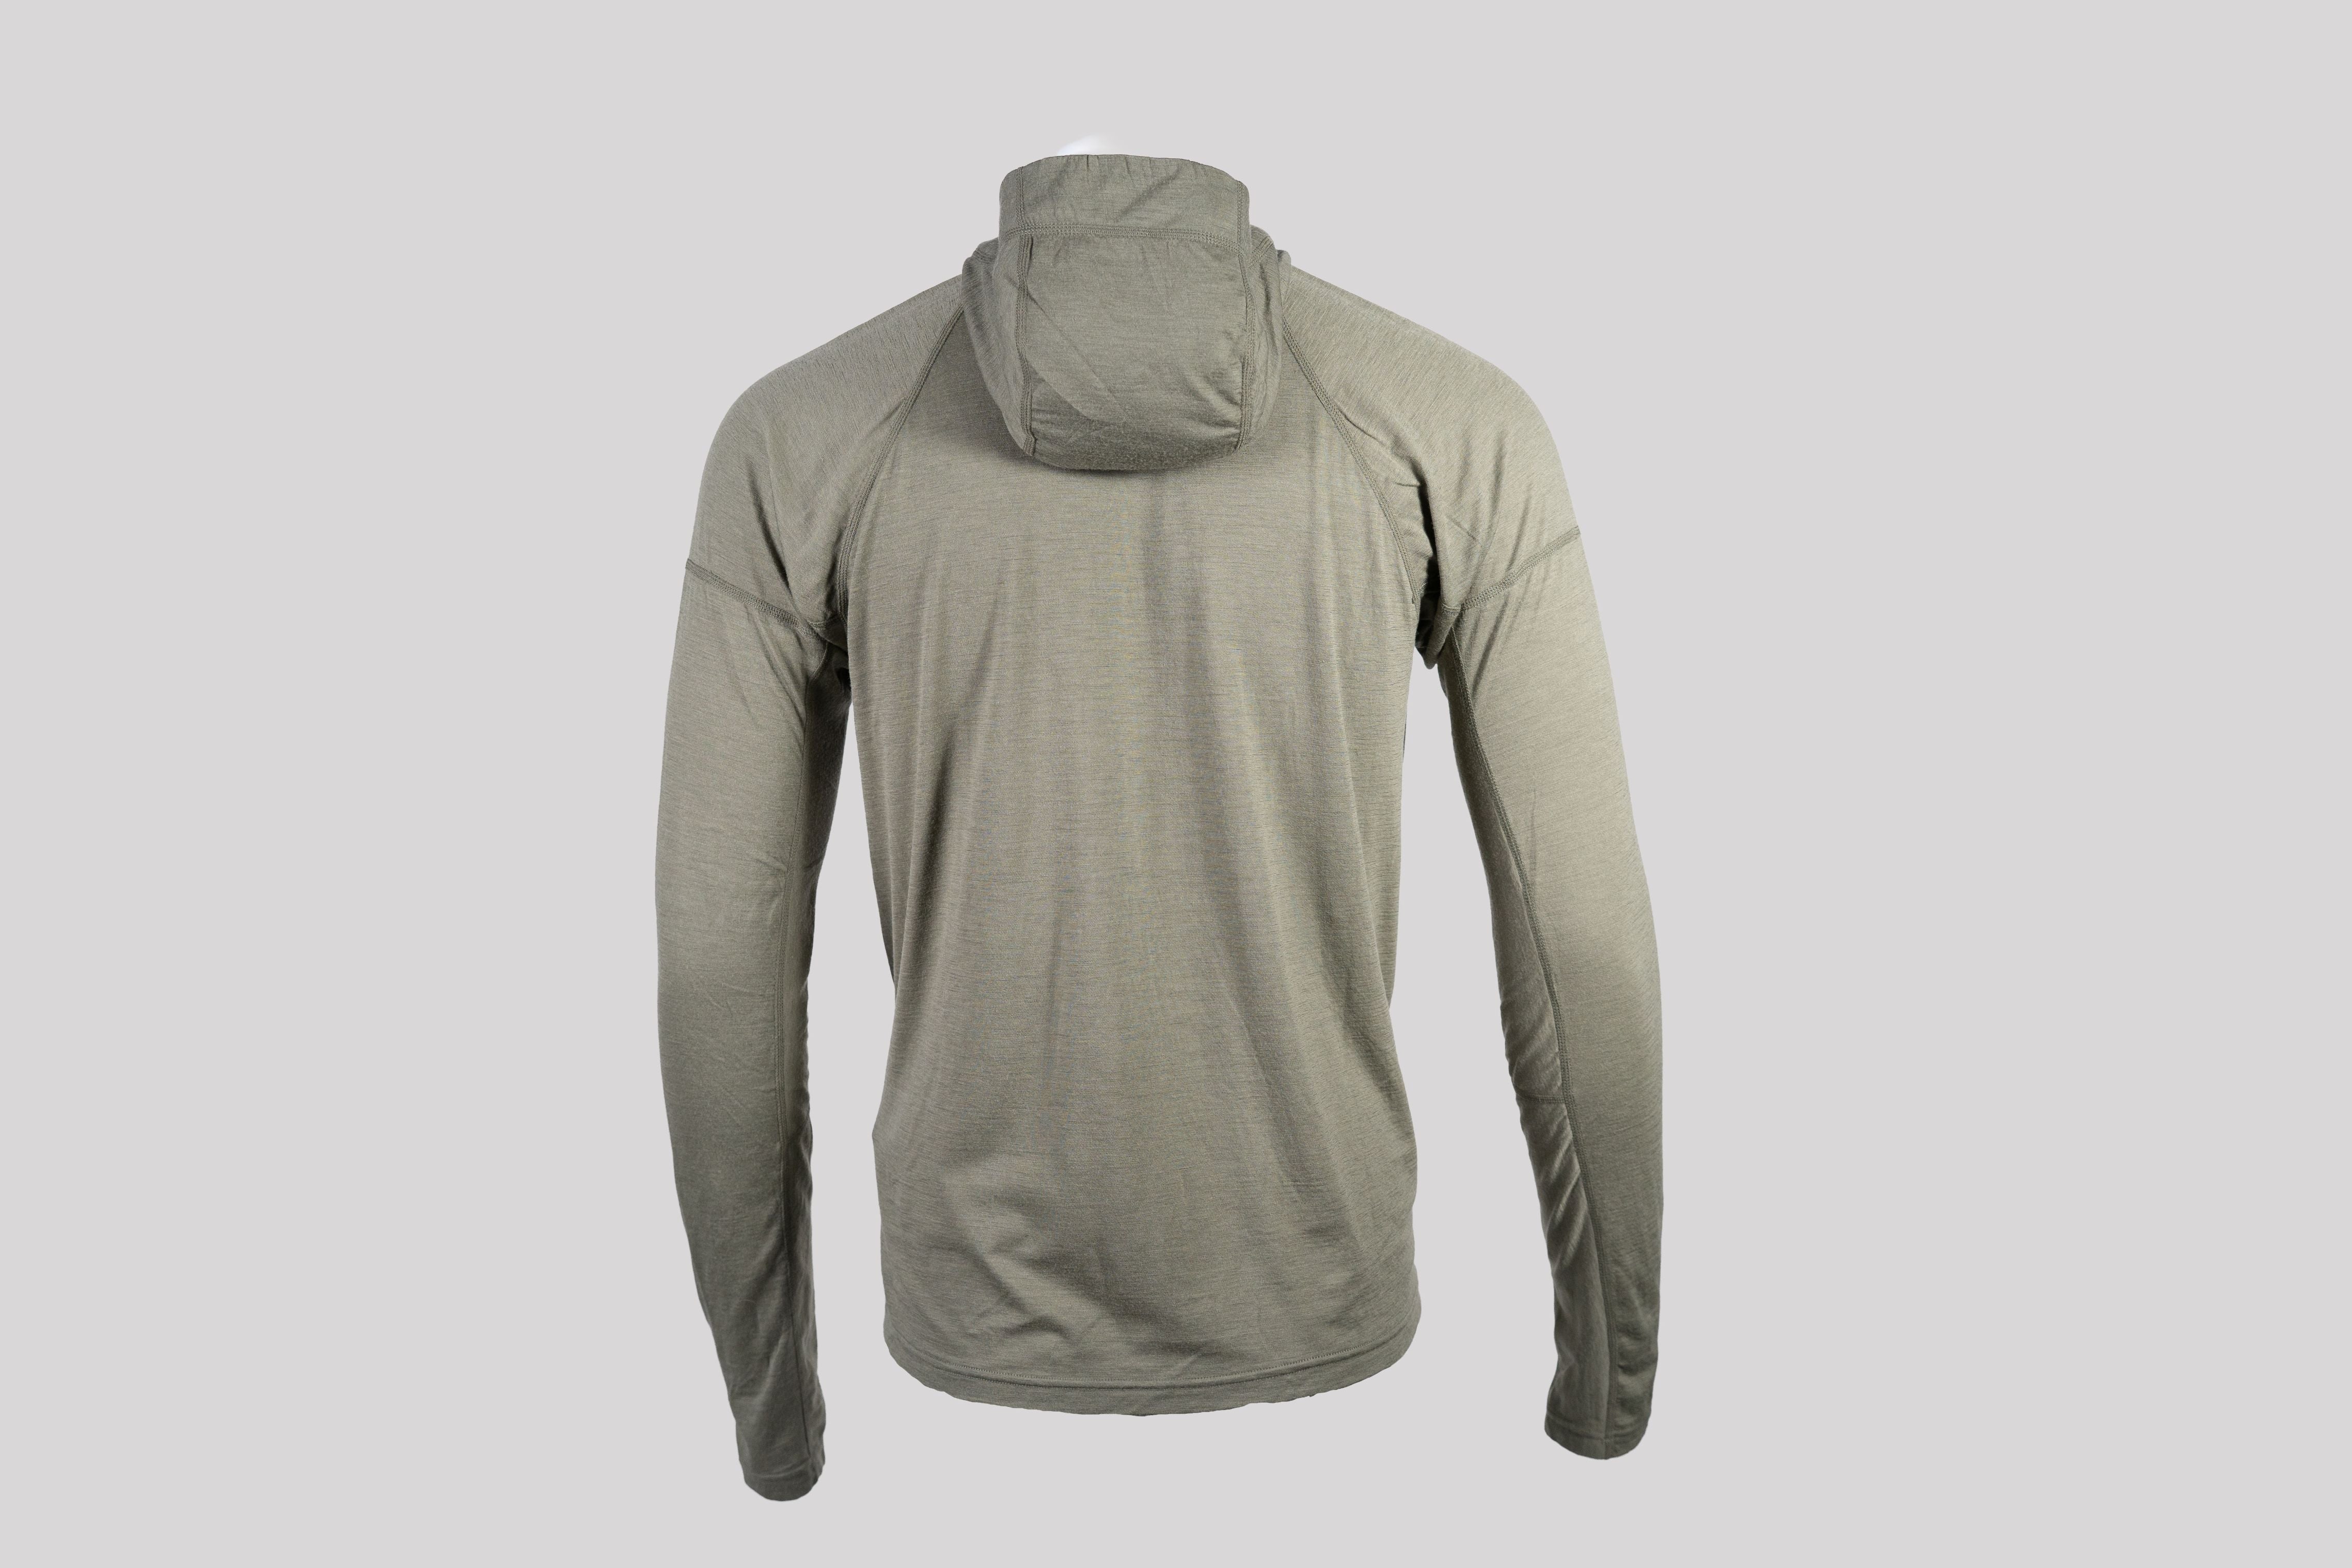
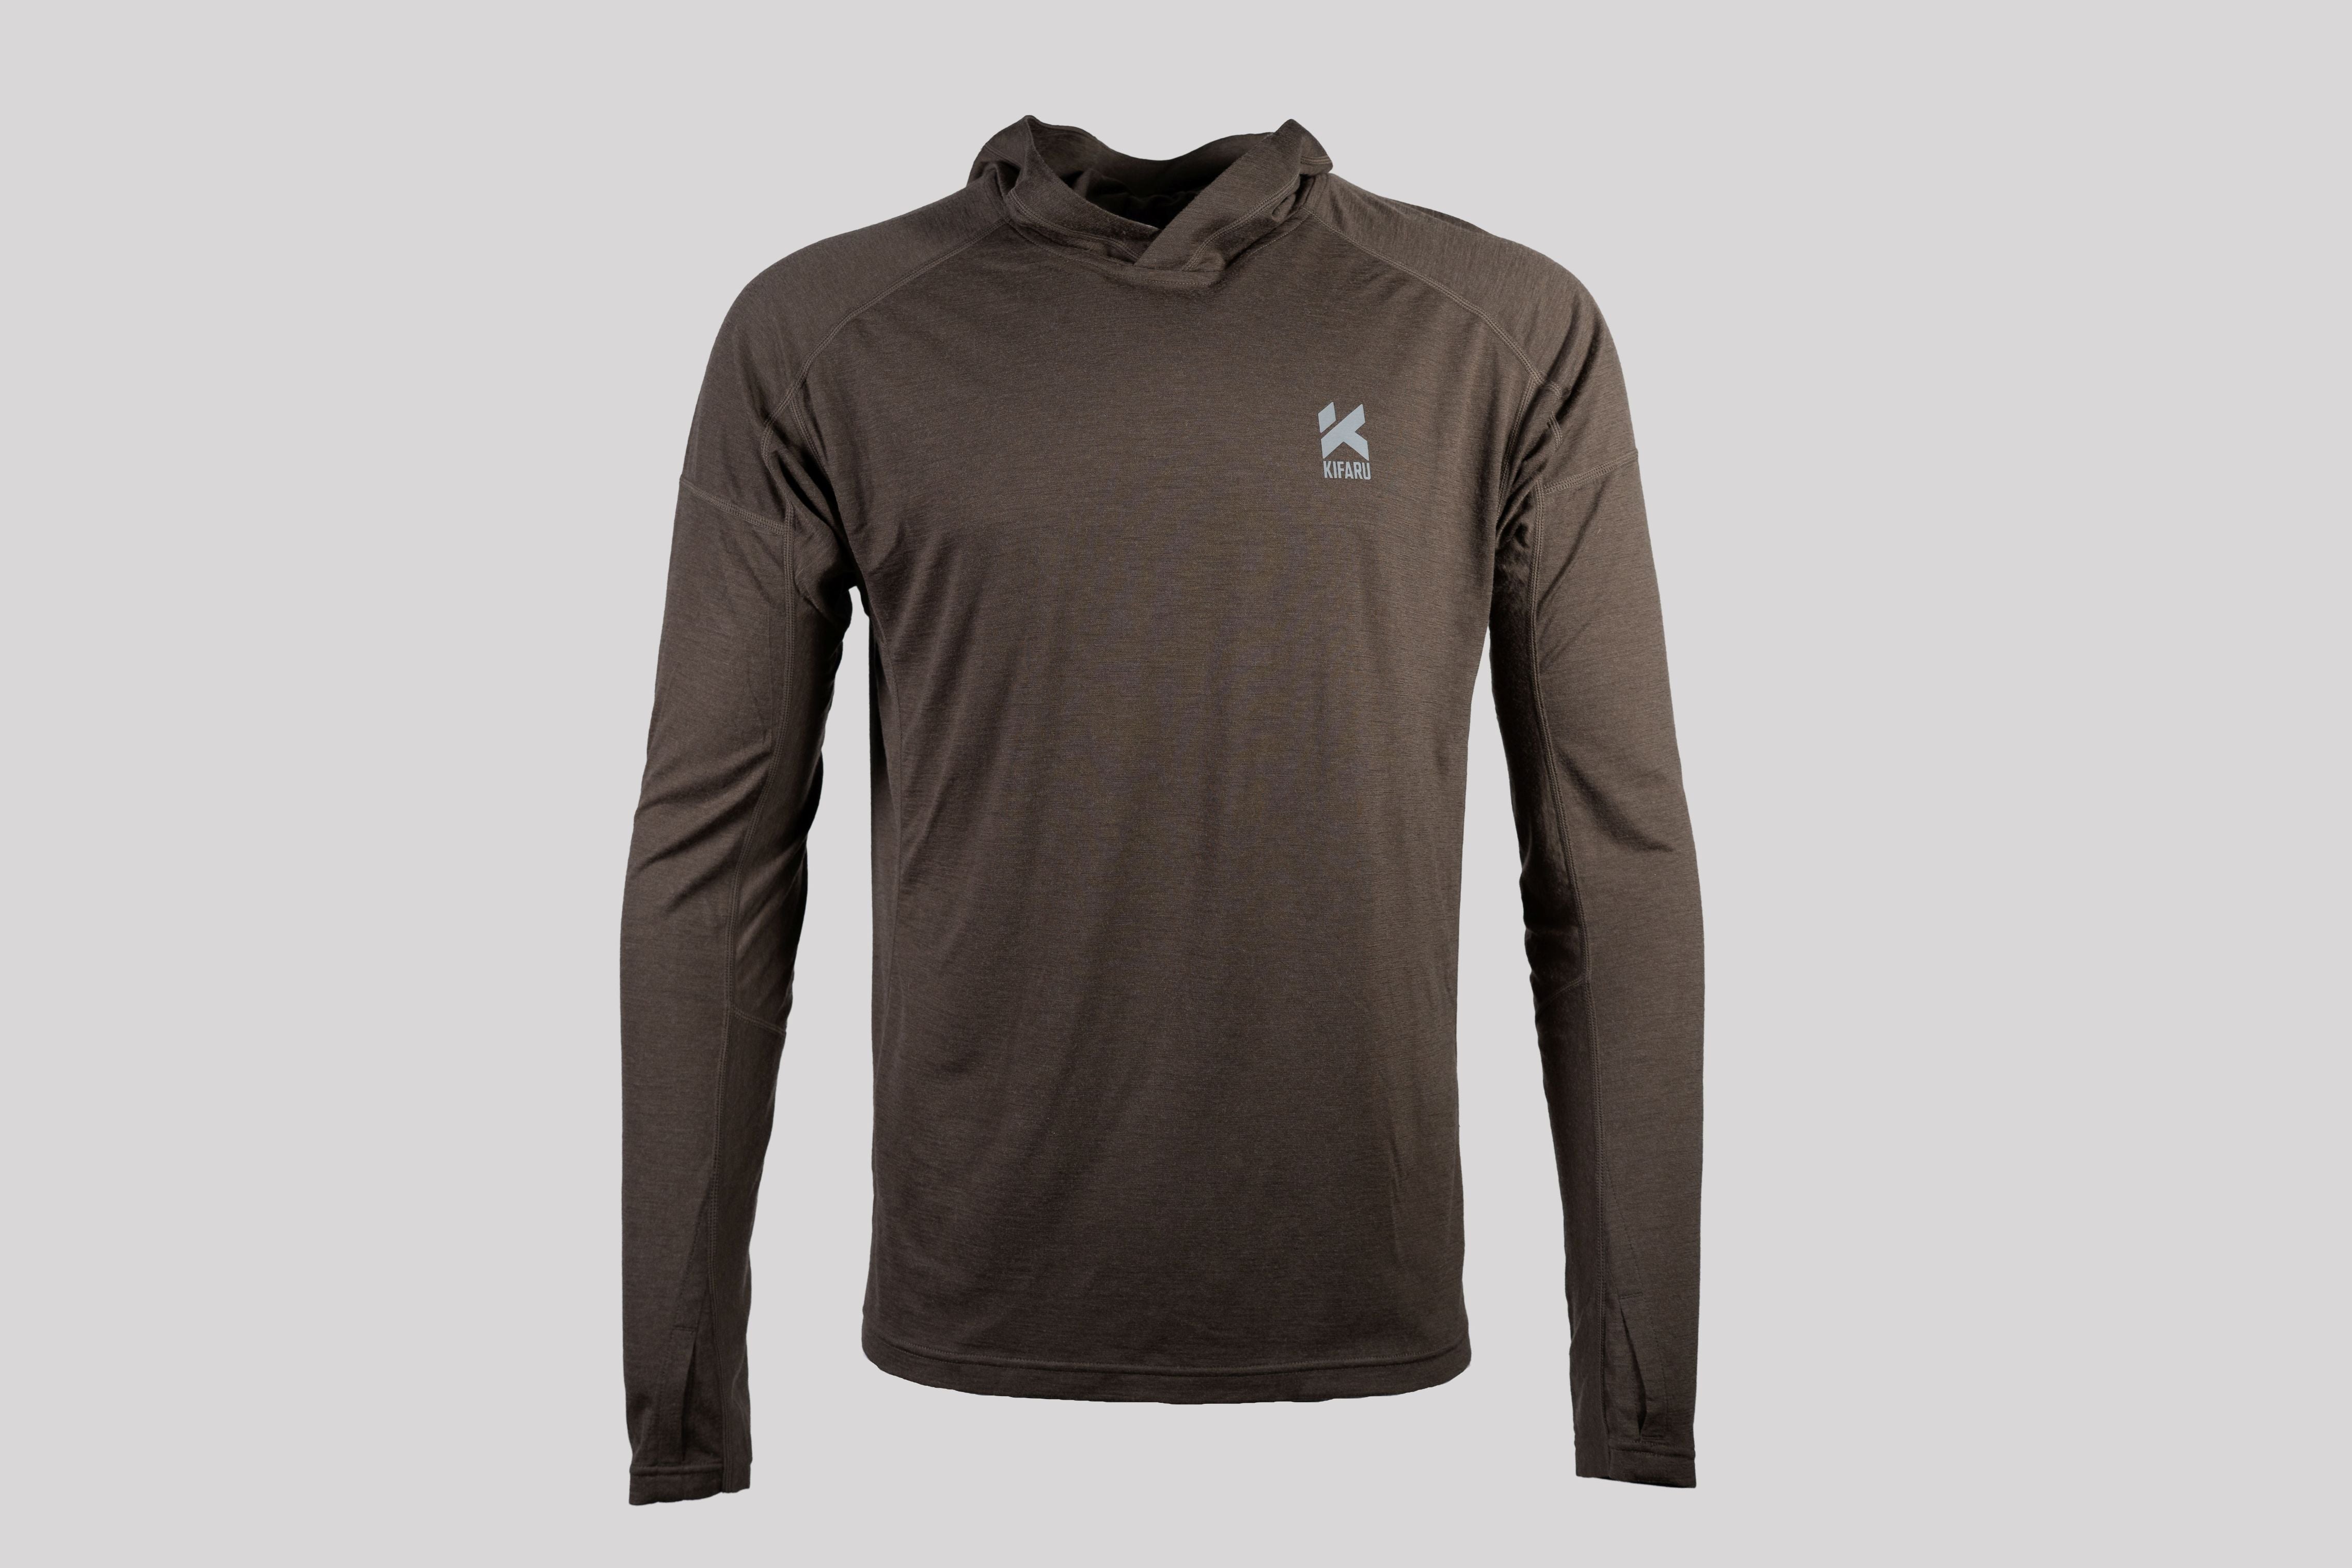
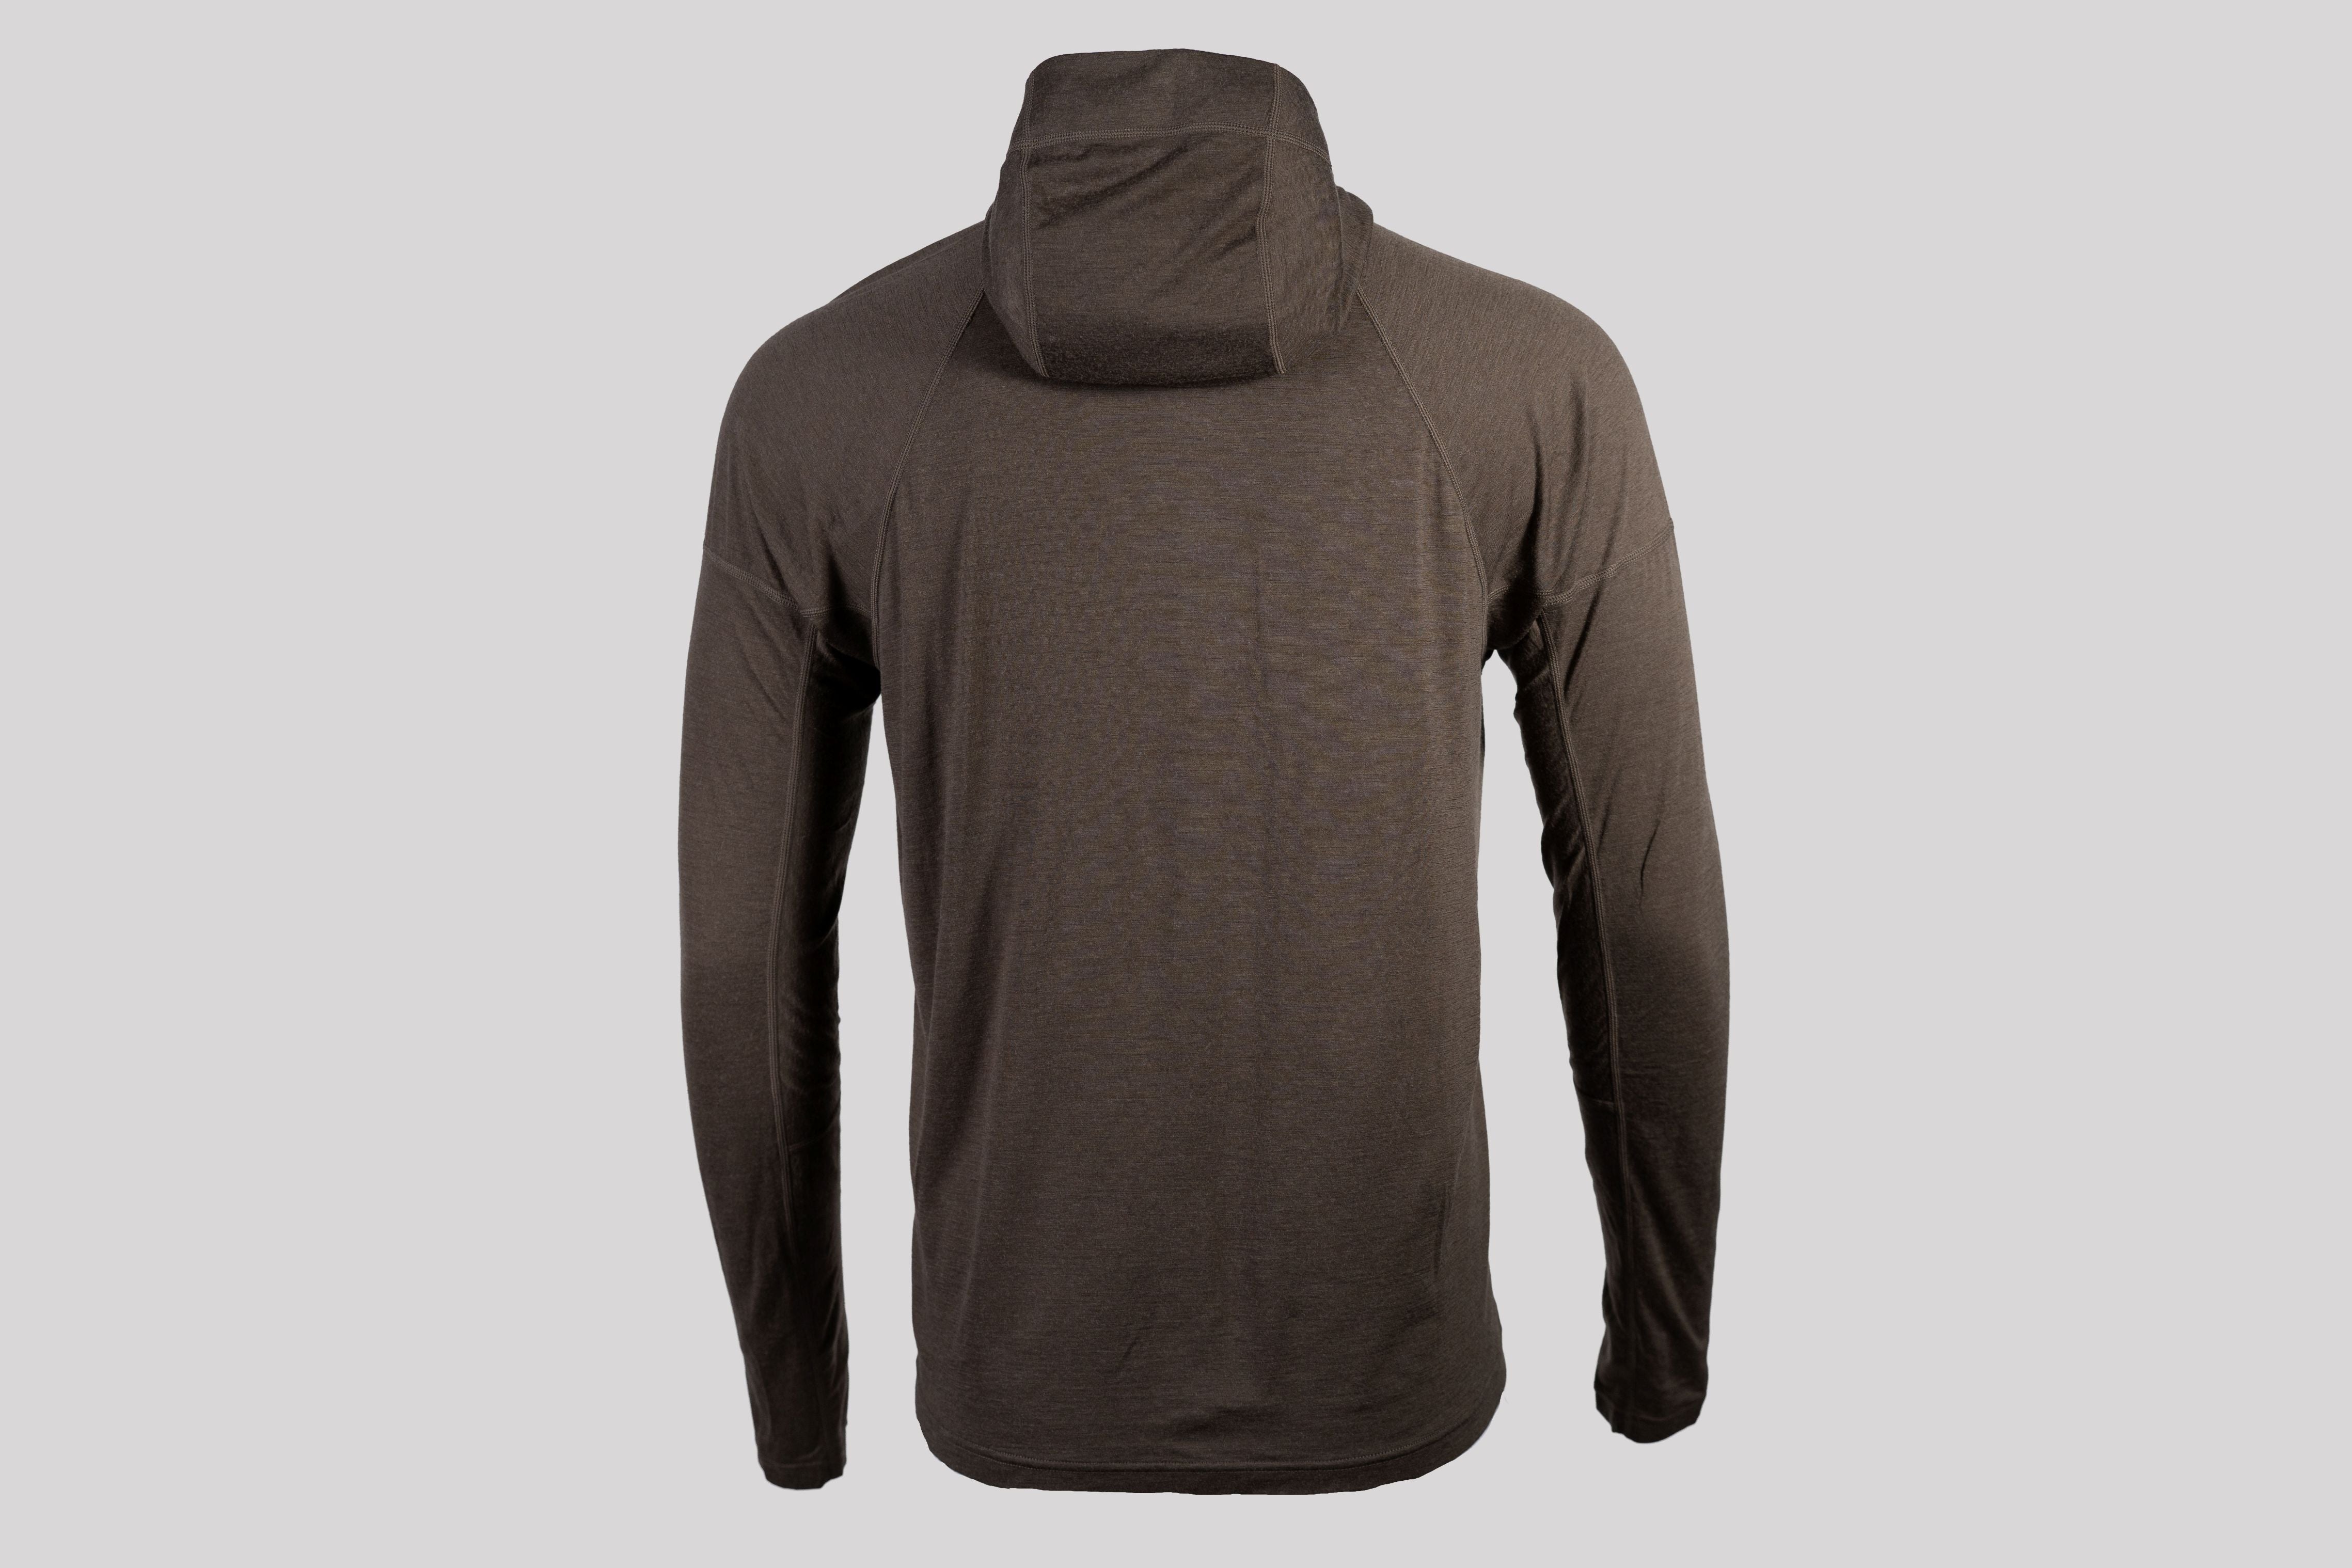
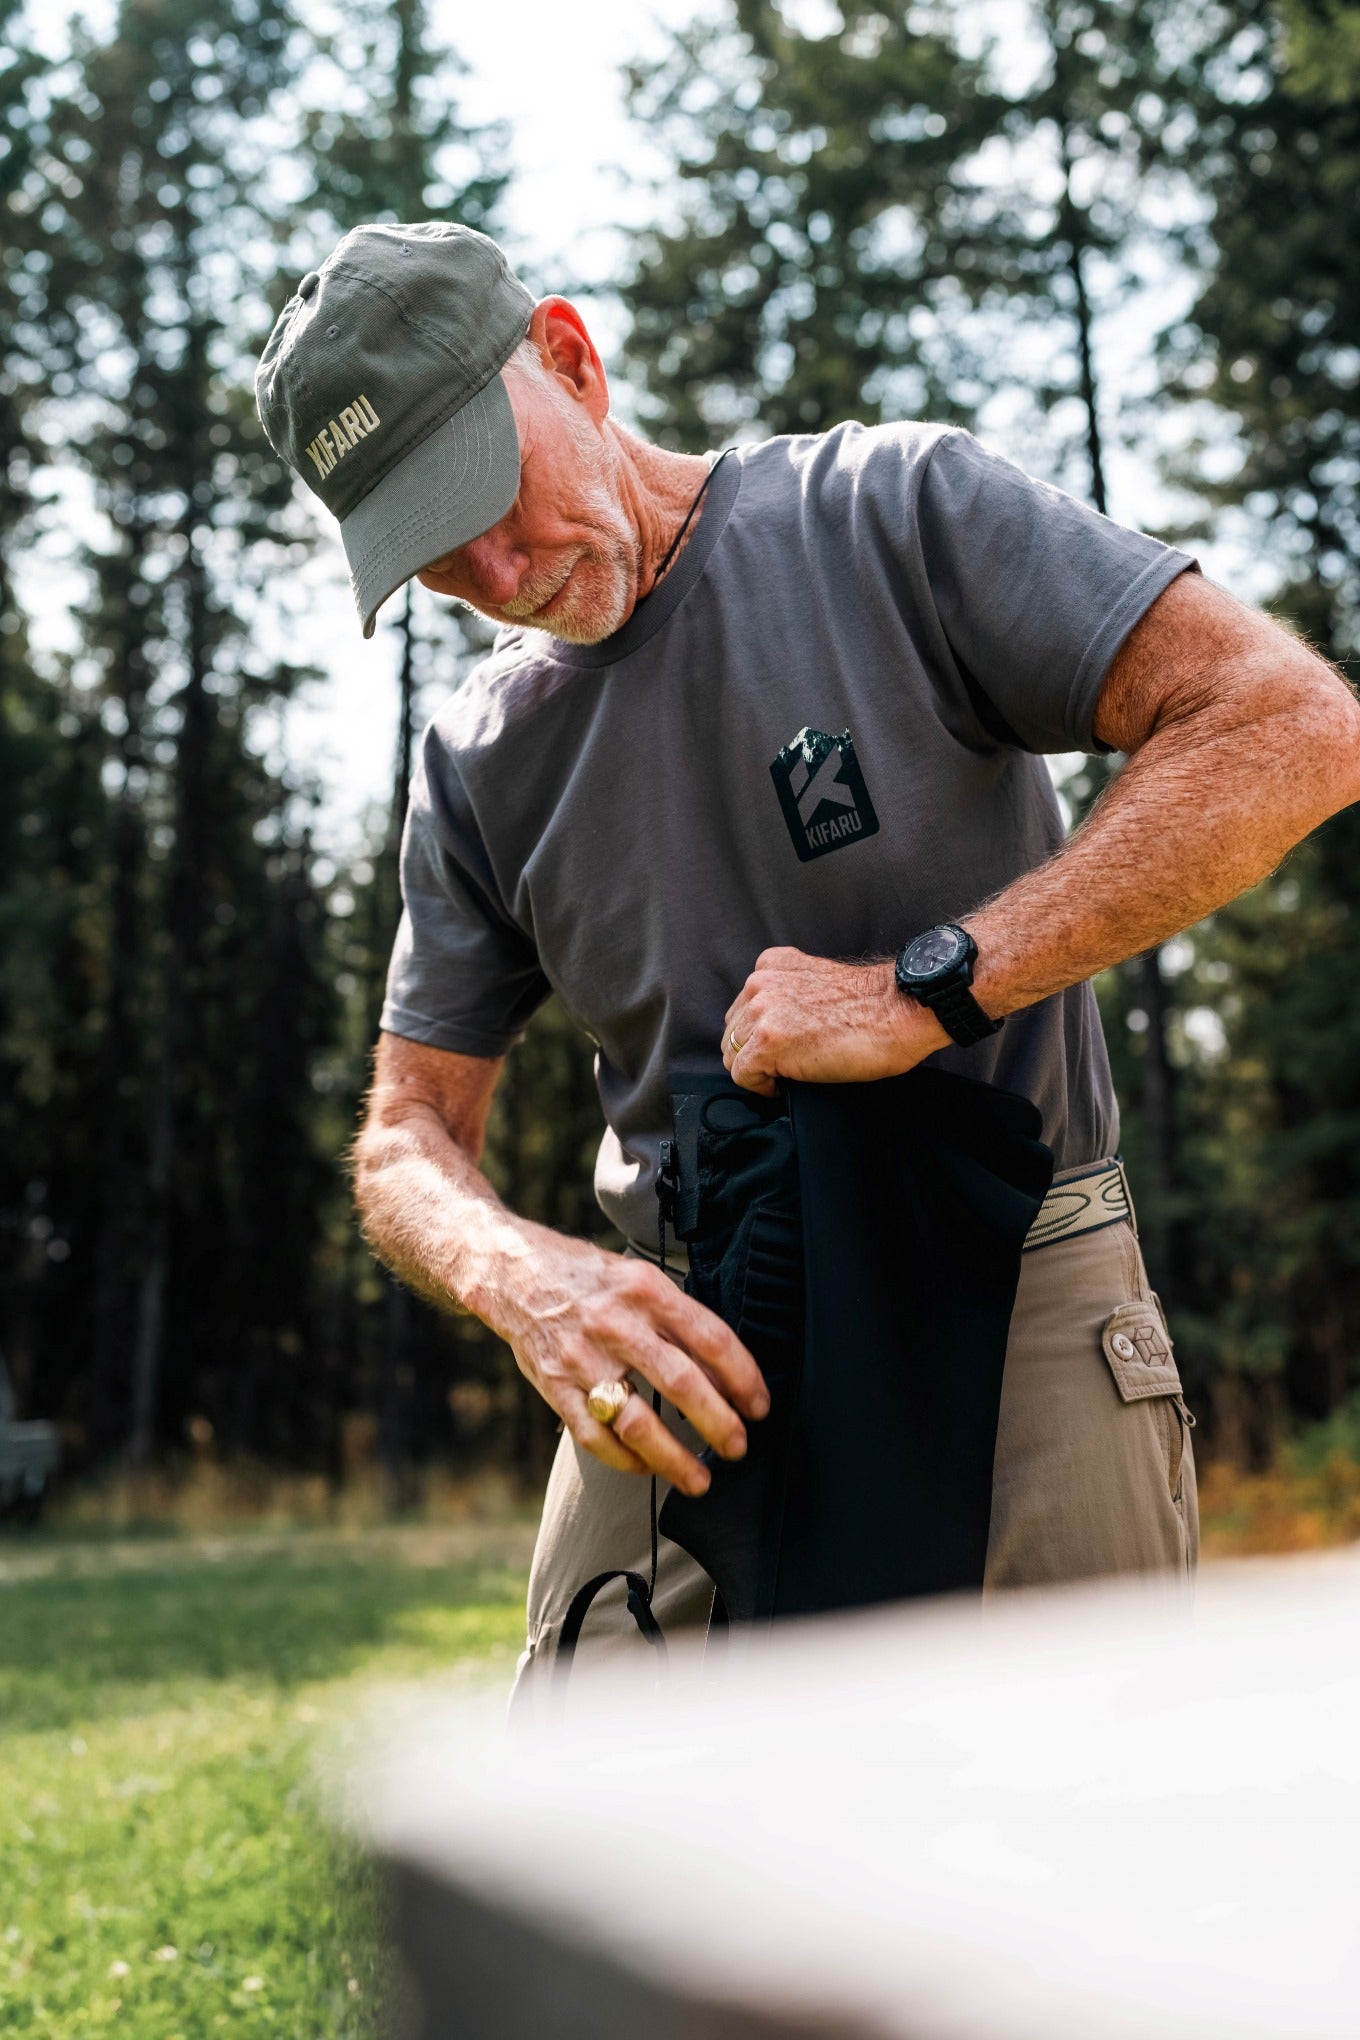
Hunting Apparel
NEW
$95.00
NEW
$130.00
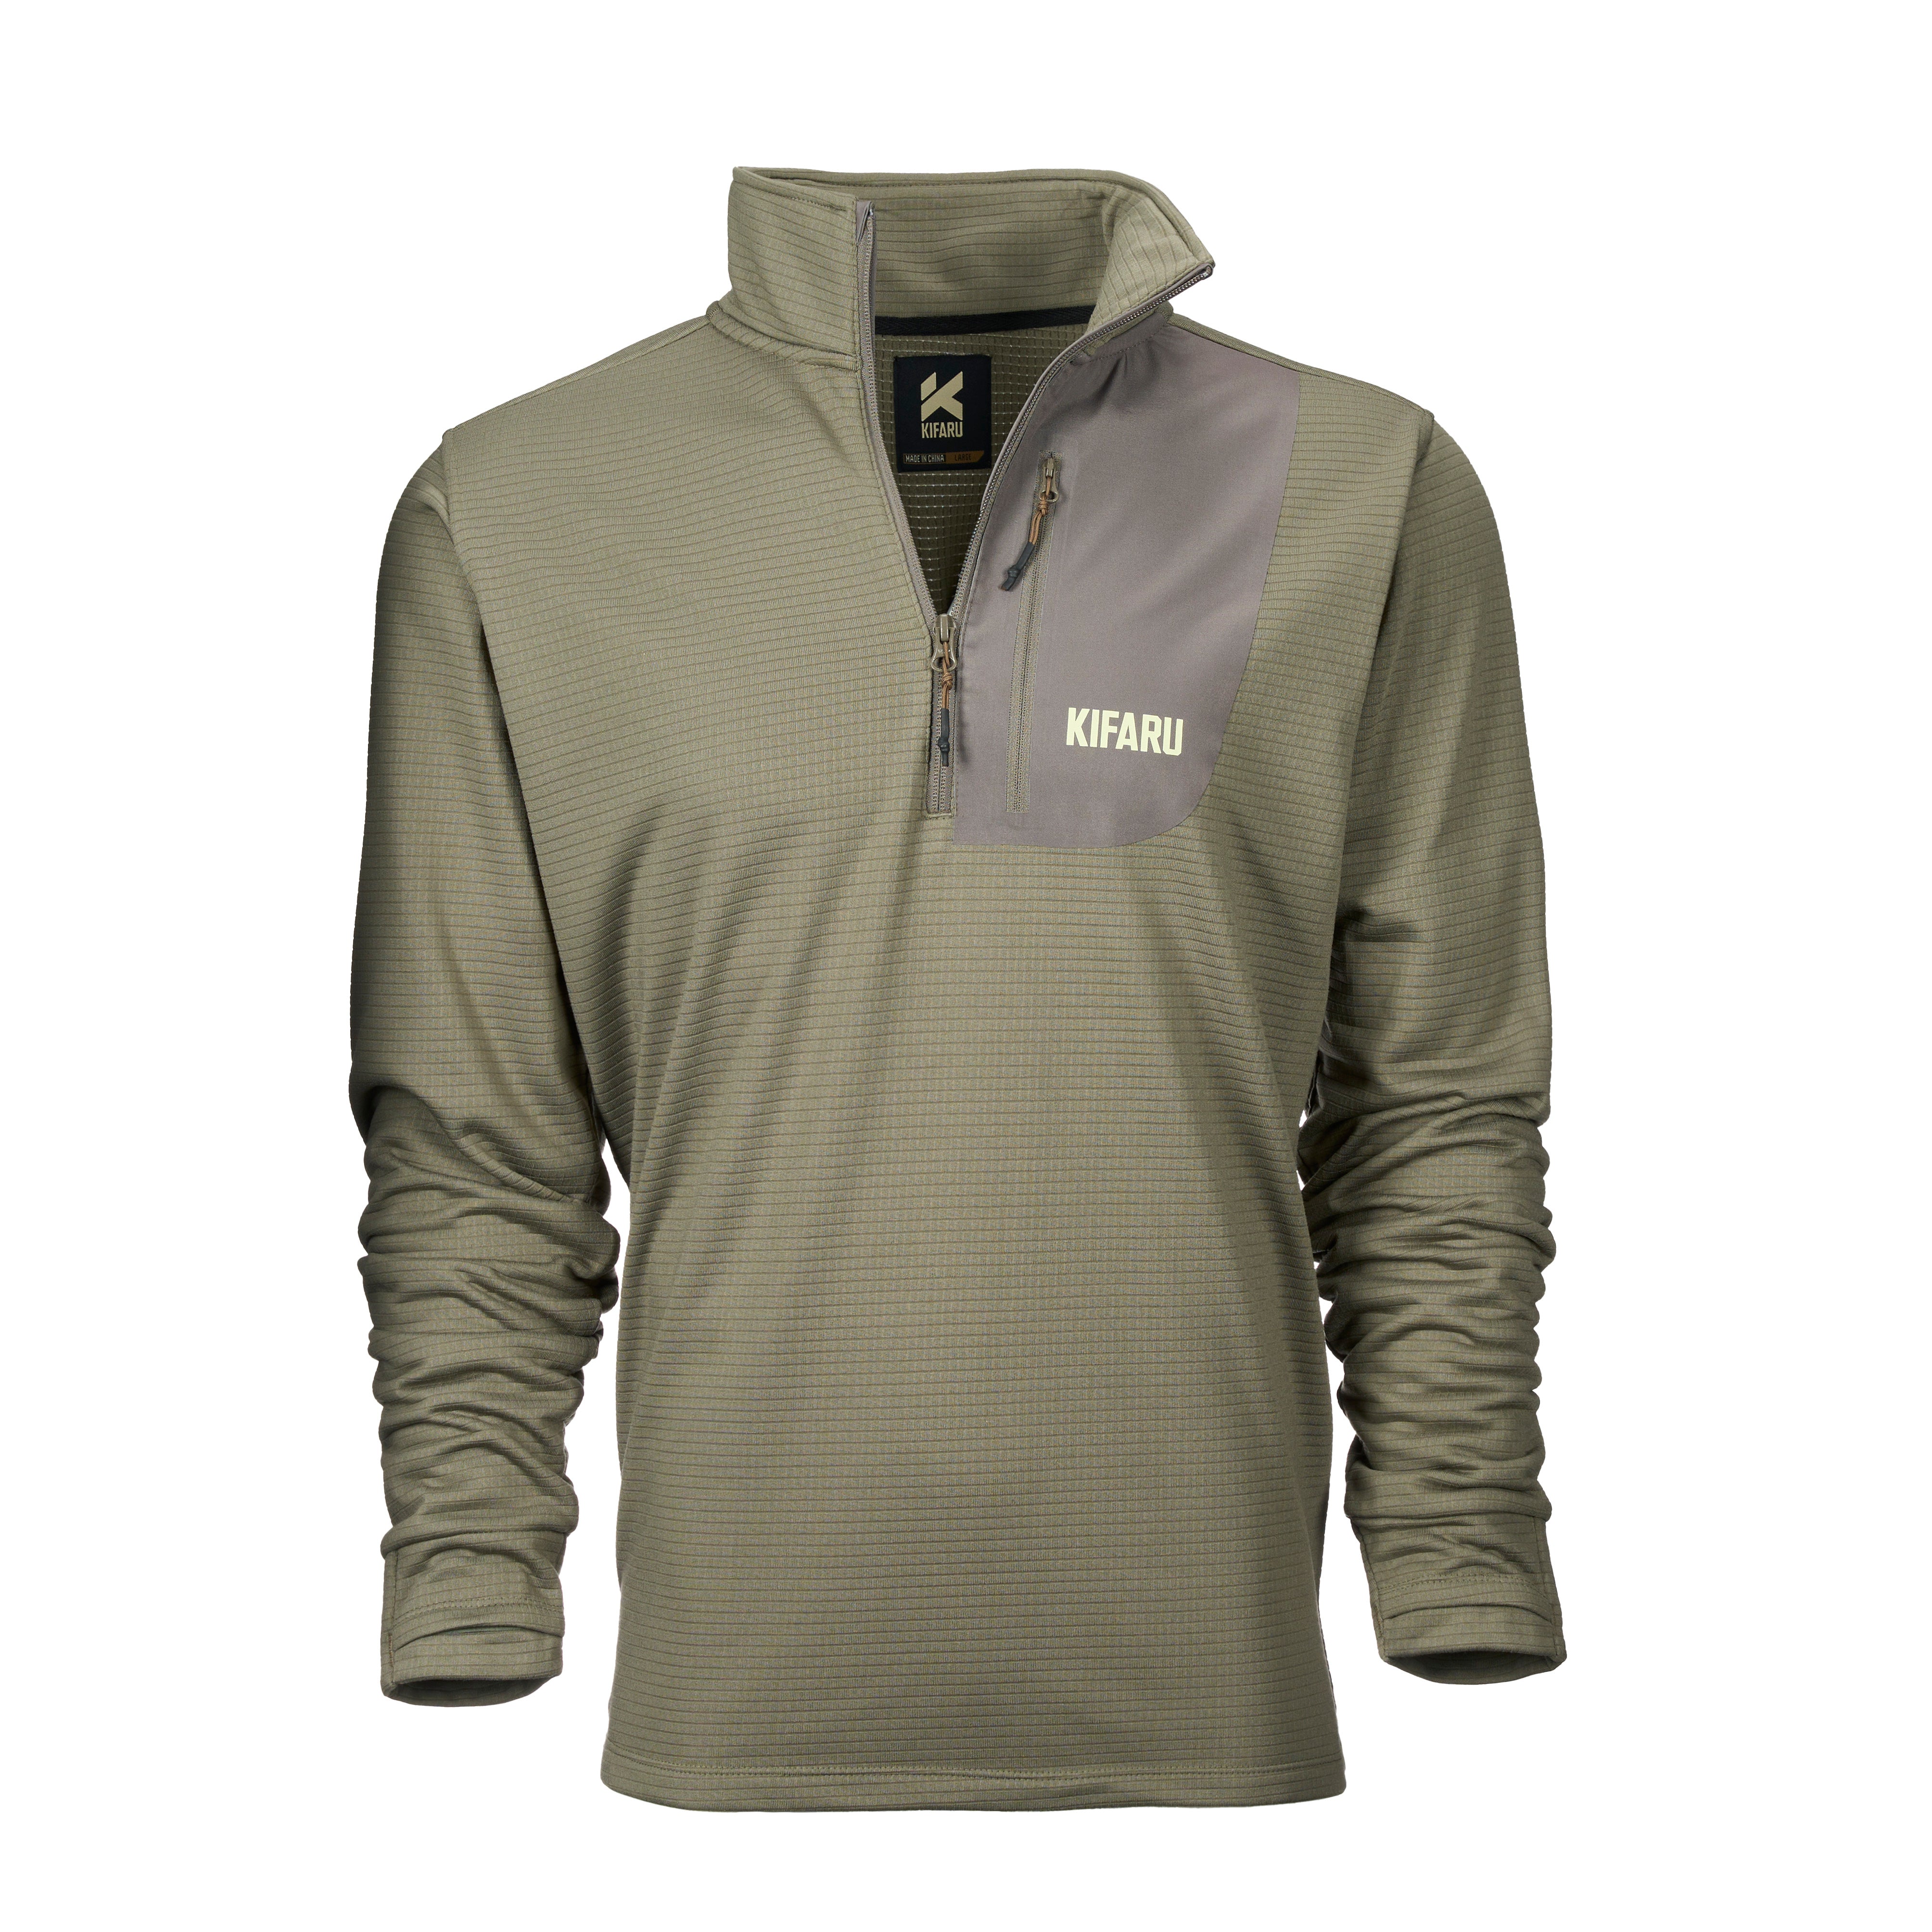
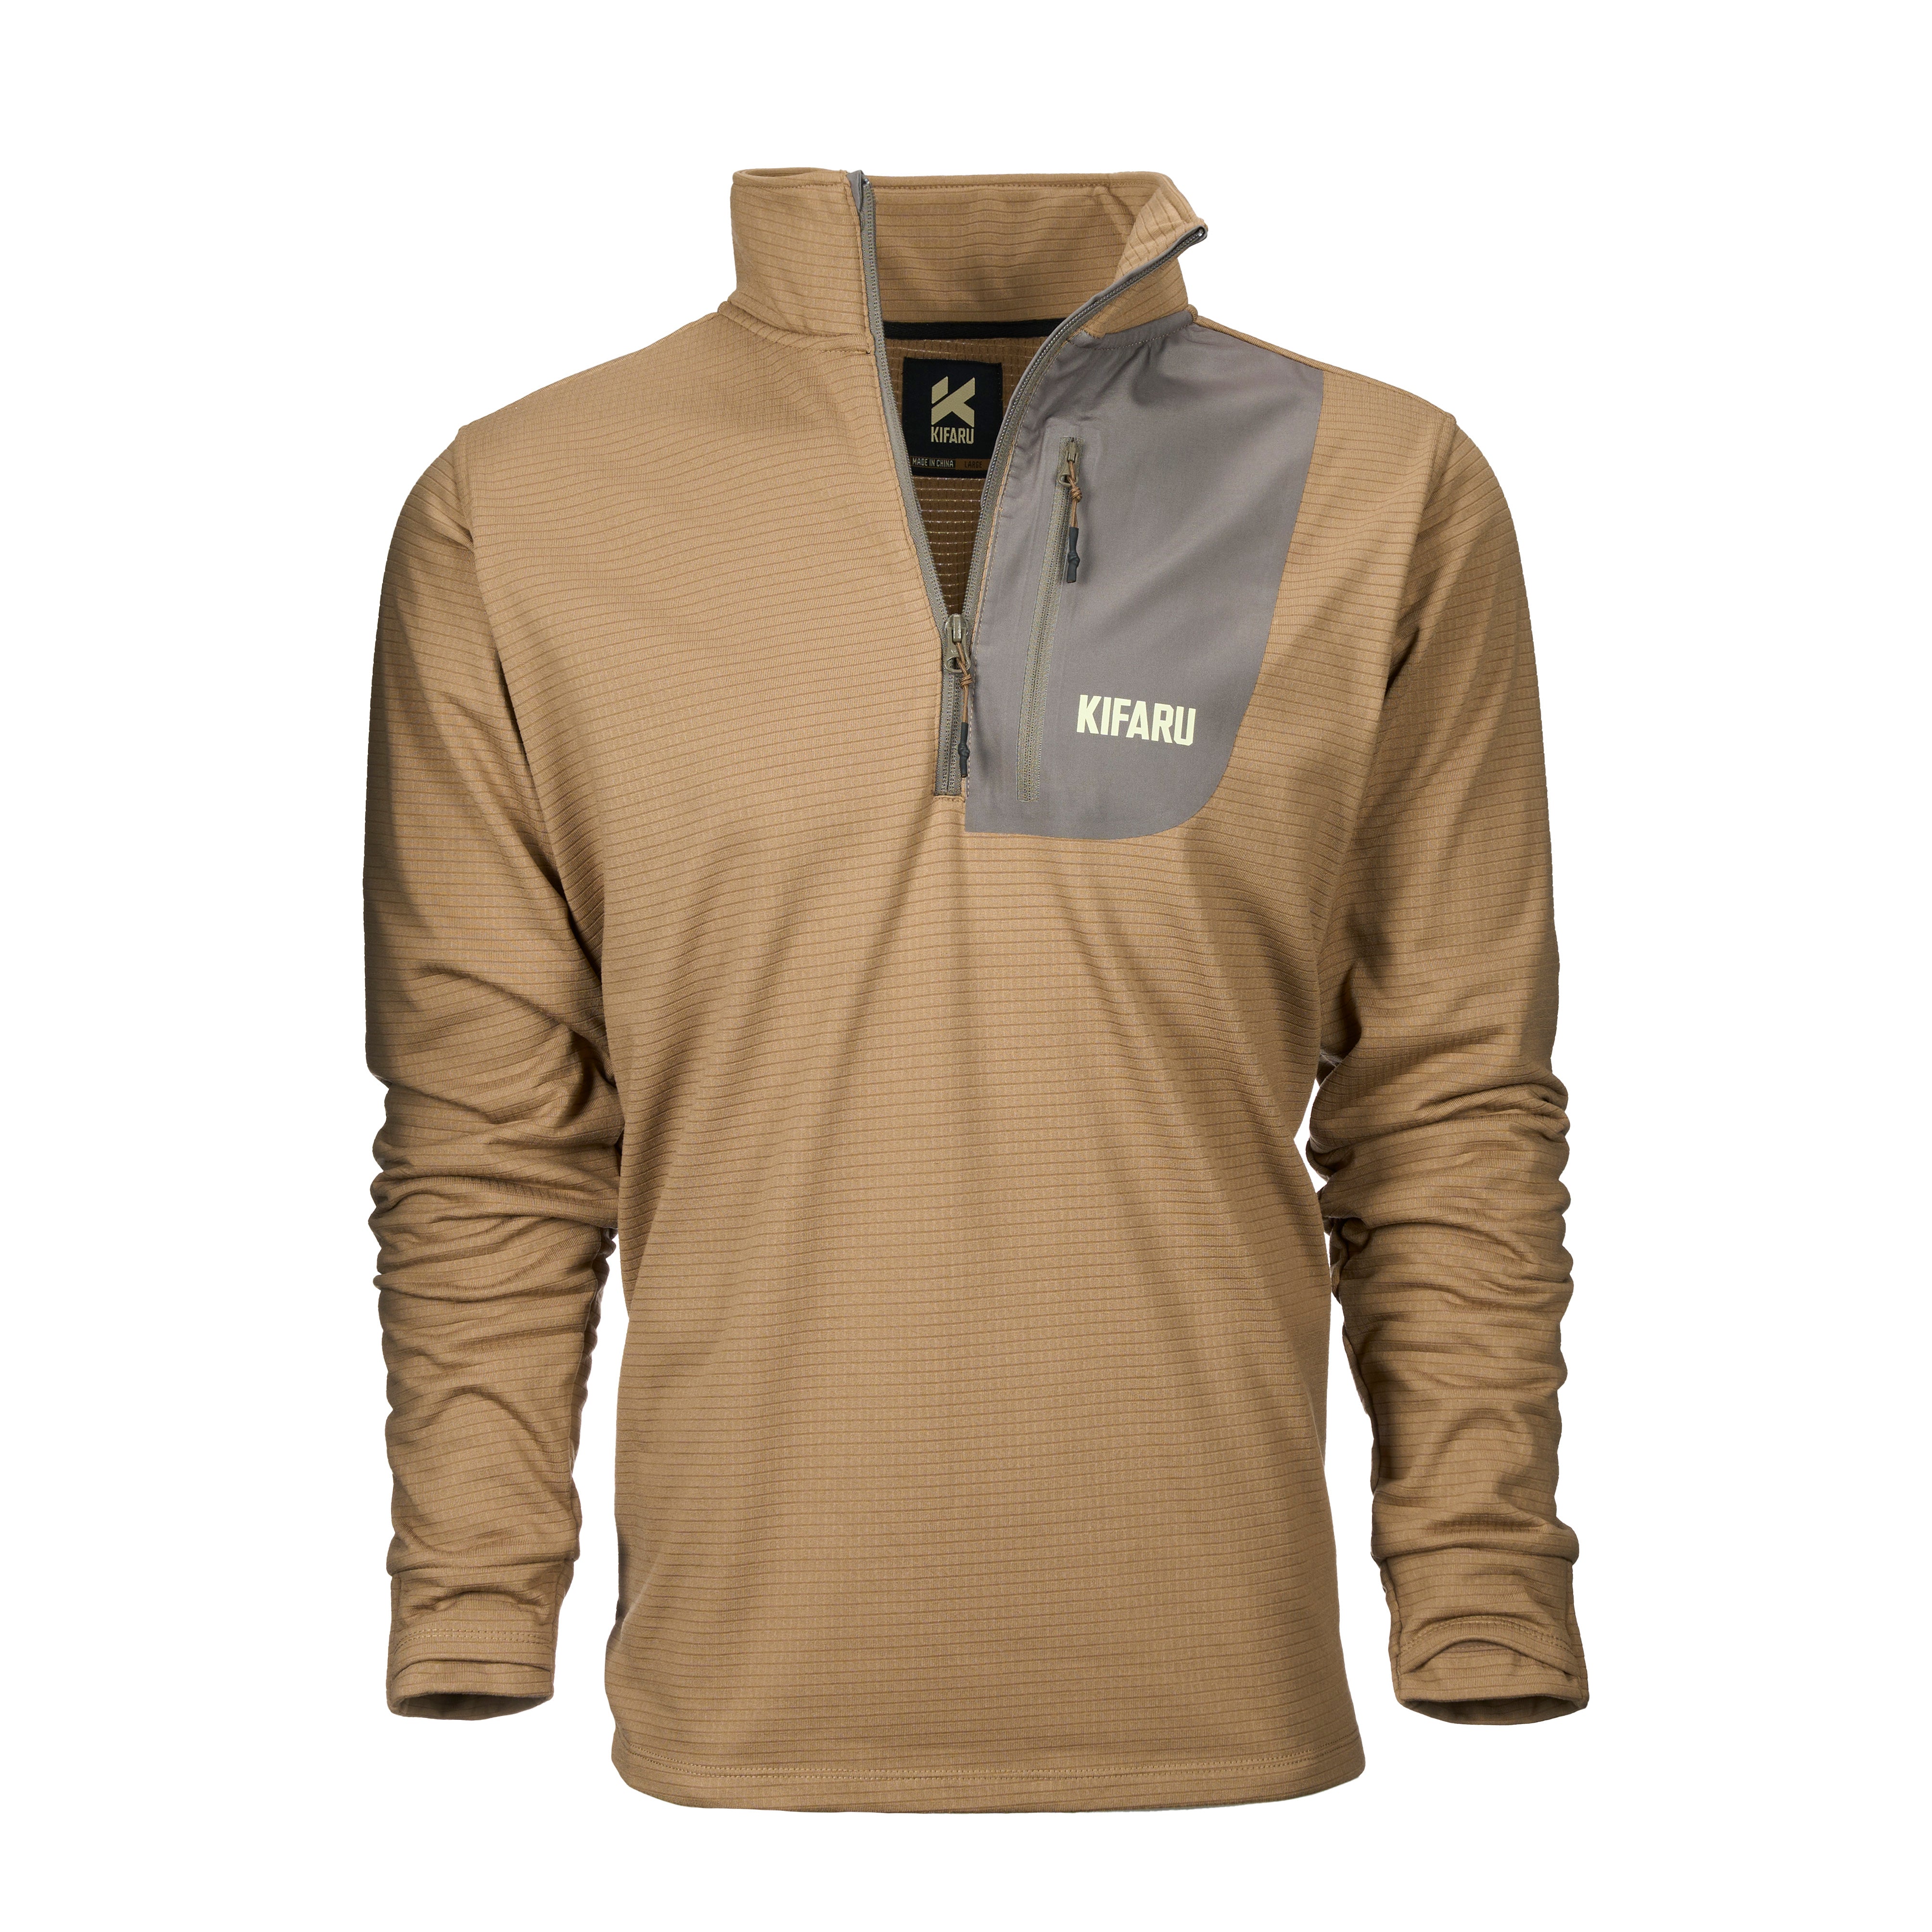
Weatherized Transitional Grid Fleece


$180.00
$79.00
Packable + Vented Insulation


$310.00
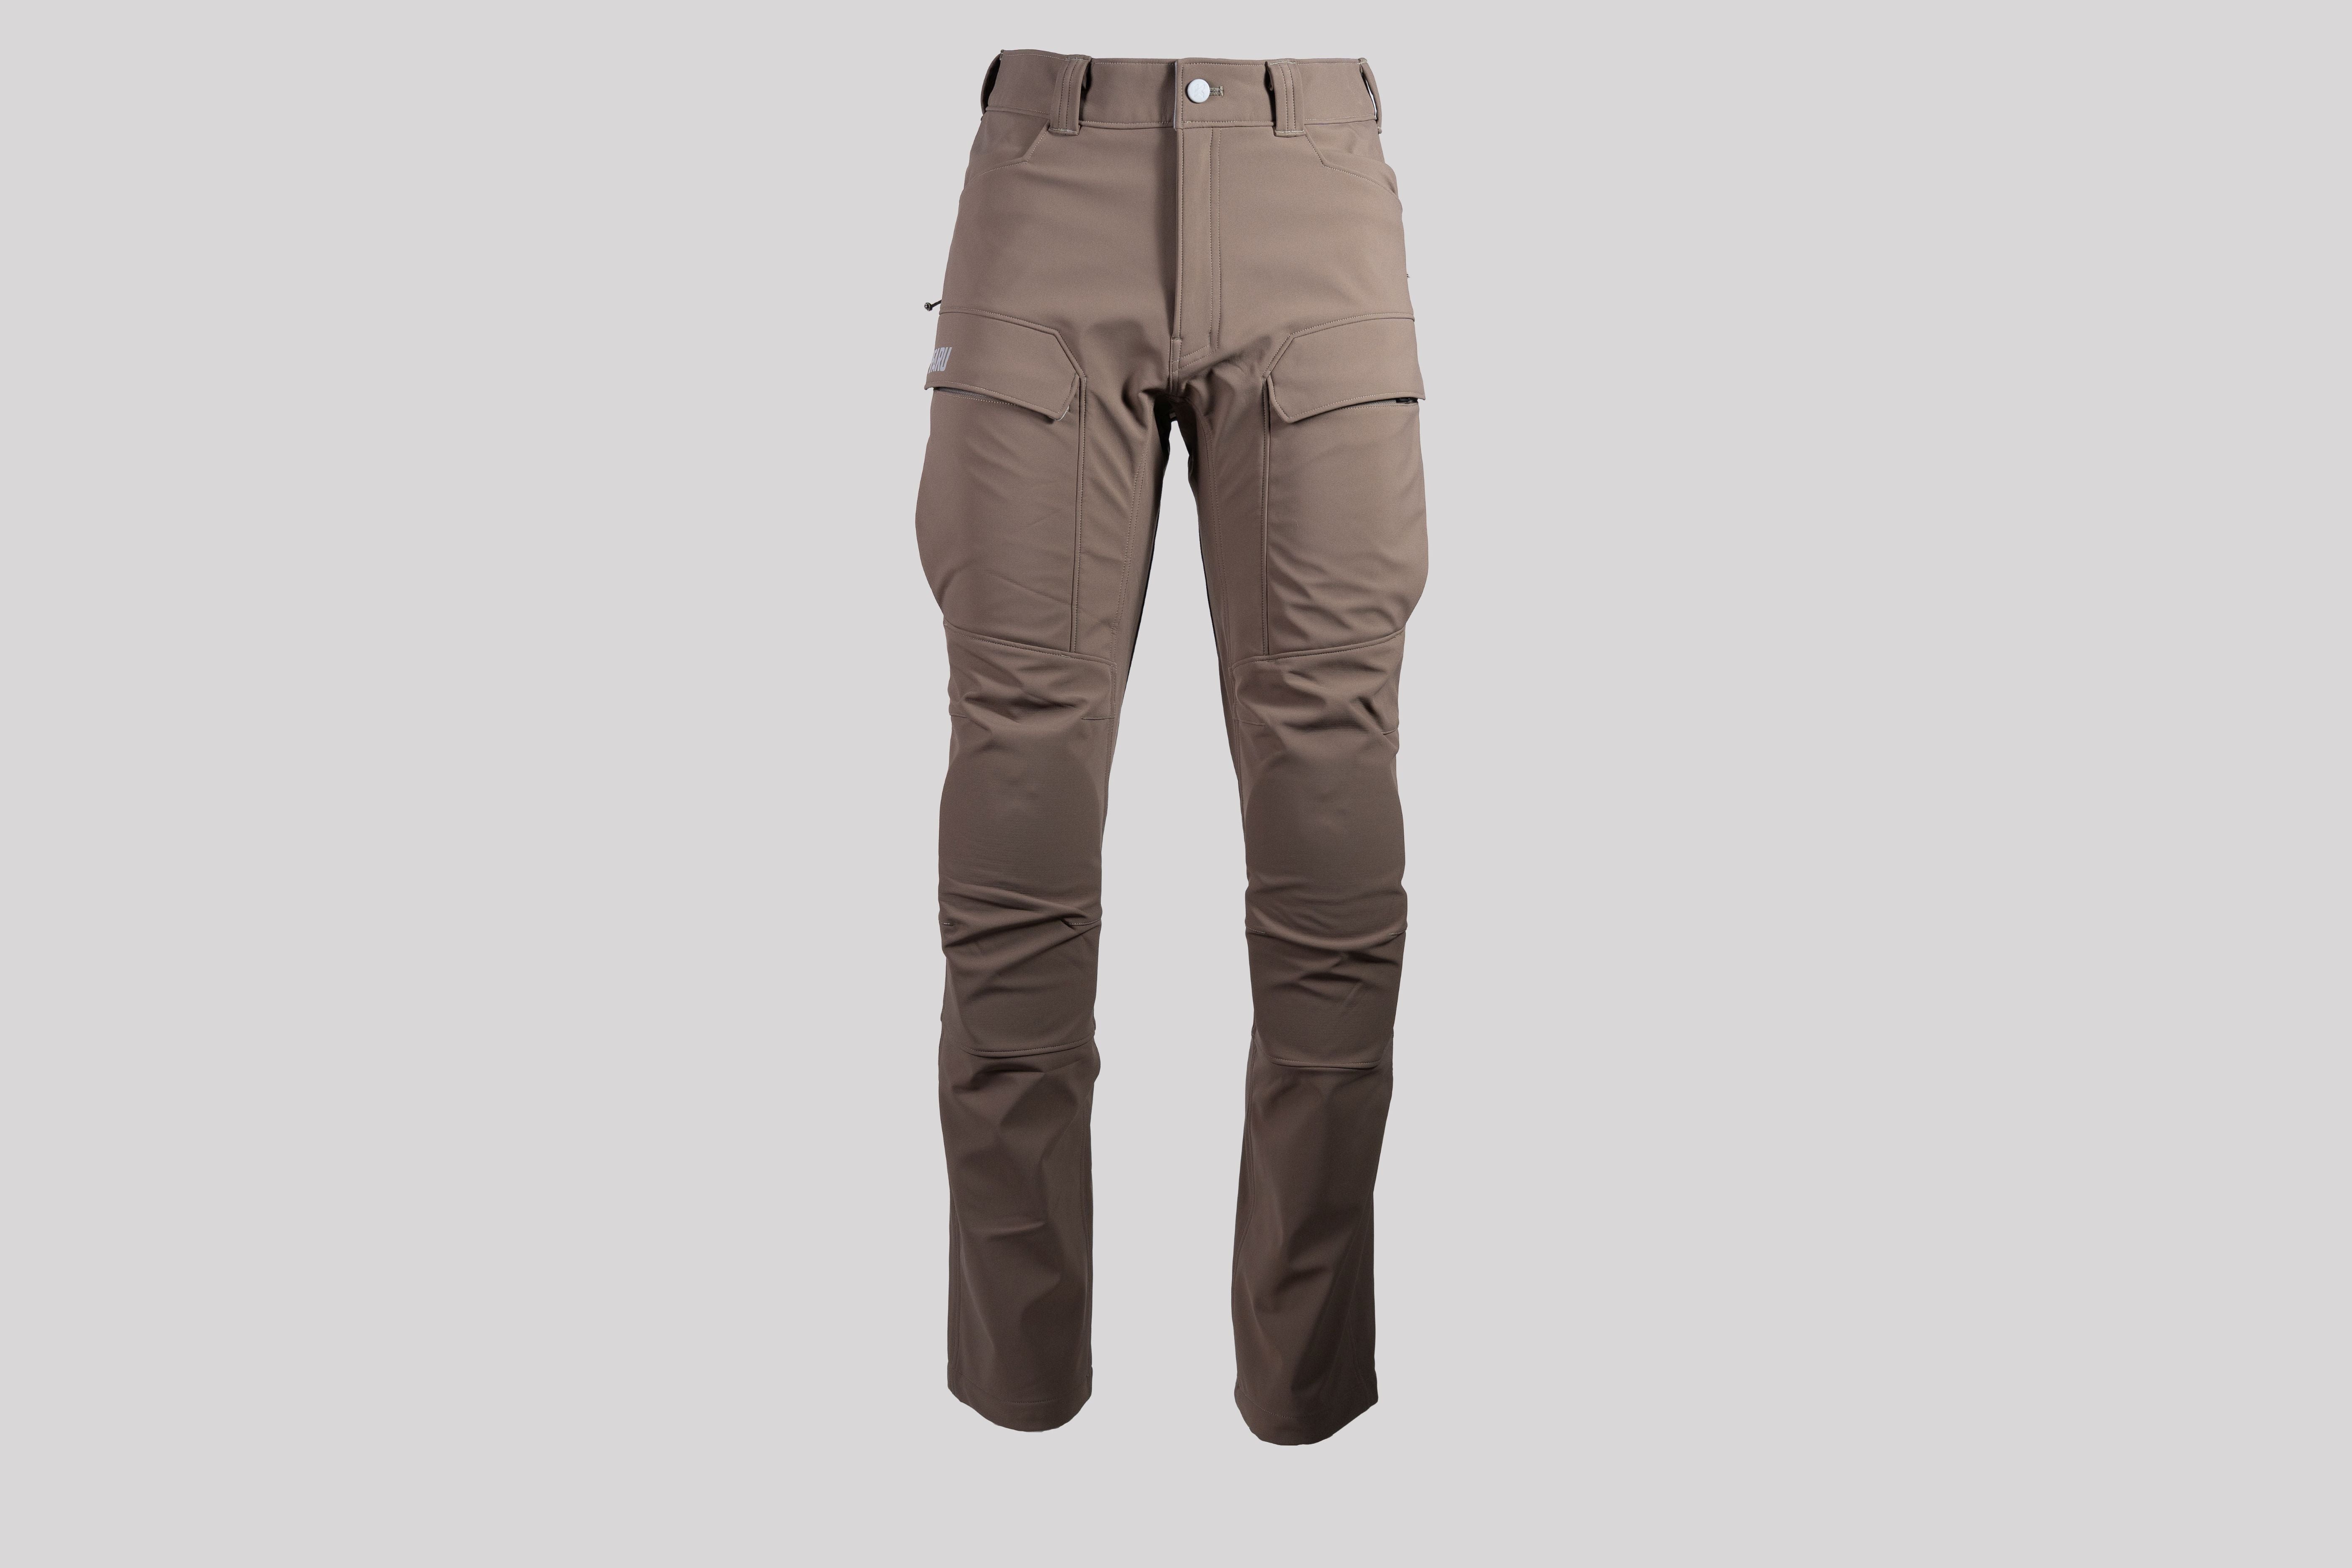
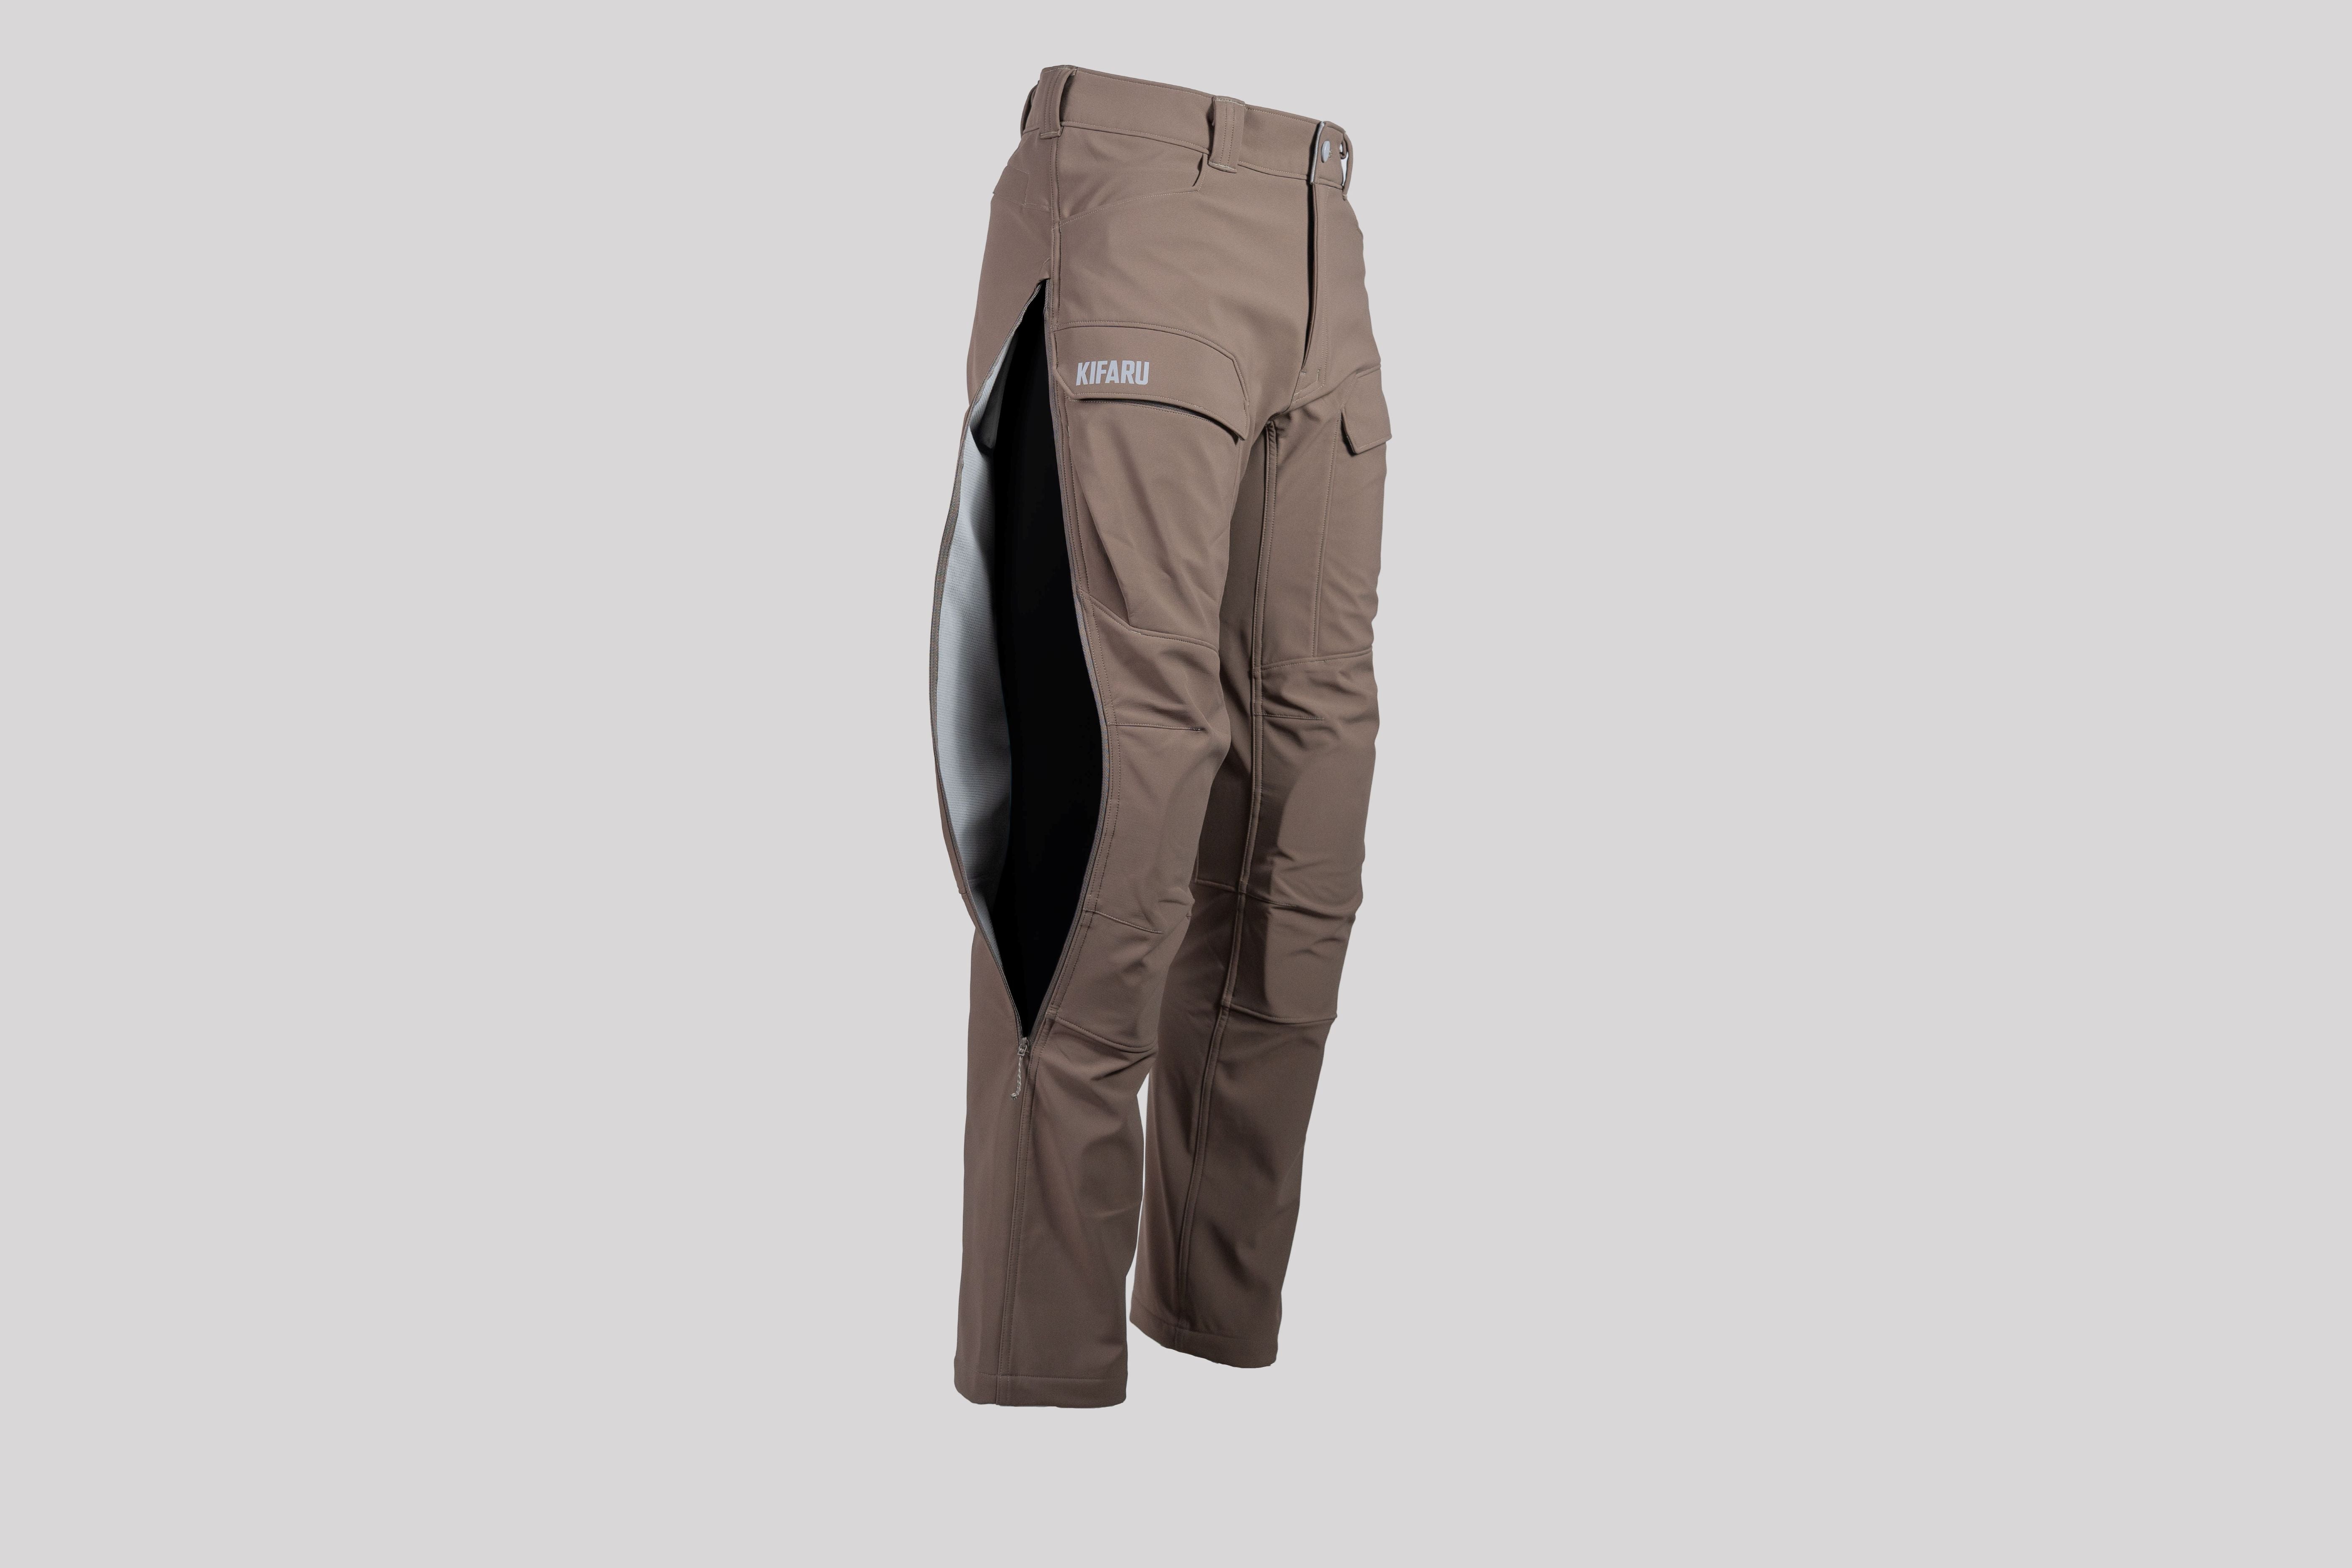
Four Season Mechanical Stretch
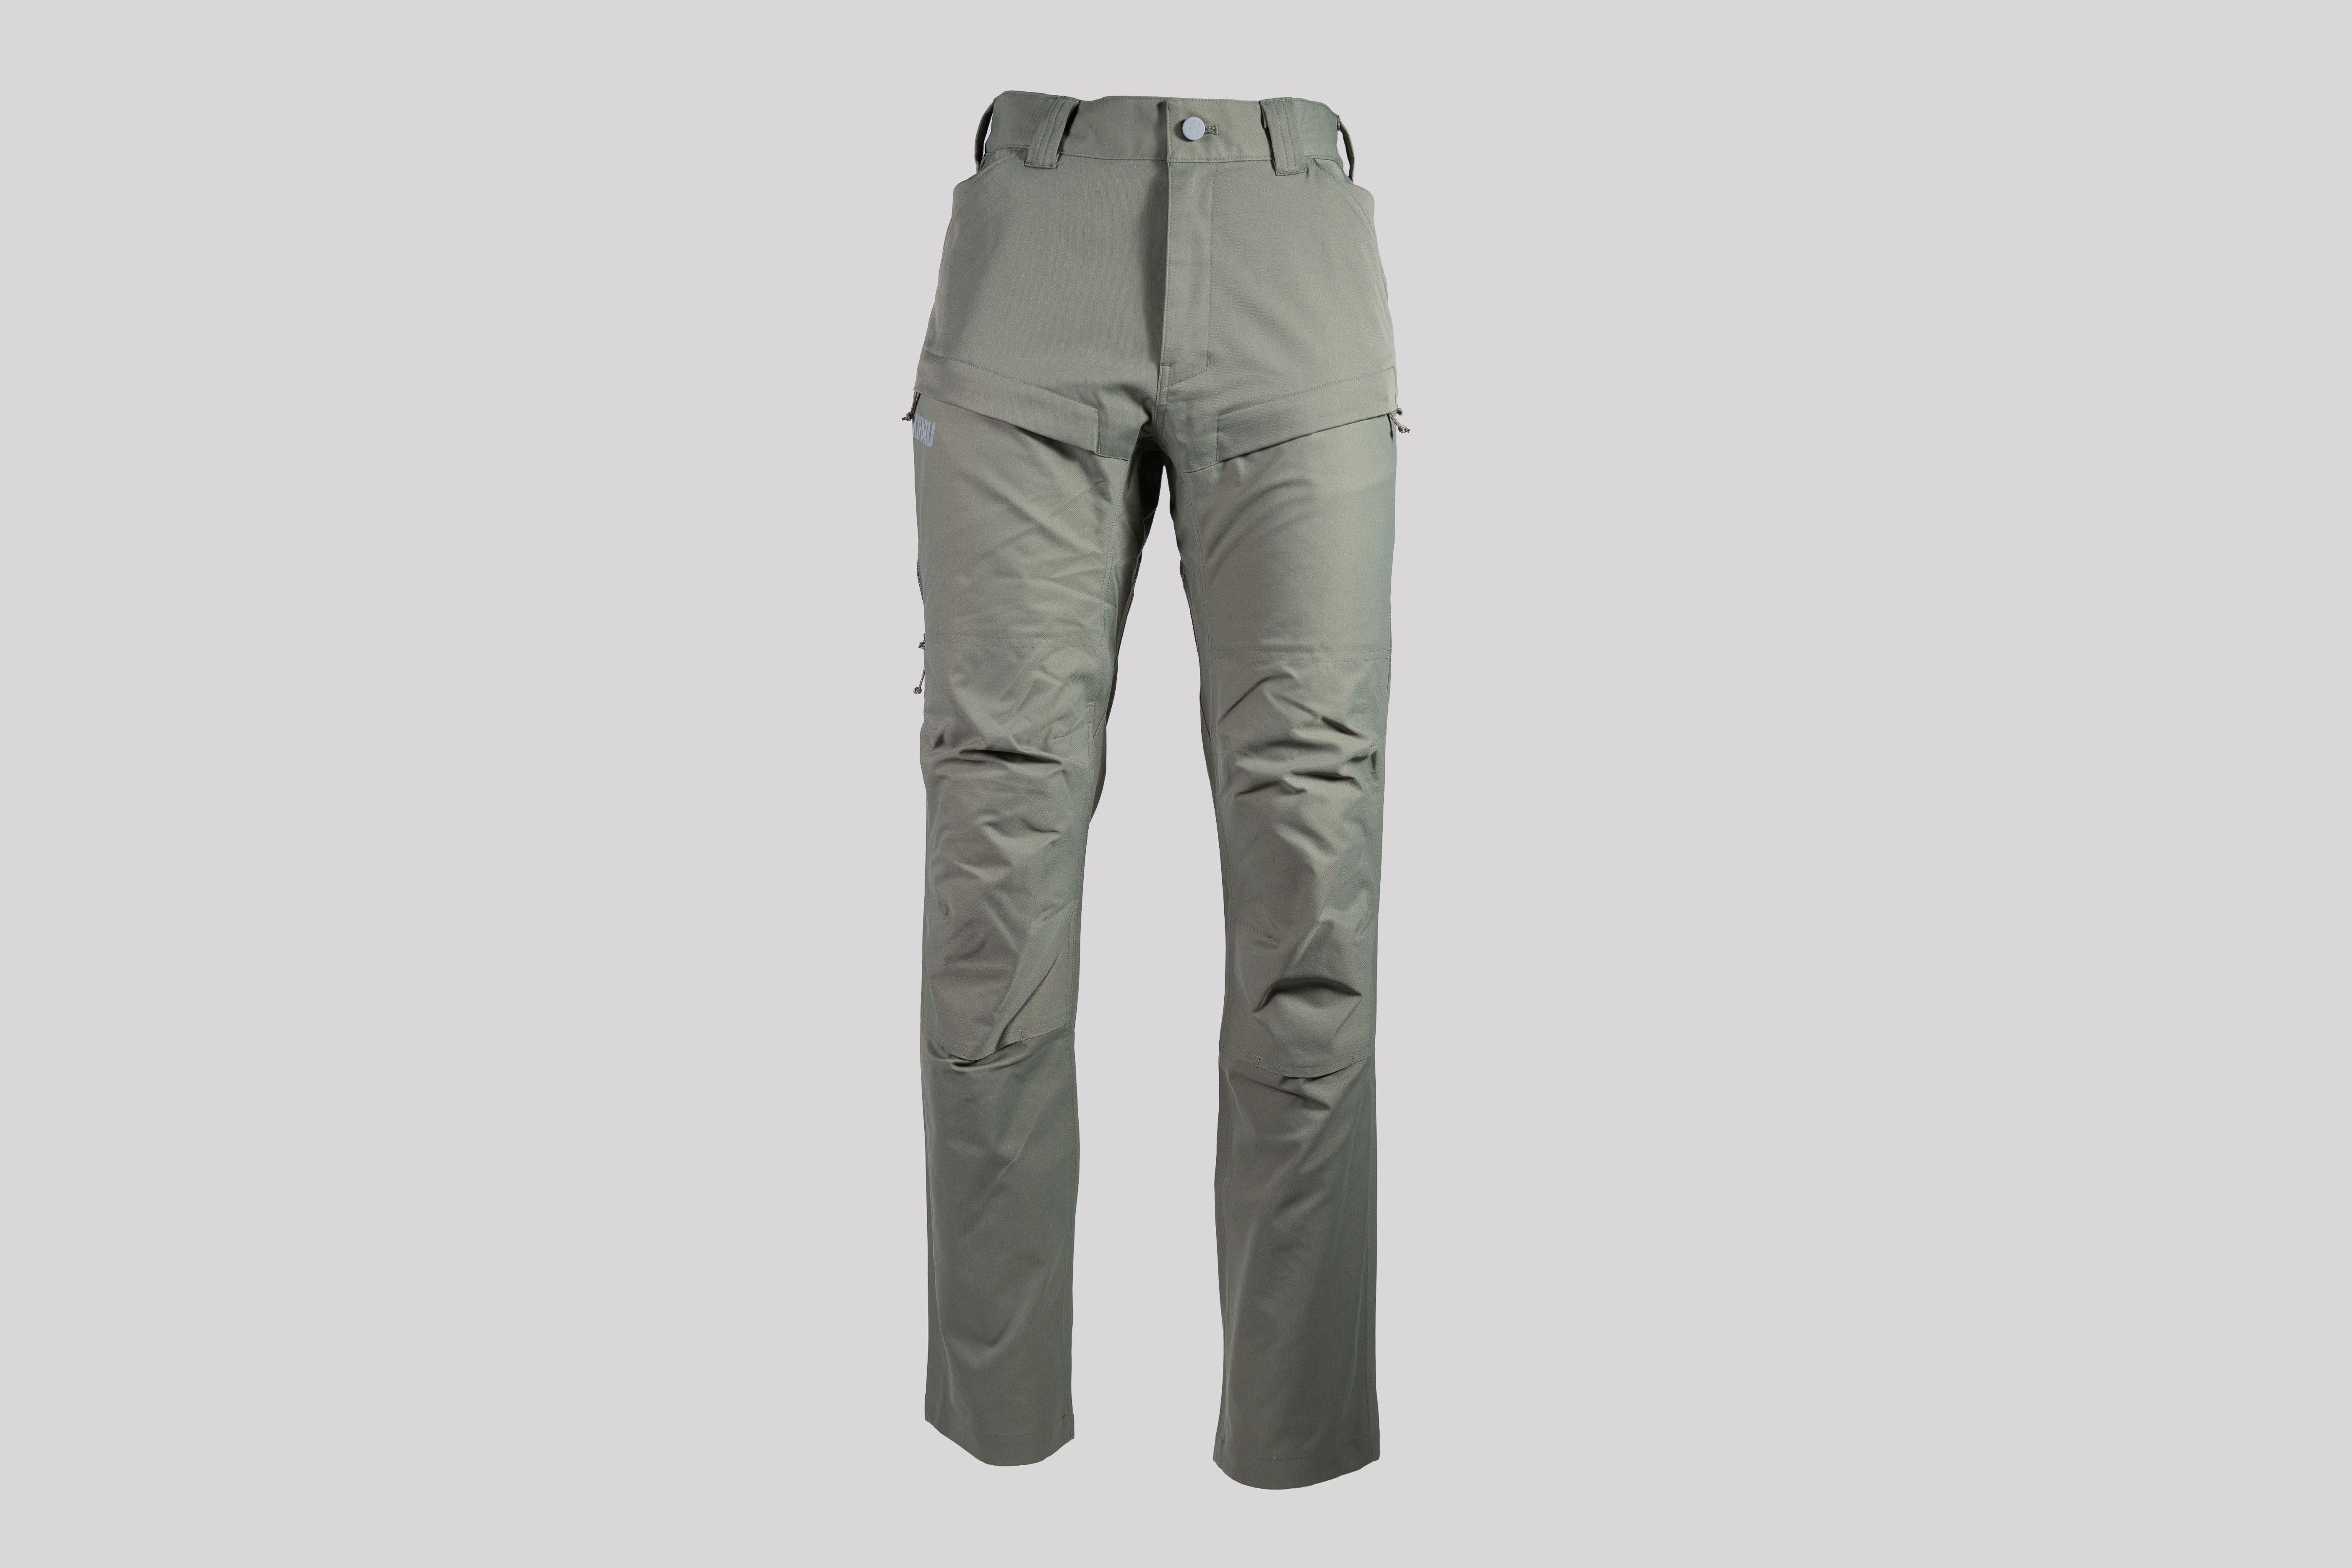
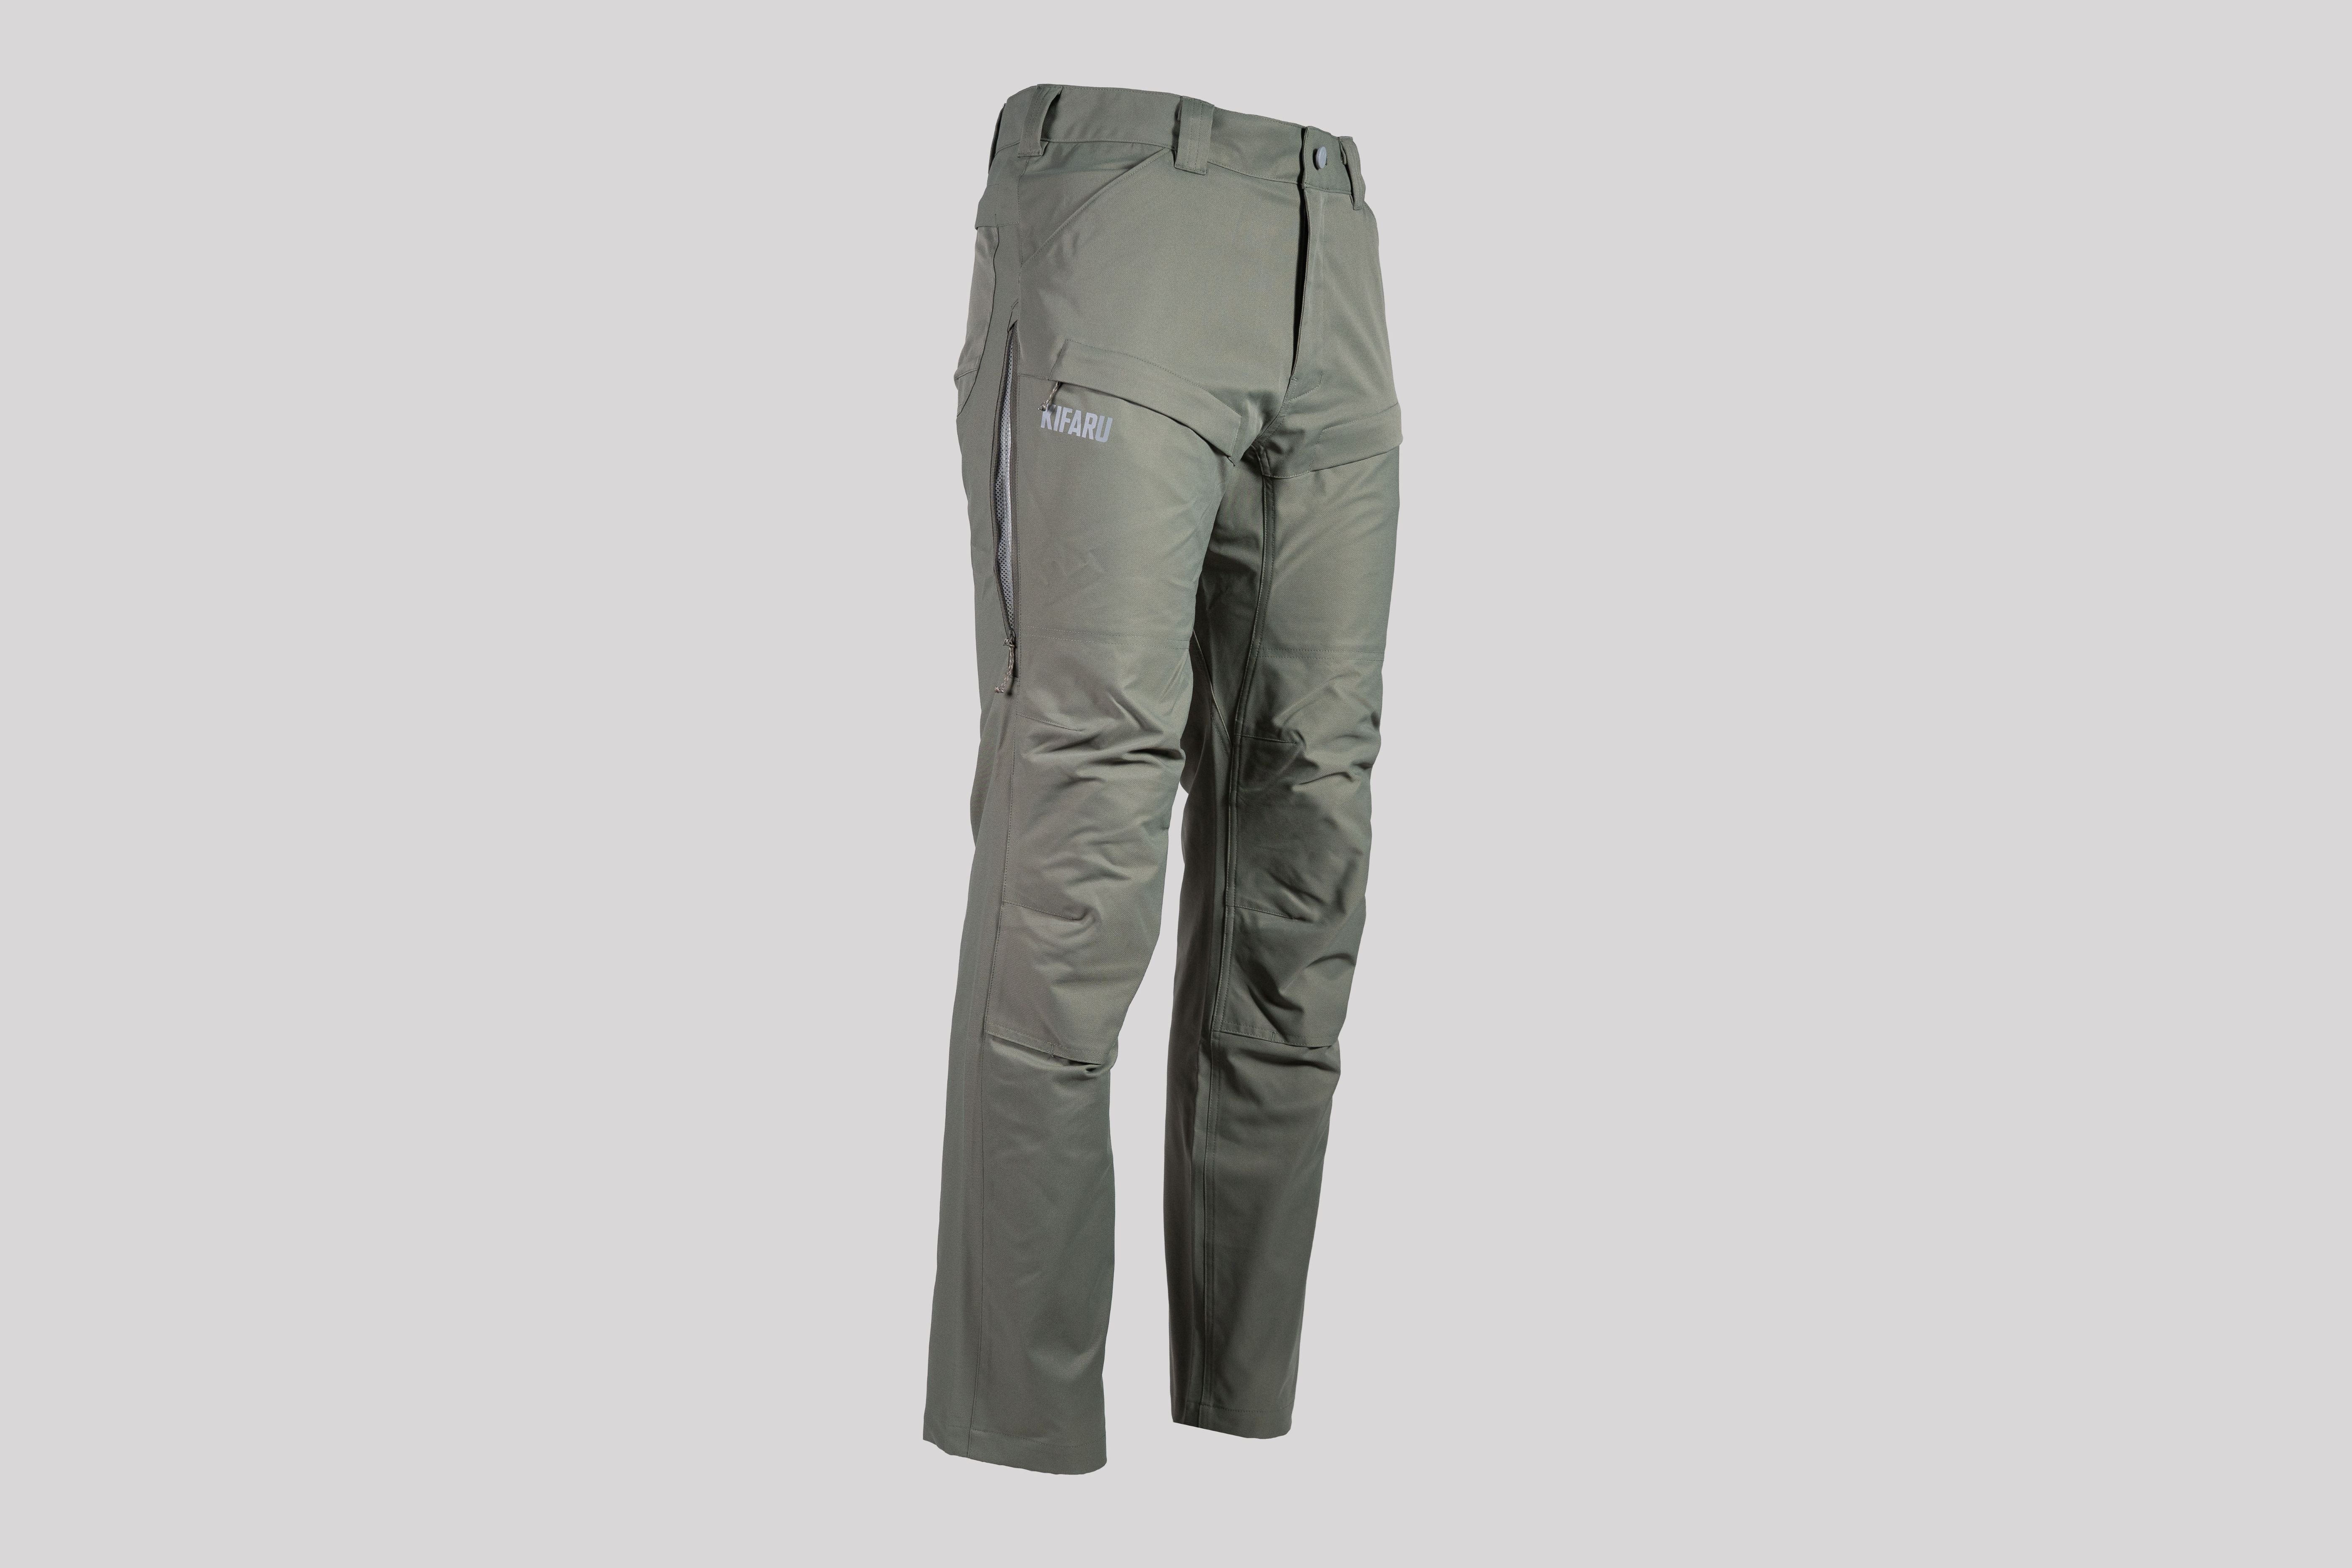
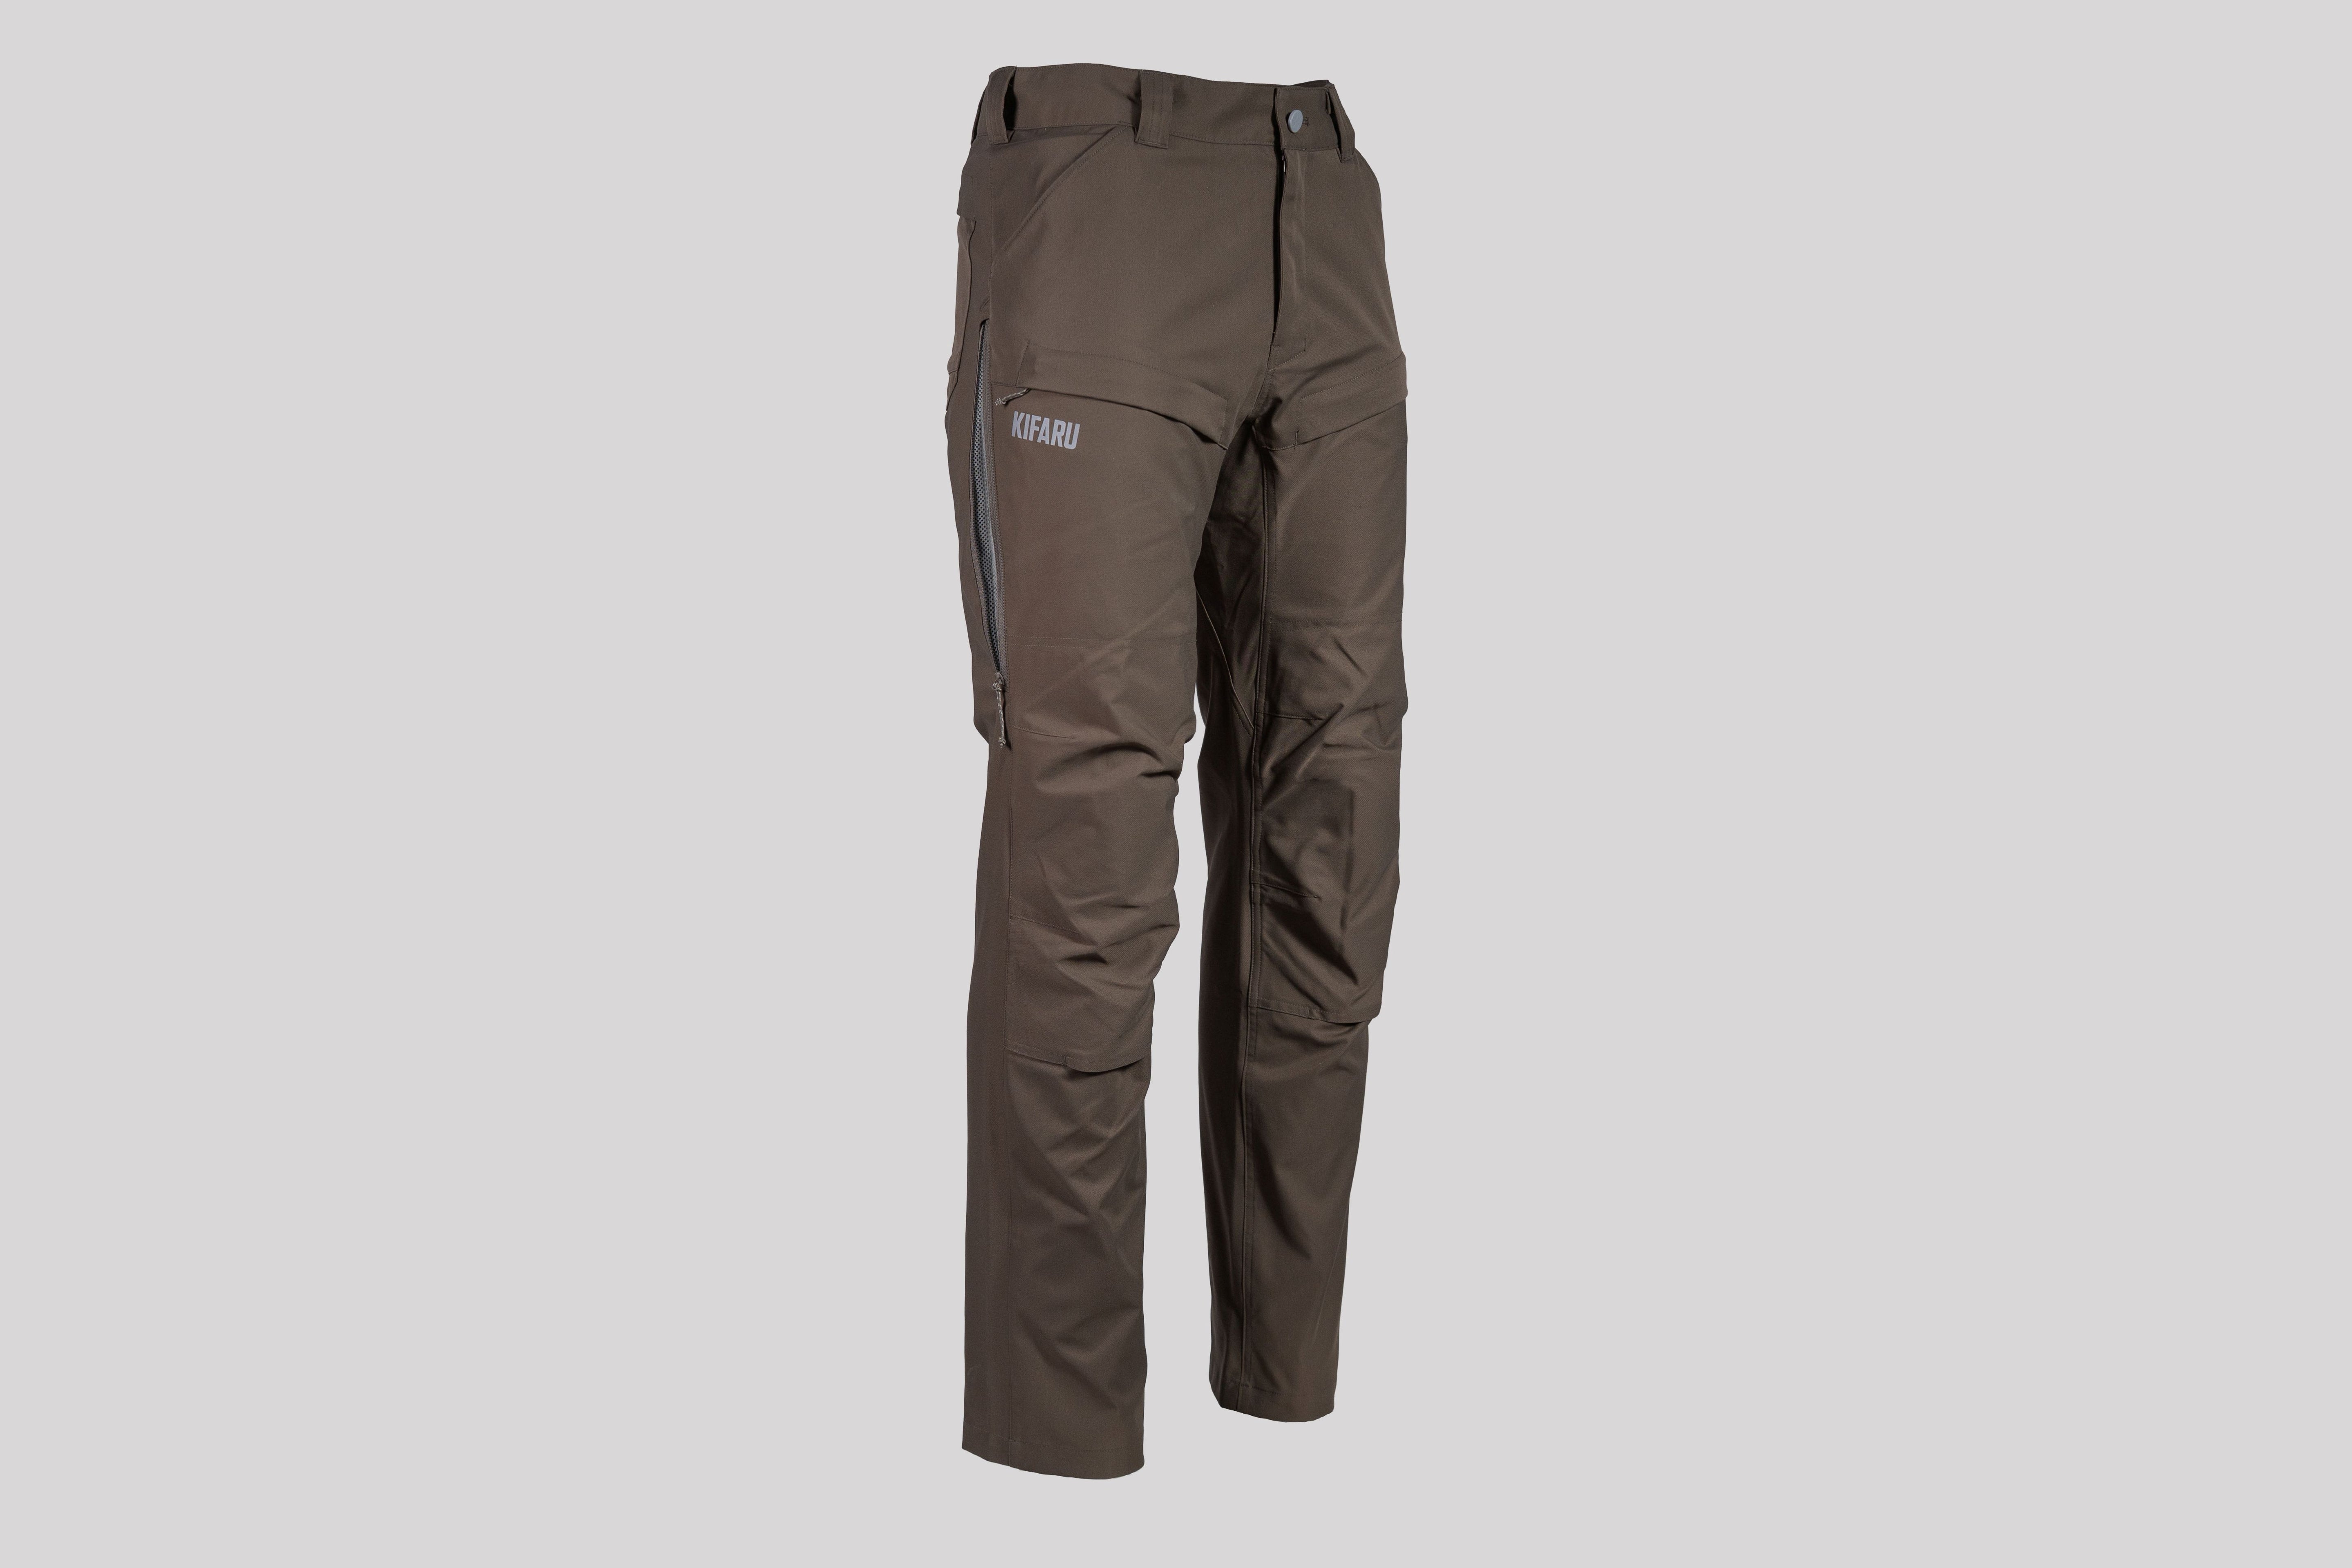
$170.00
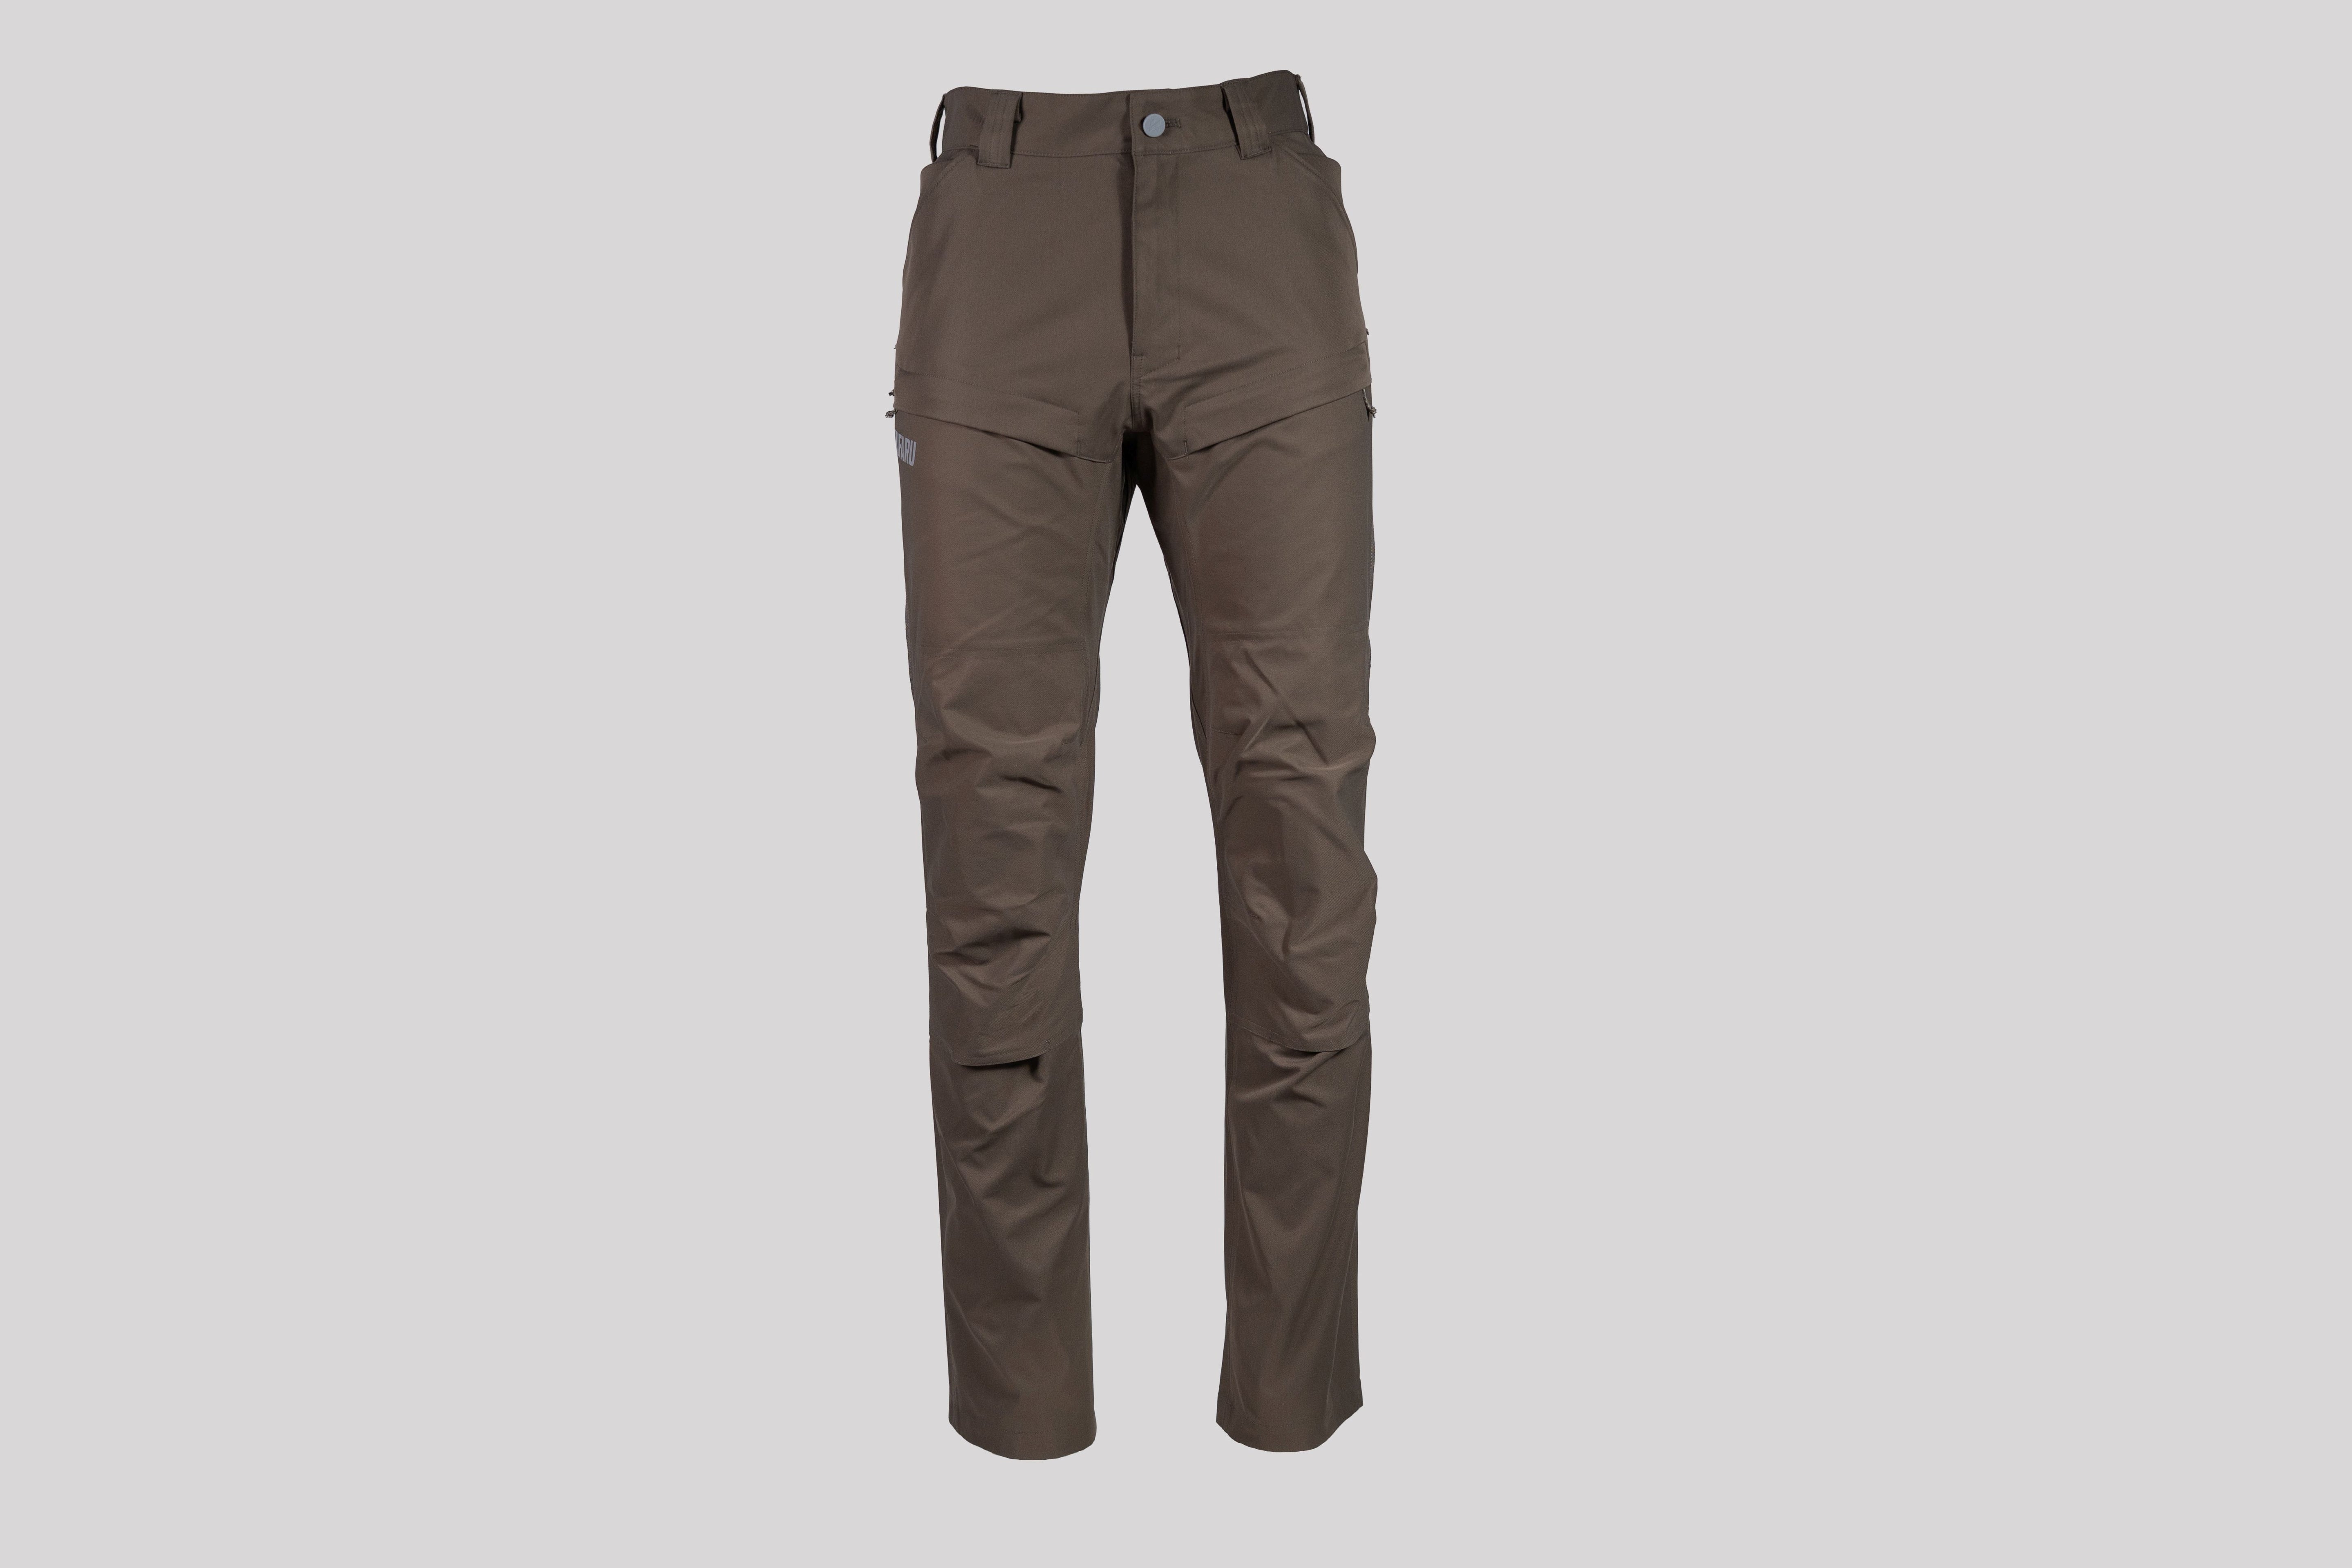
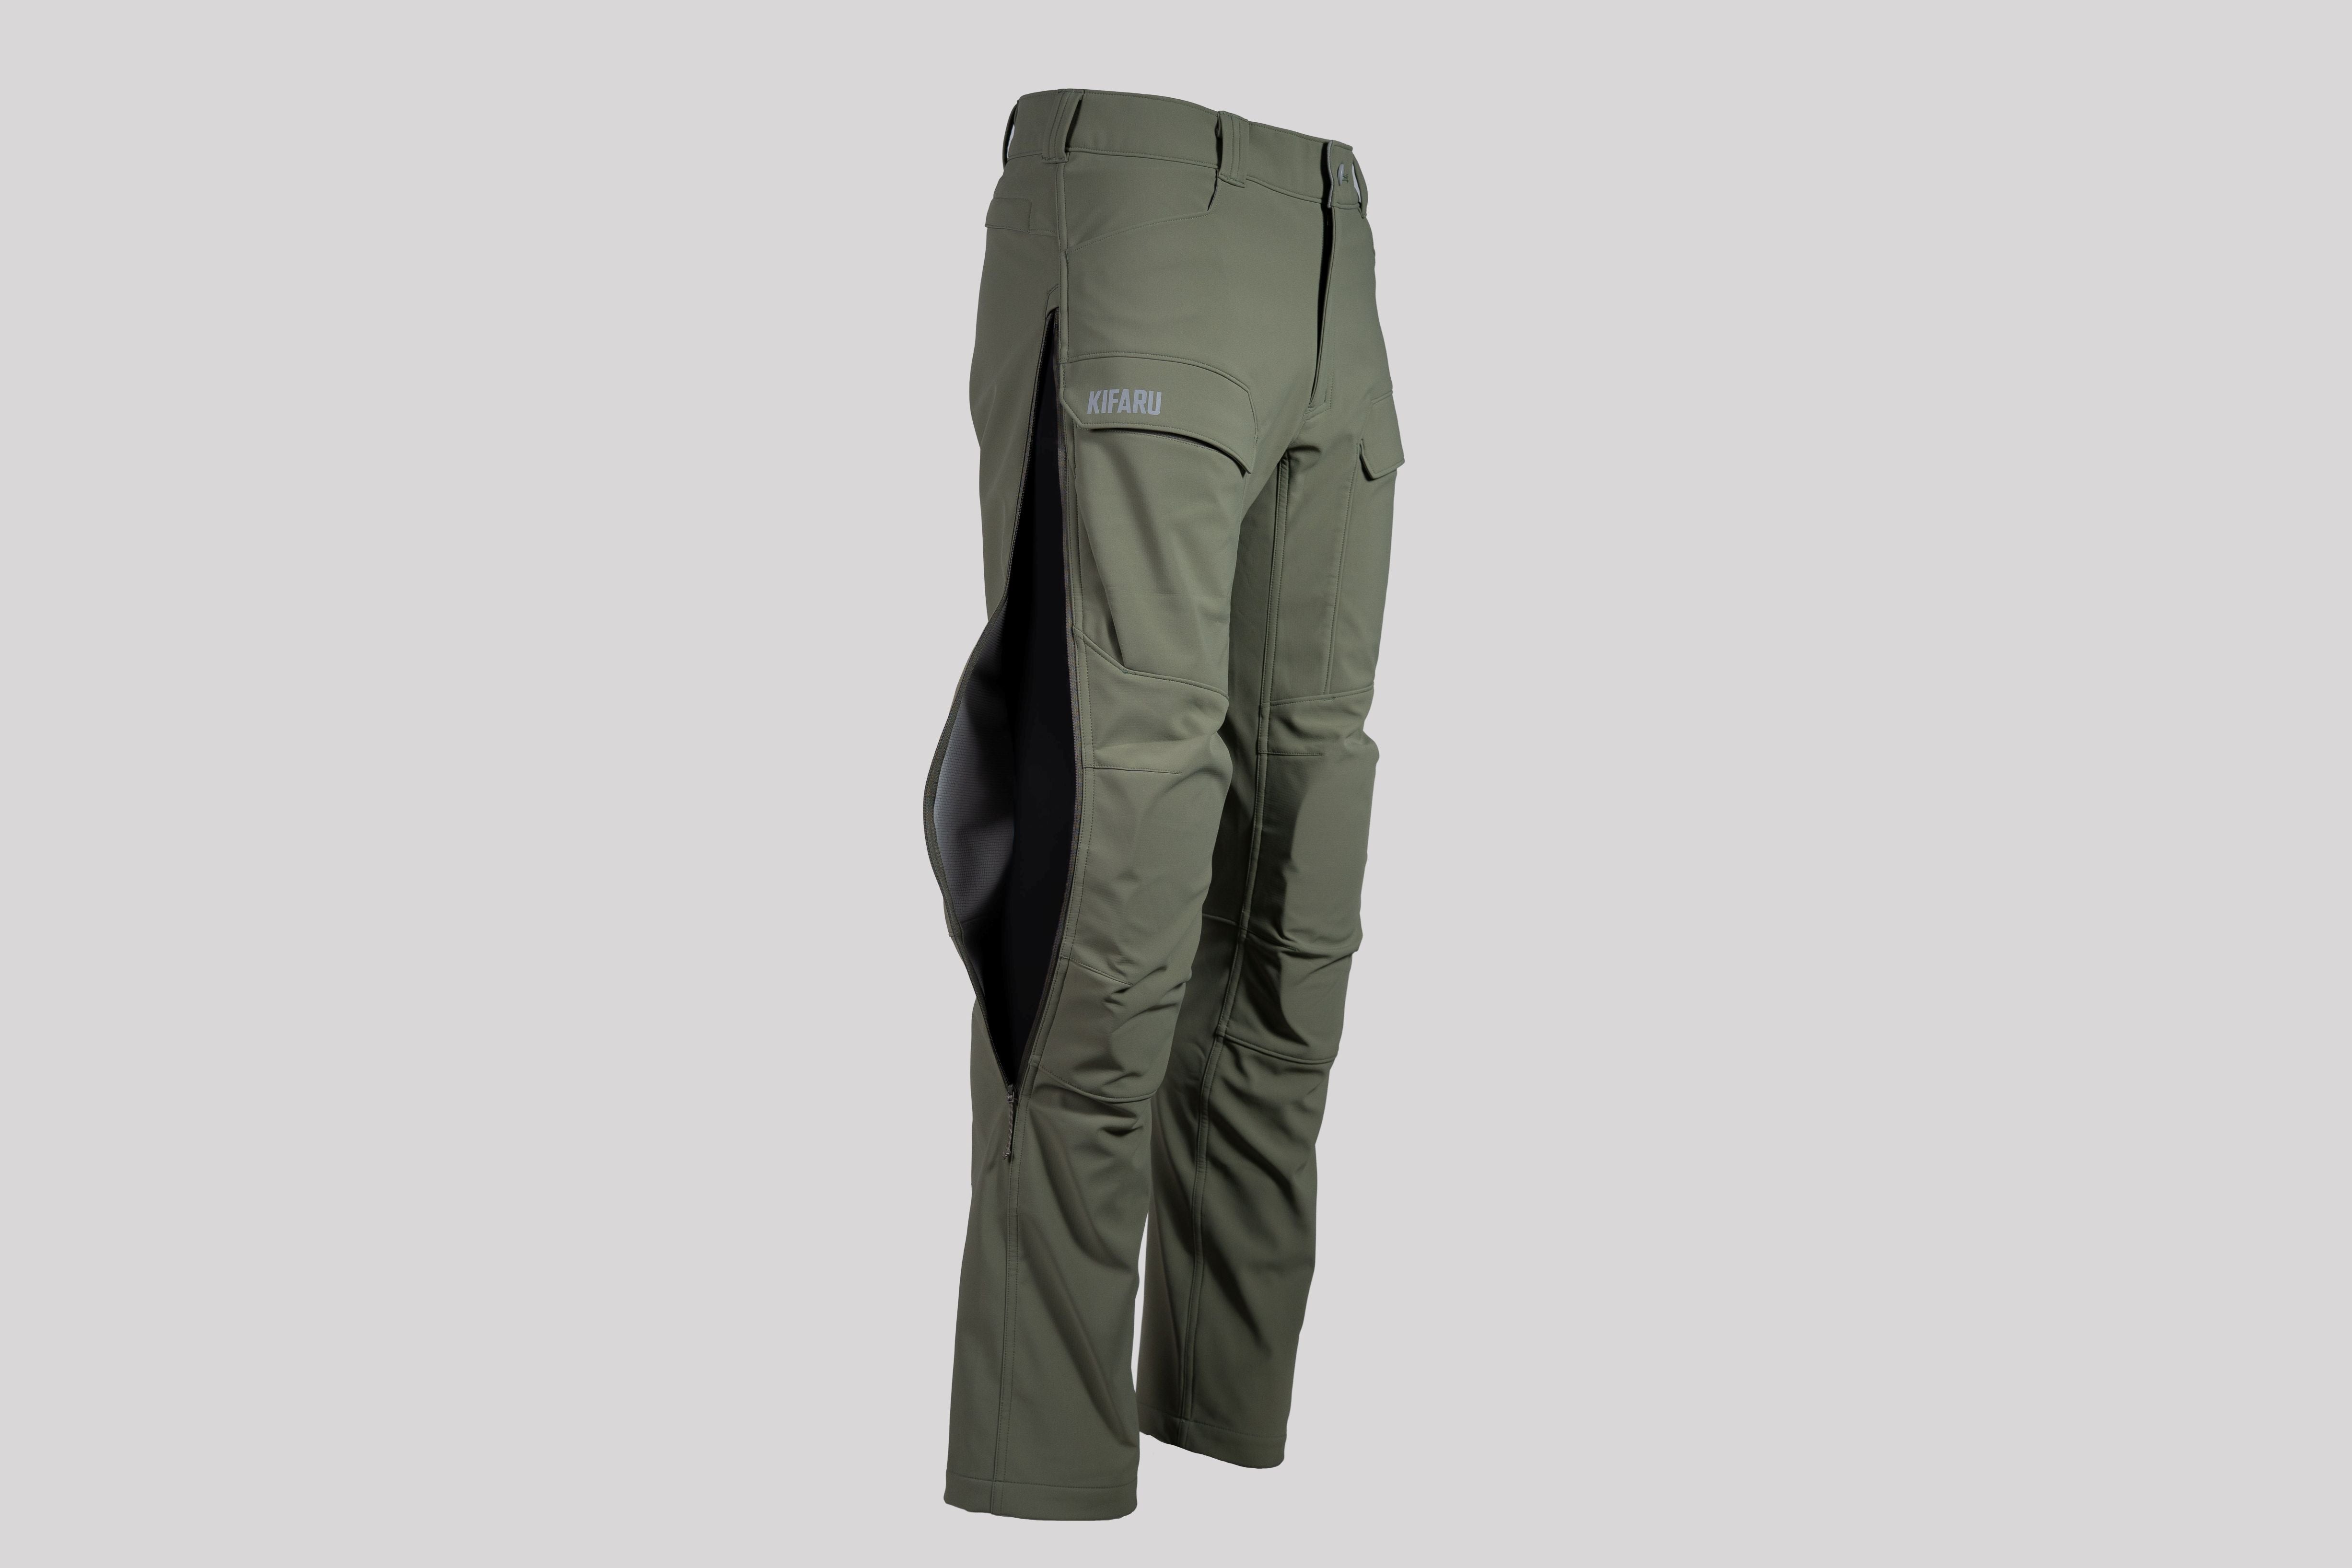
Weather Resistant 3L Softshell
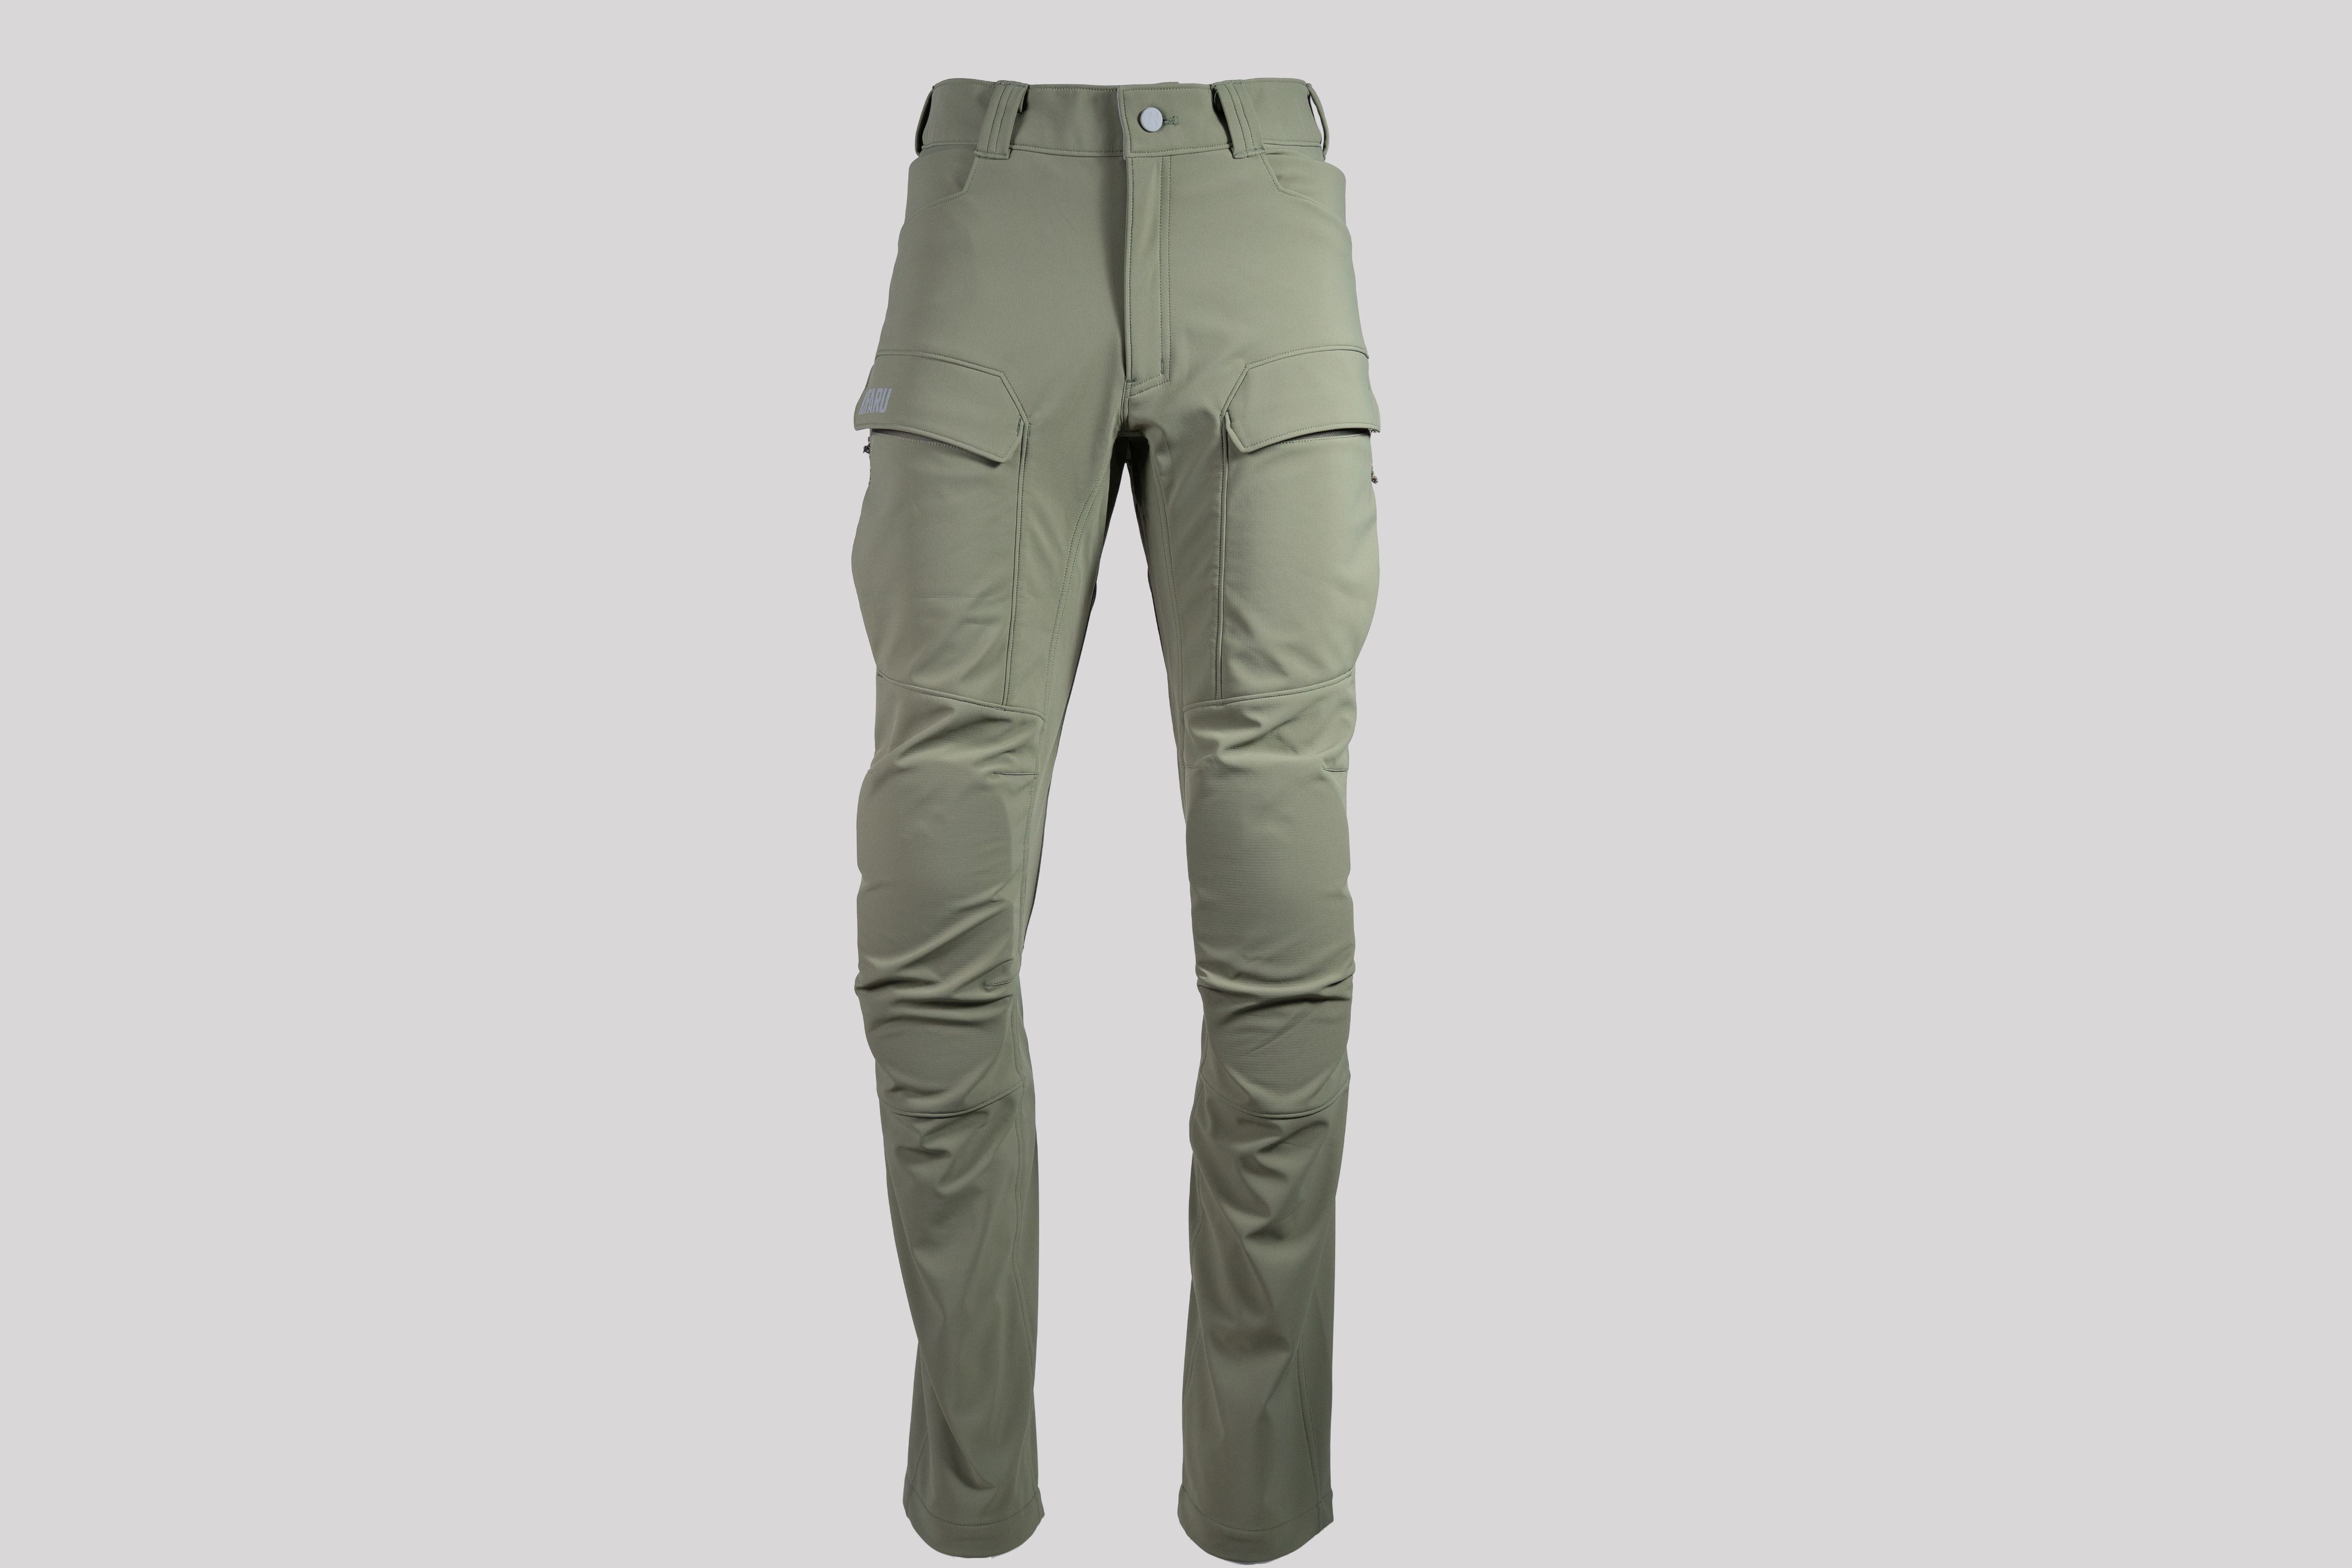
$300.00
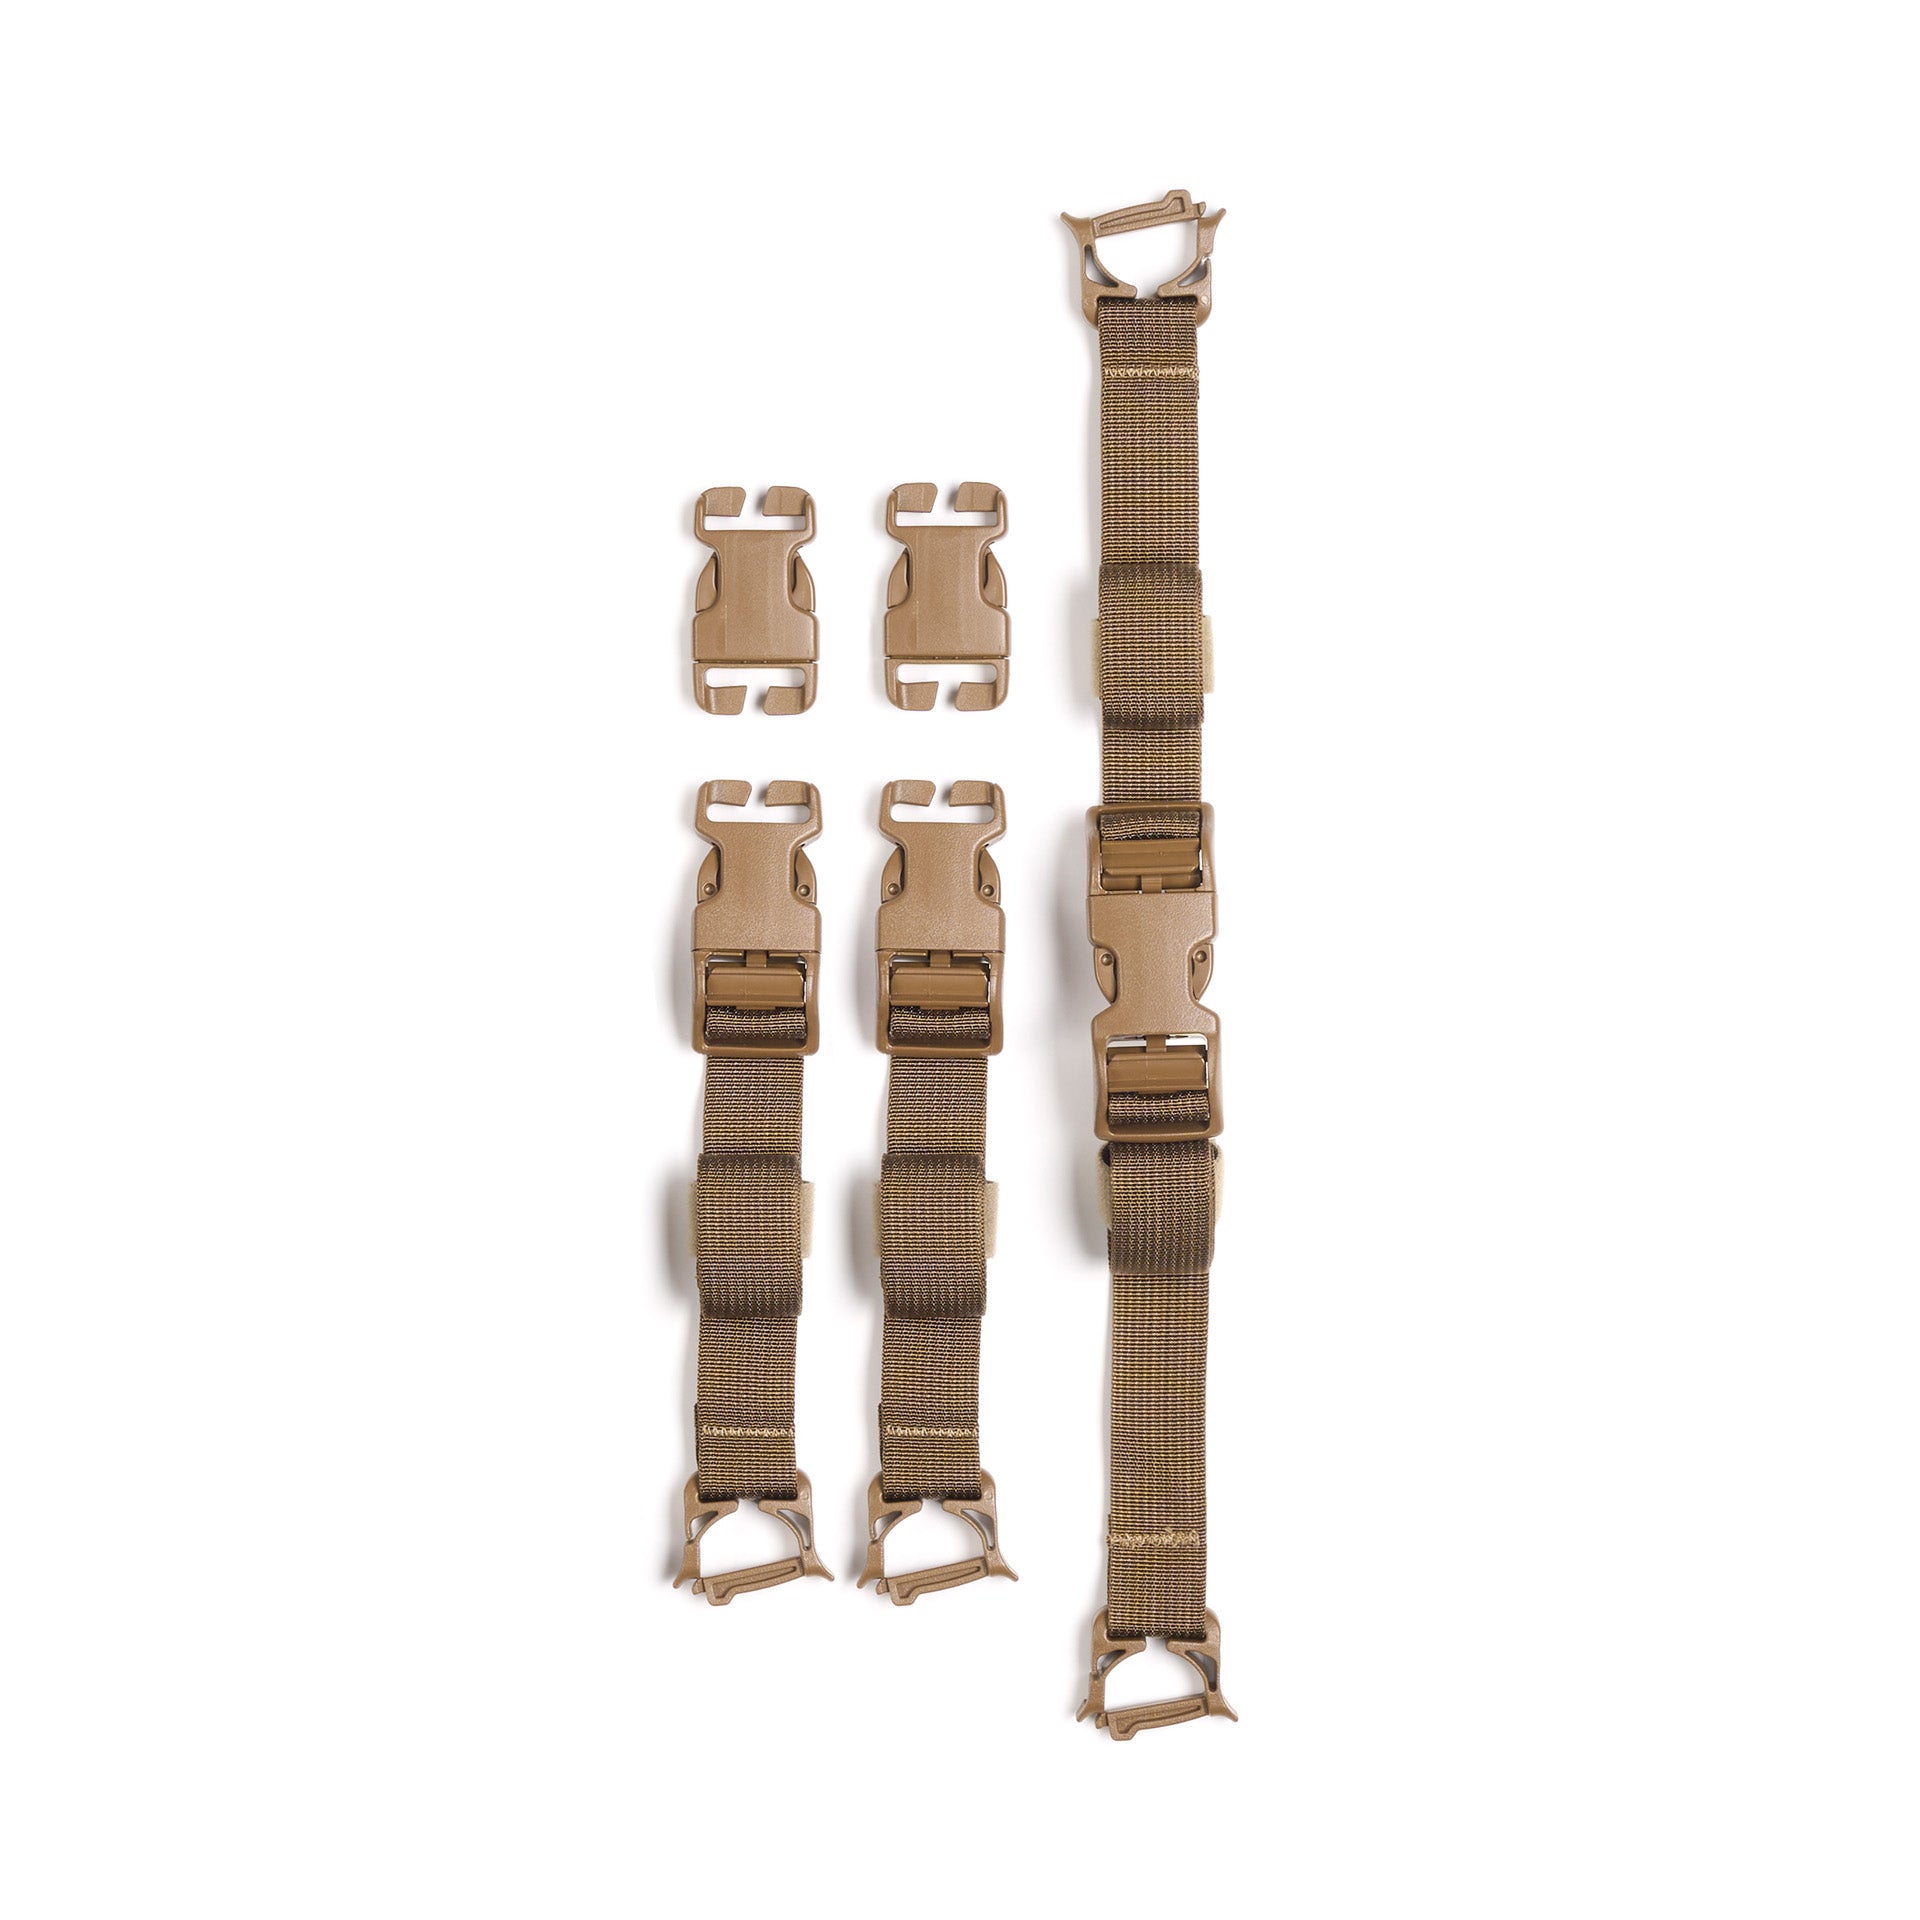
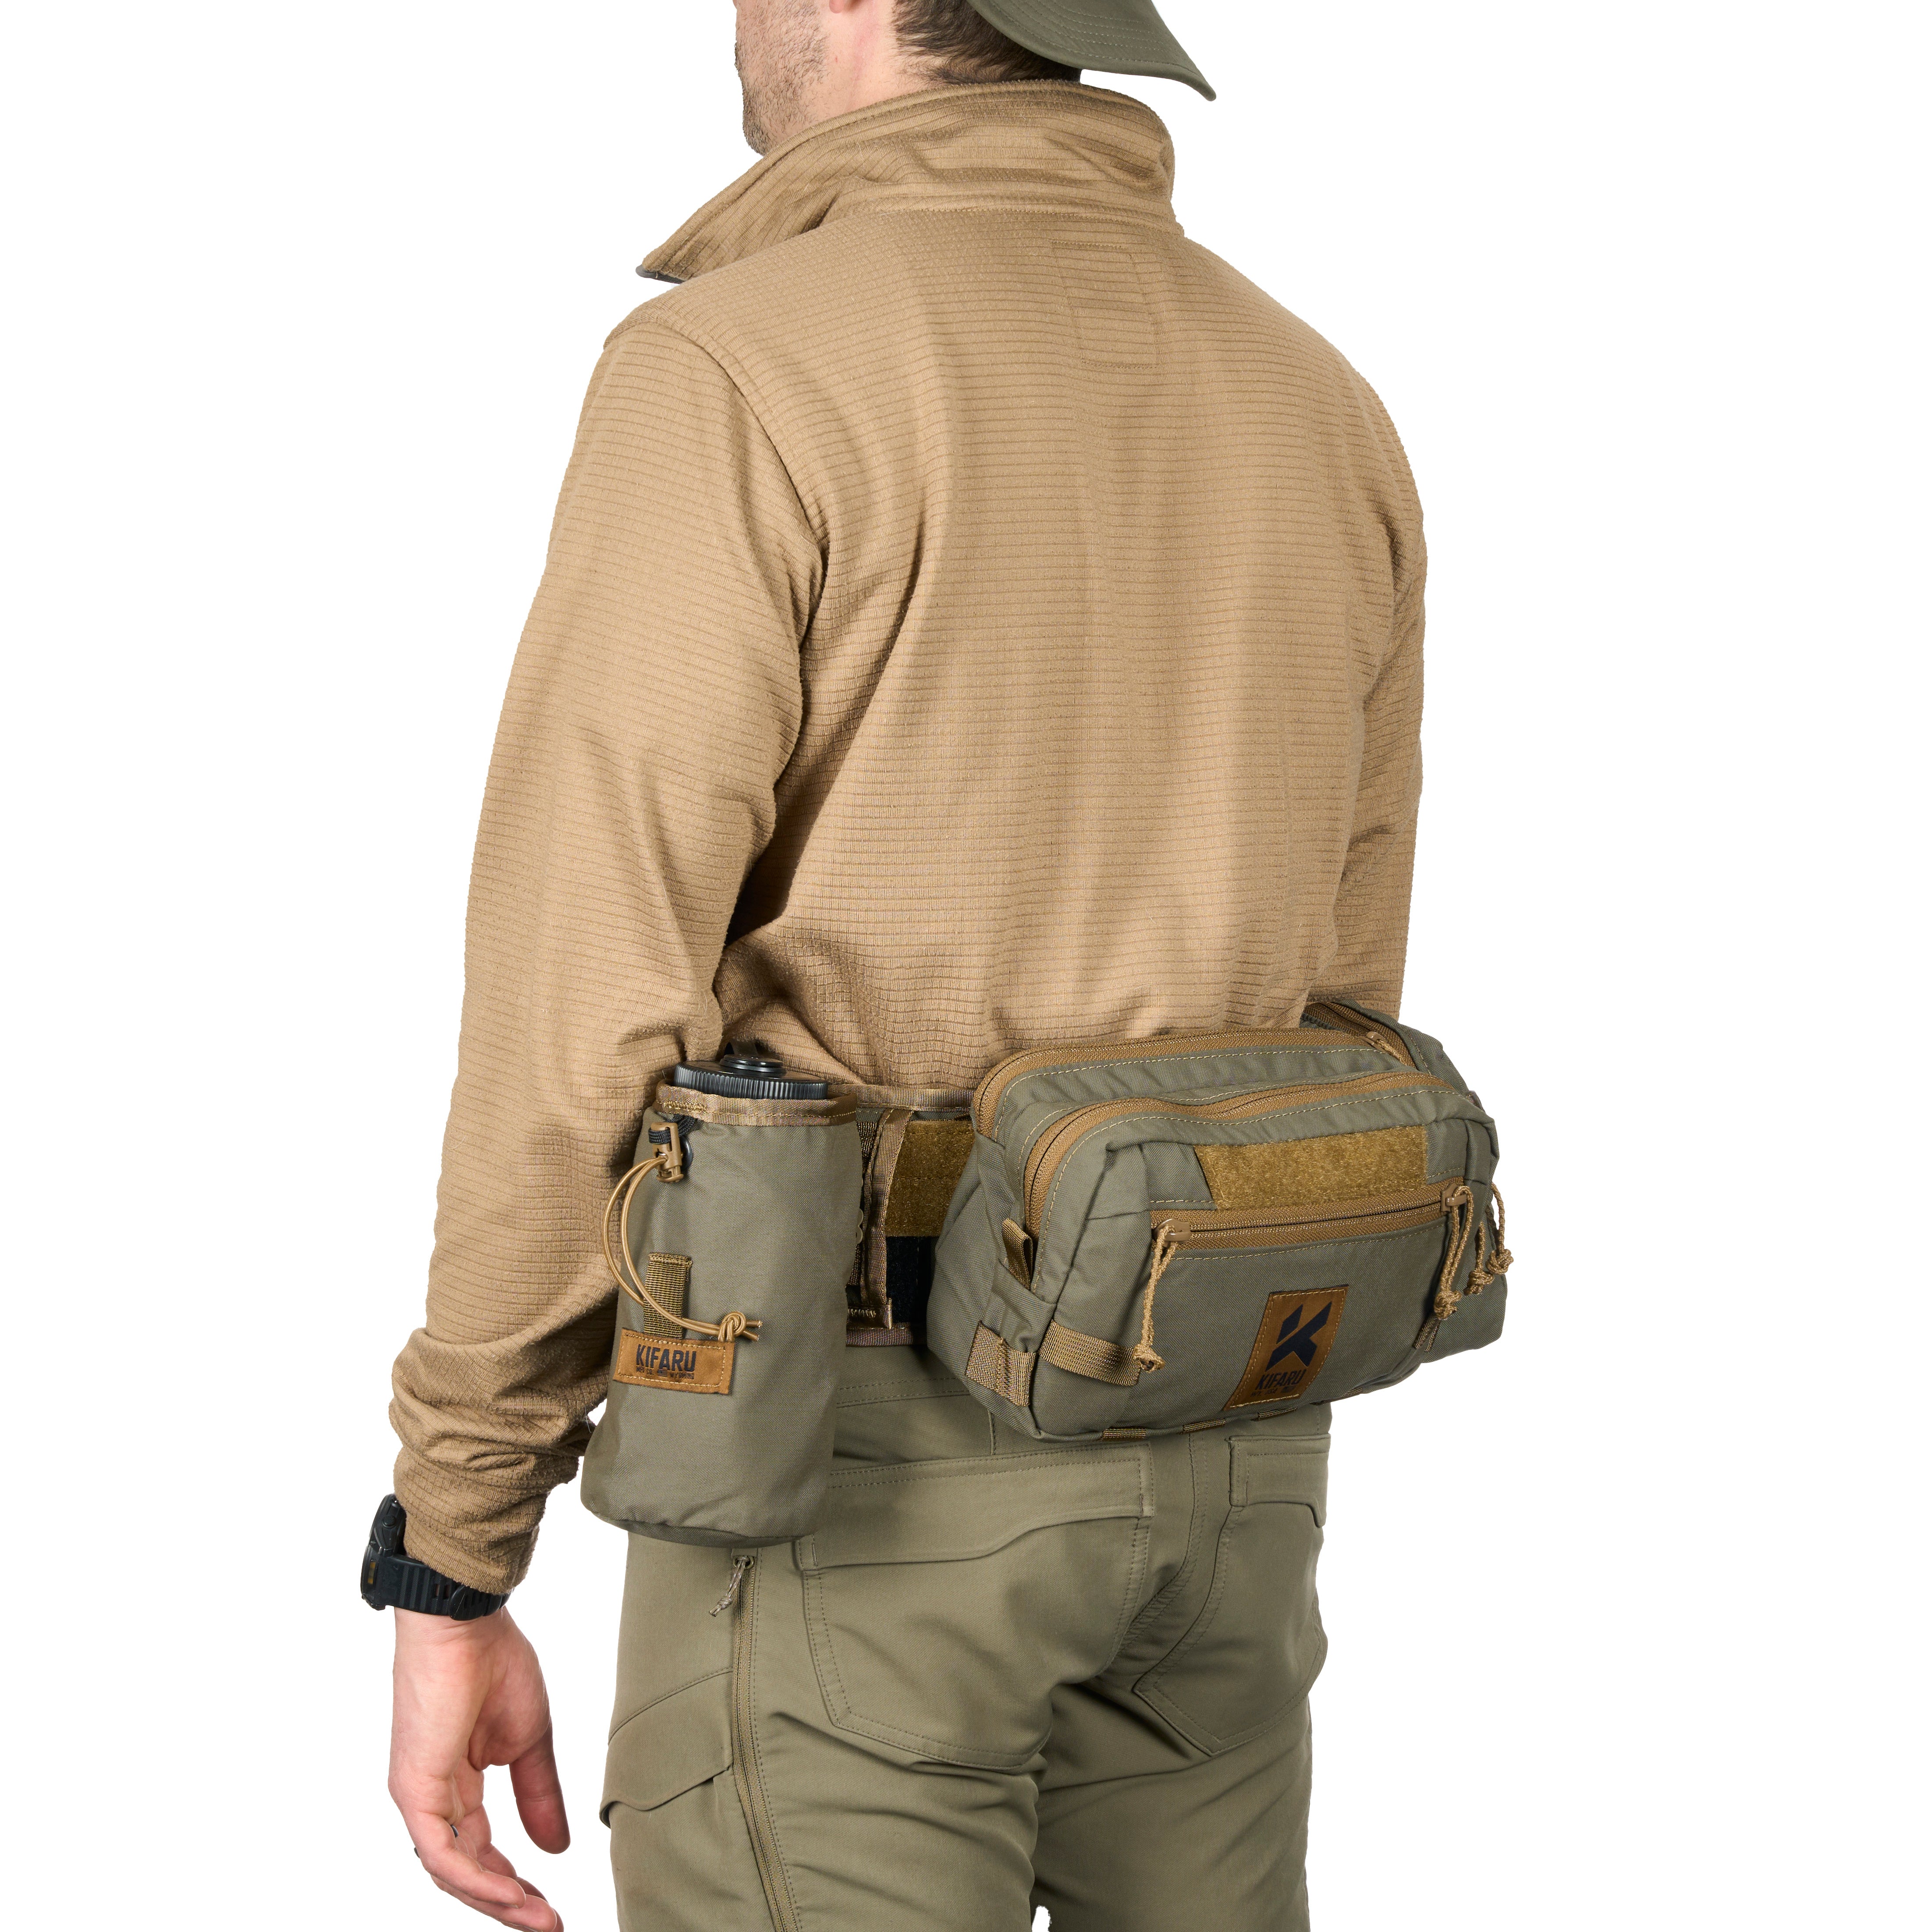
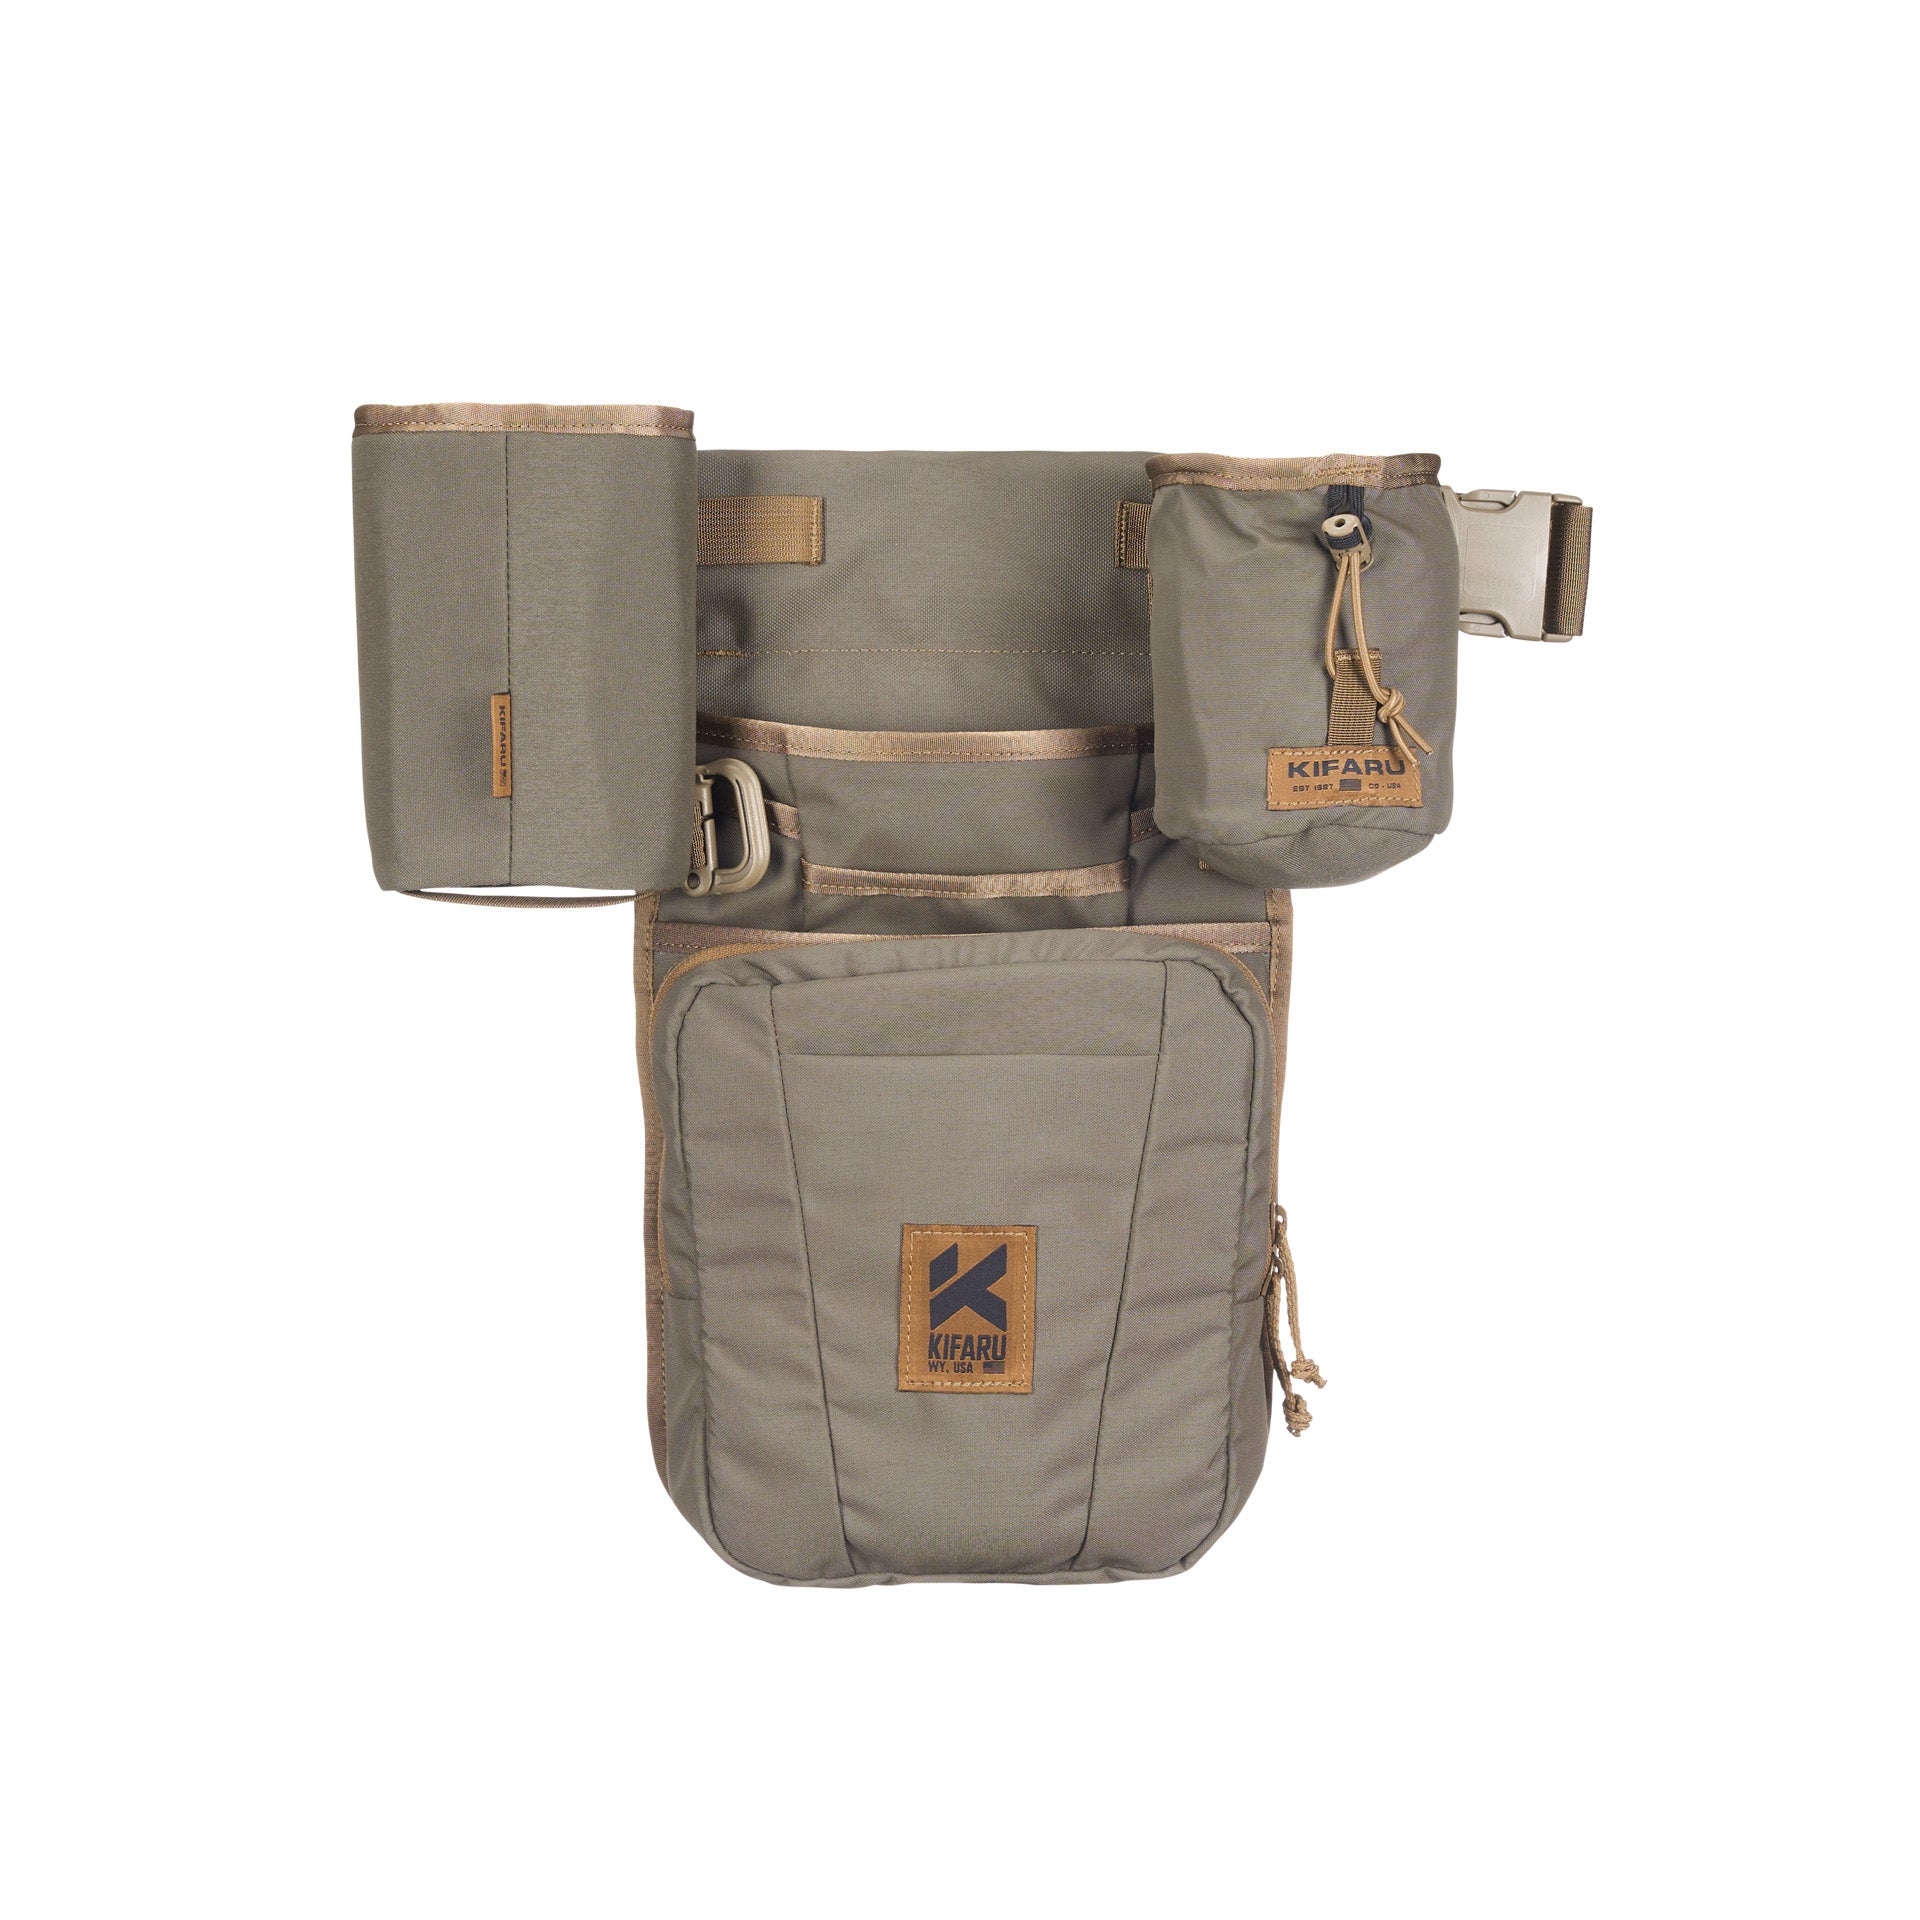
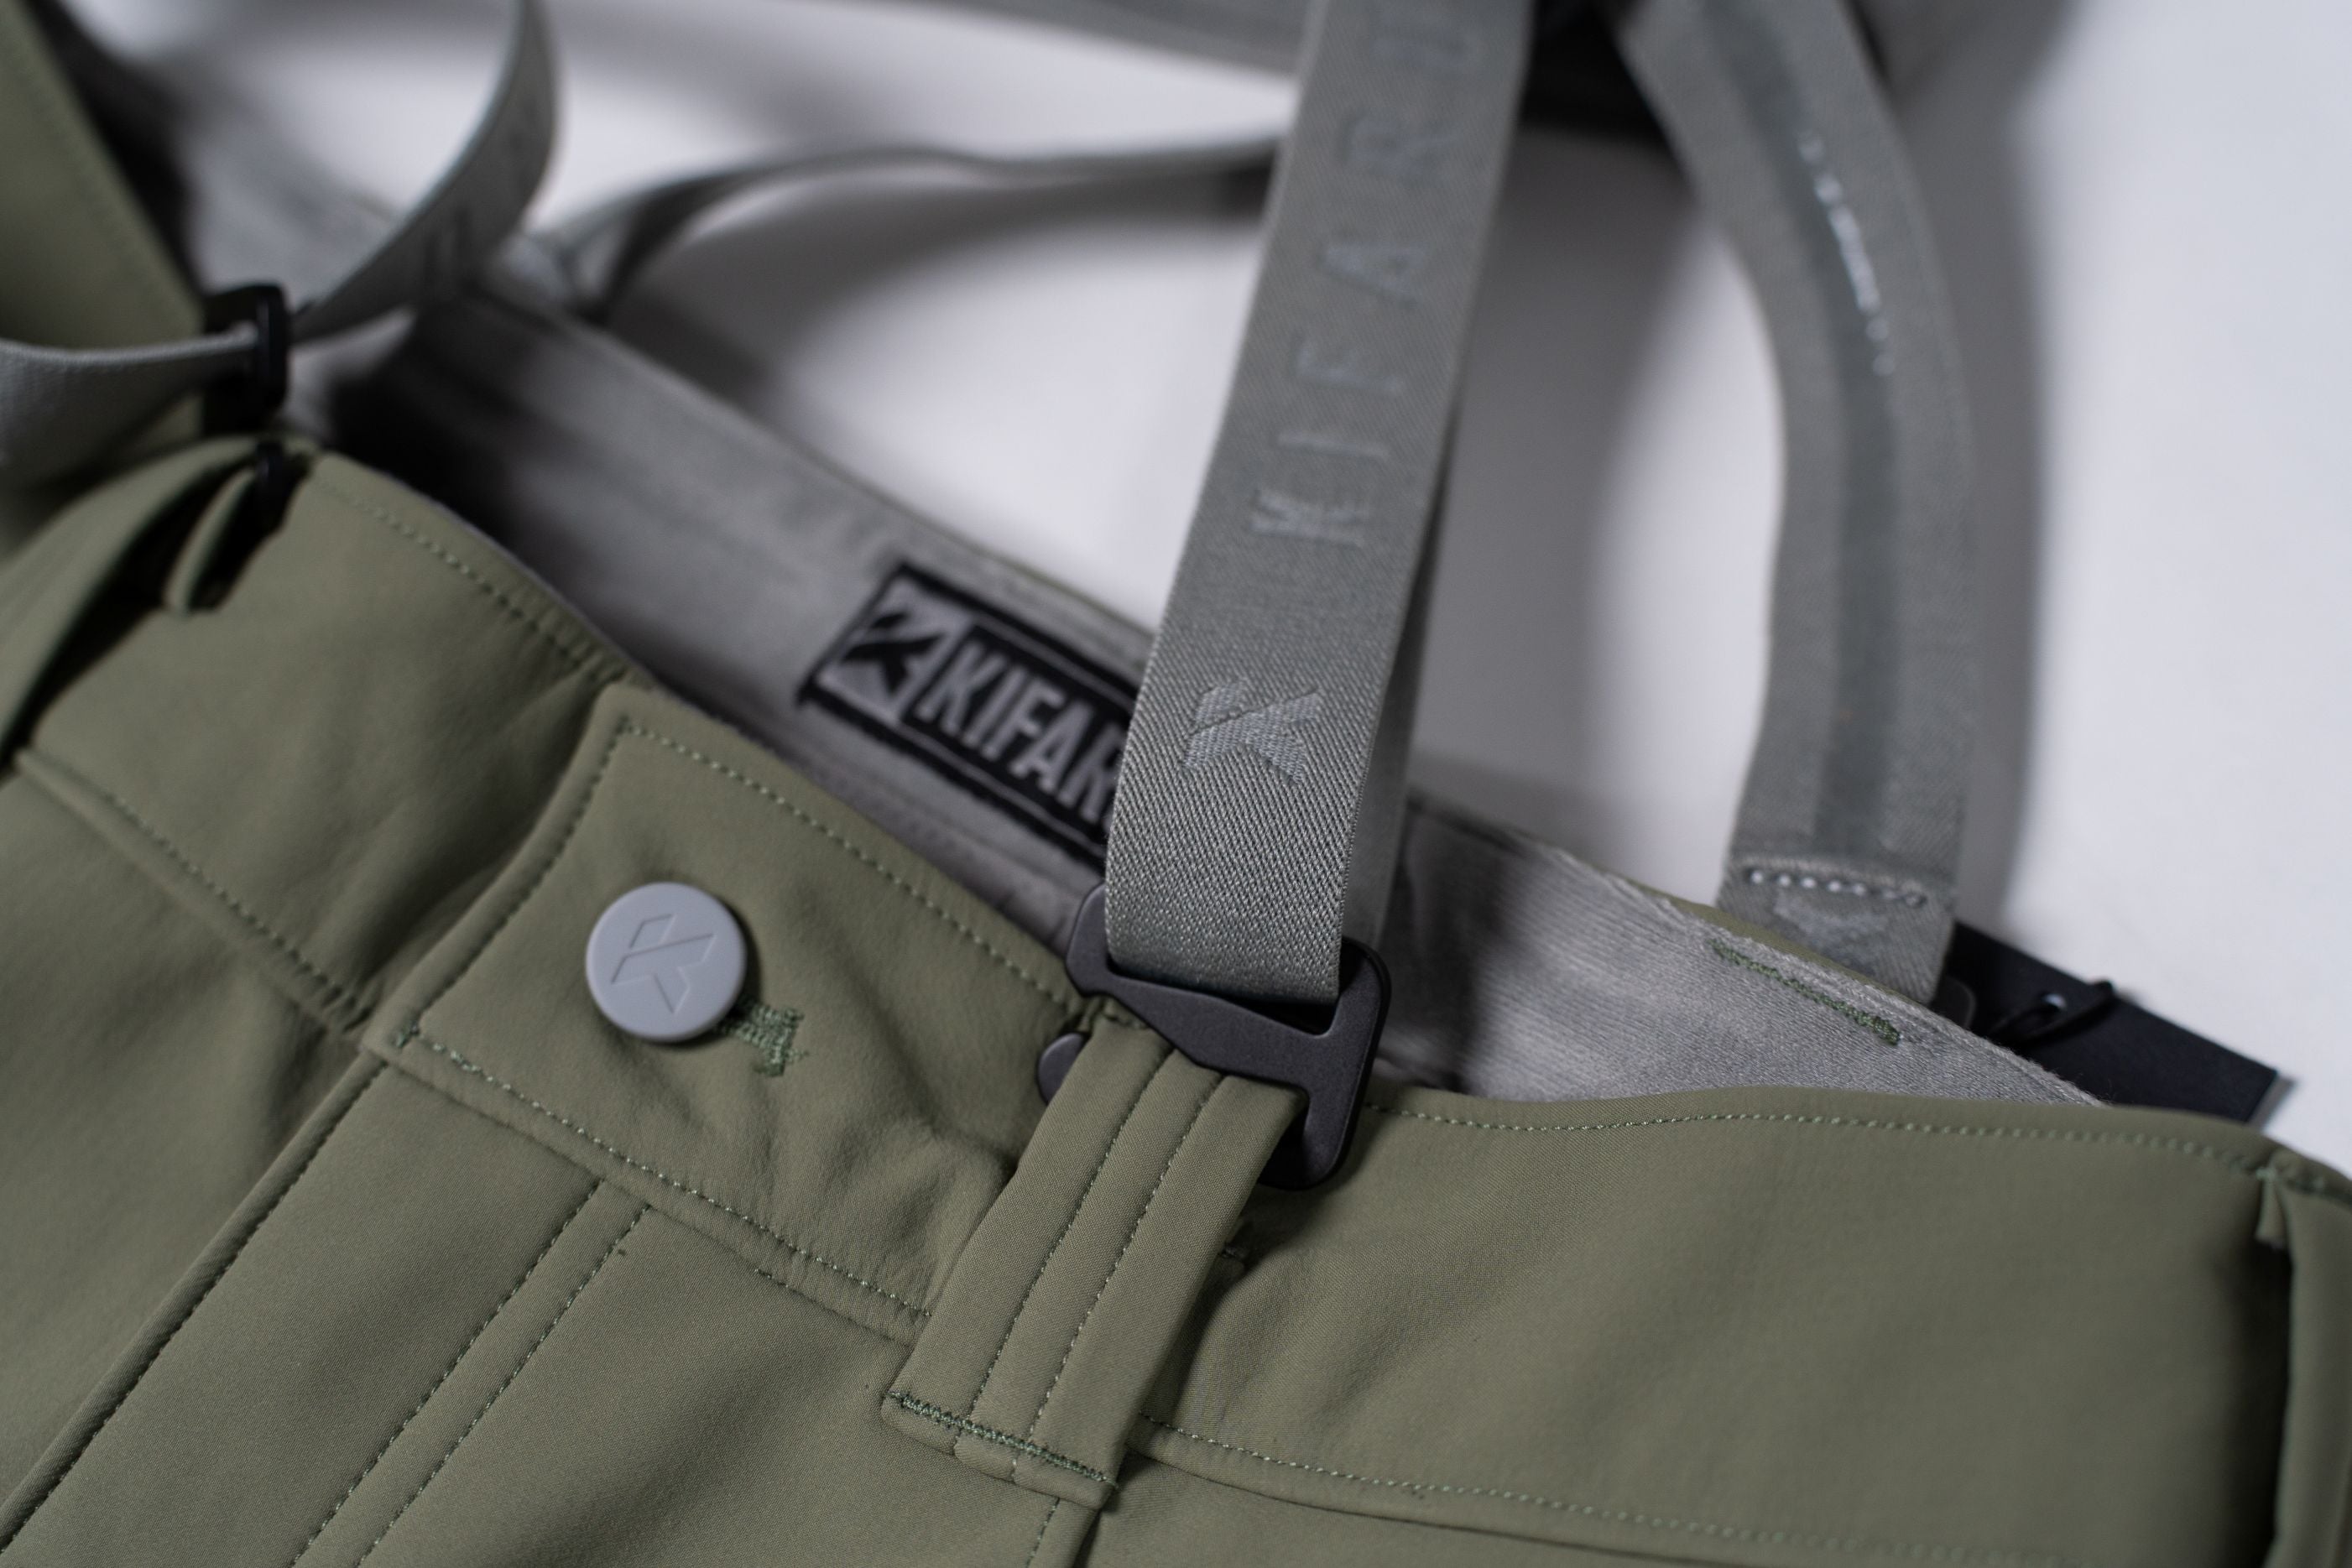
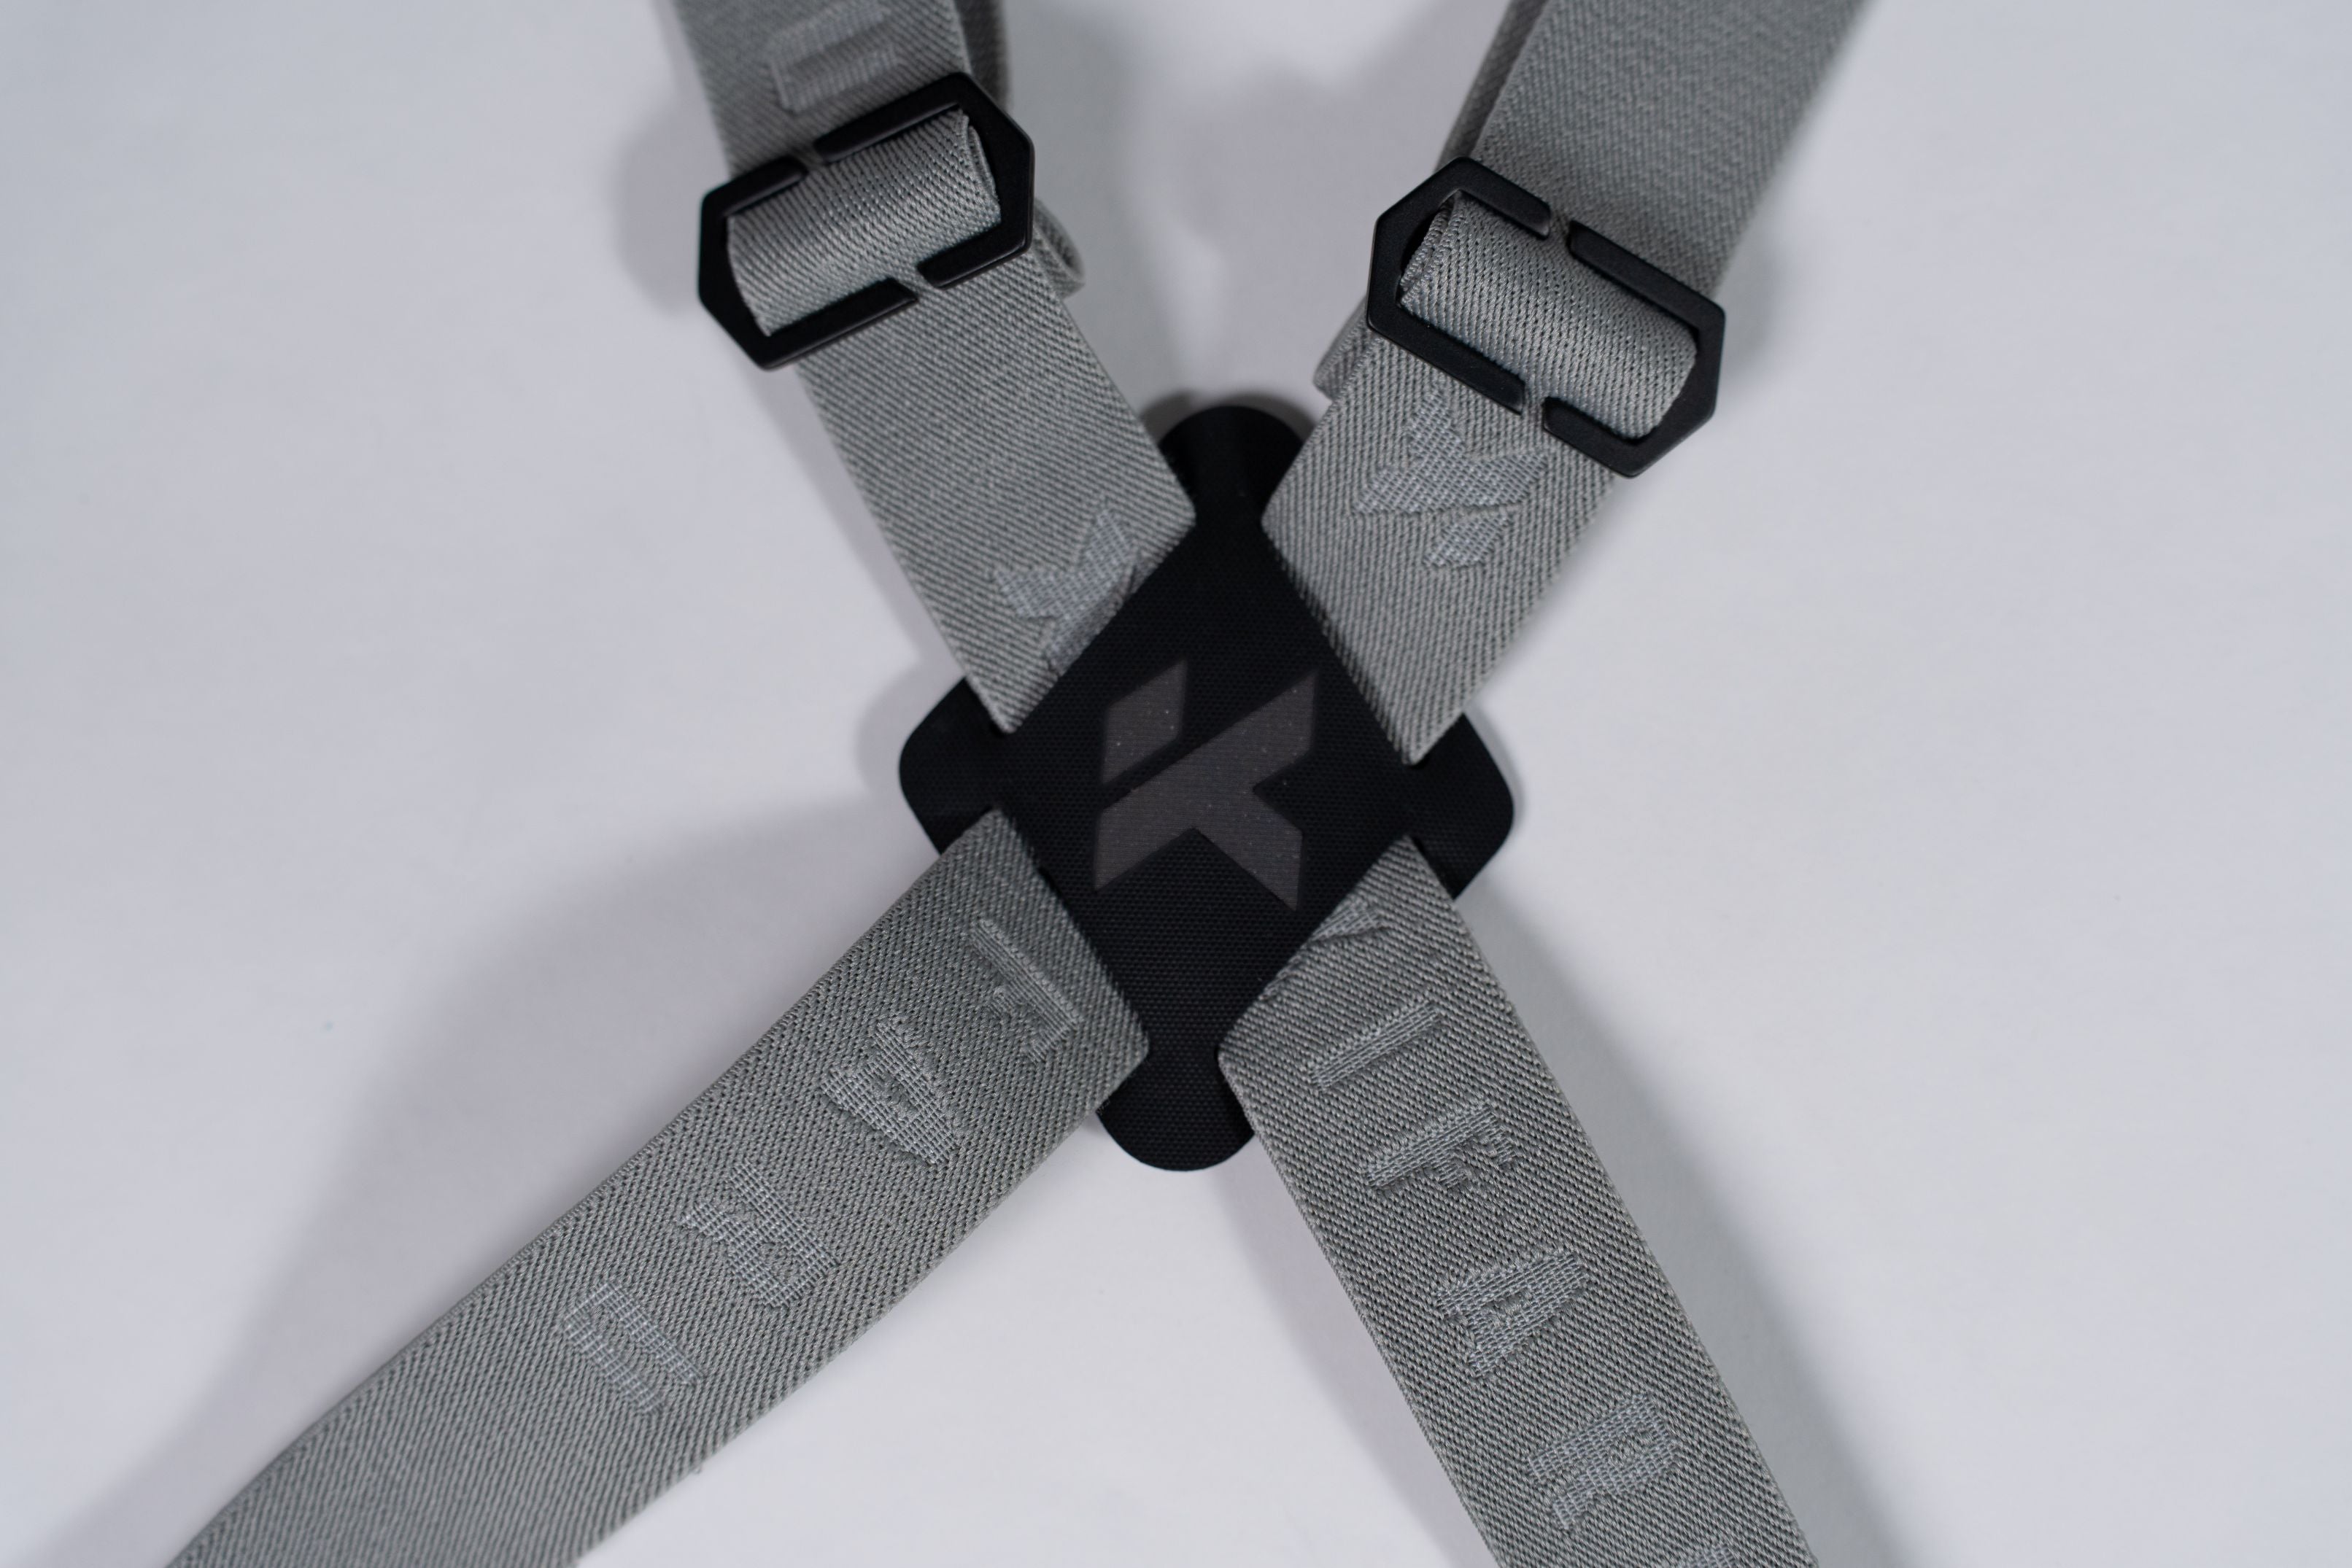
Removeable 4-Point Adjustability
$35.00
Removeable Foam Protection (pair)
$20.00
Best Sellers
From $59.00
$147.00
$177.00
$327.00
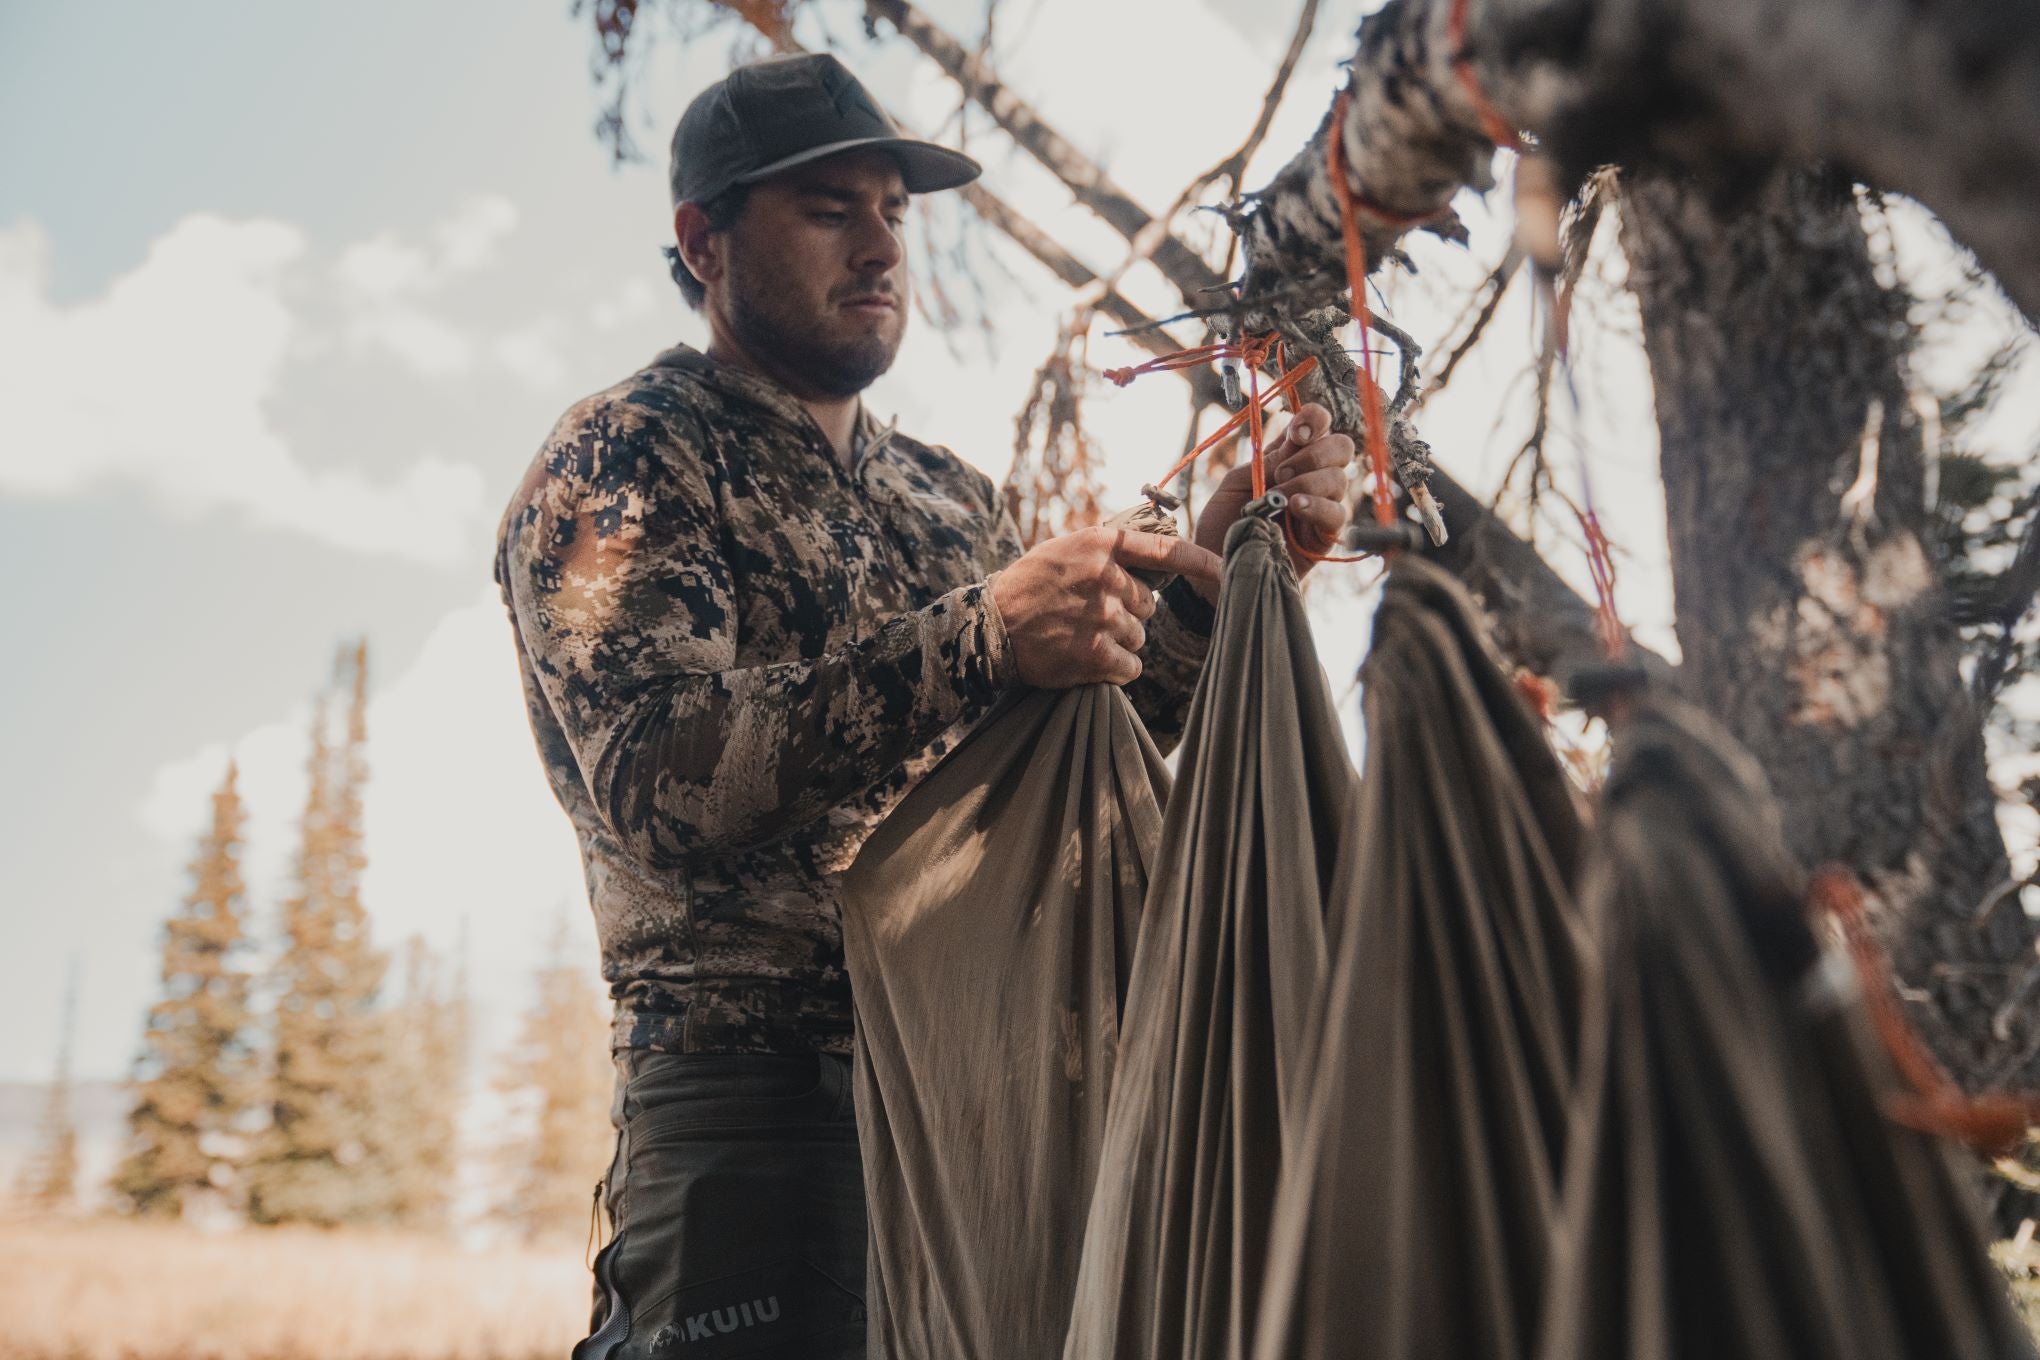
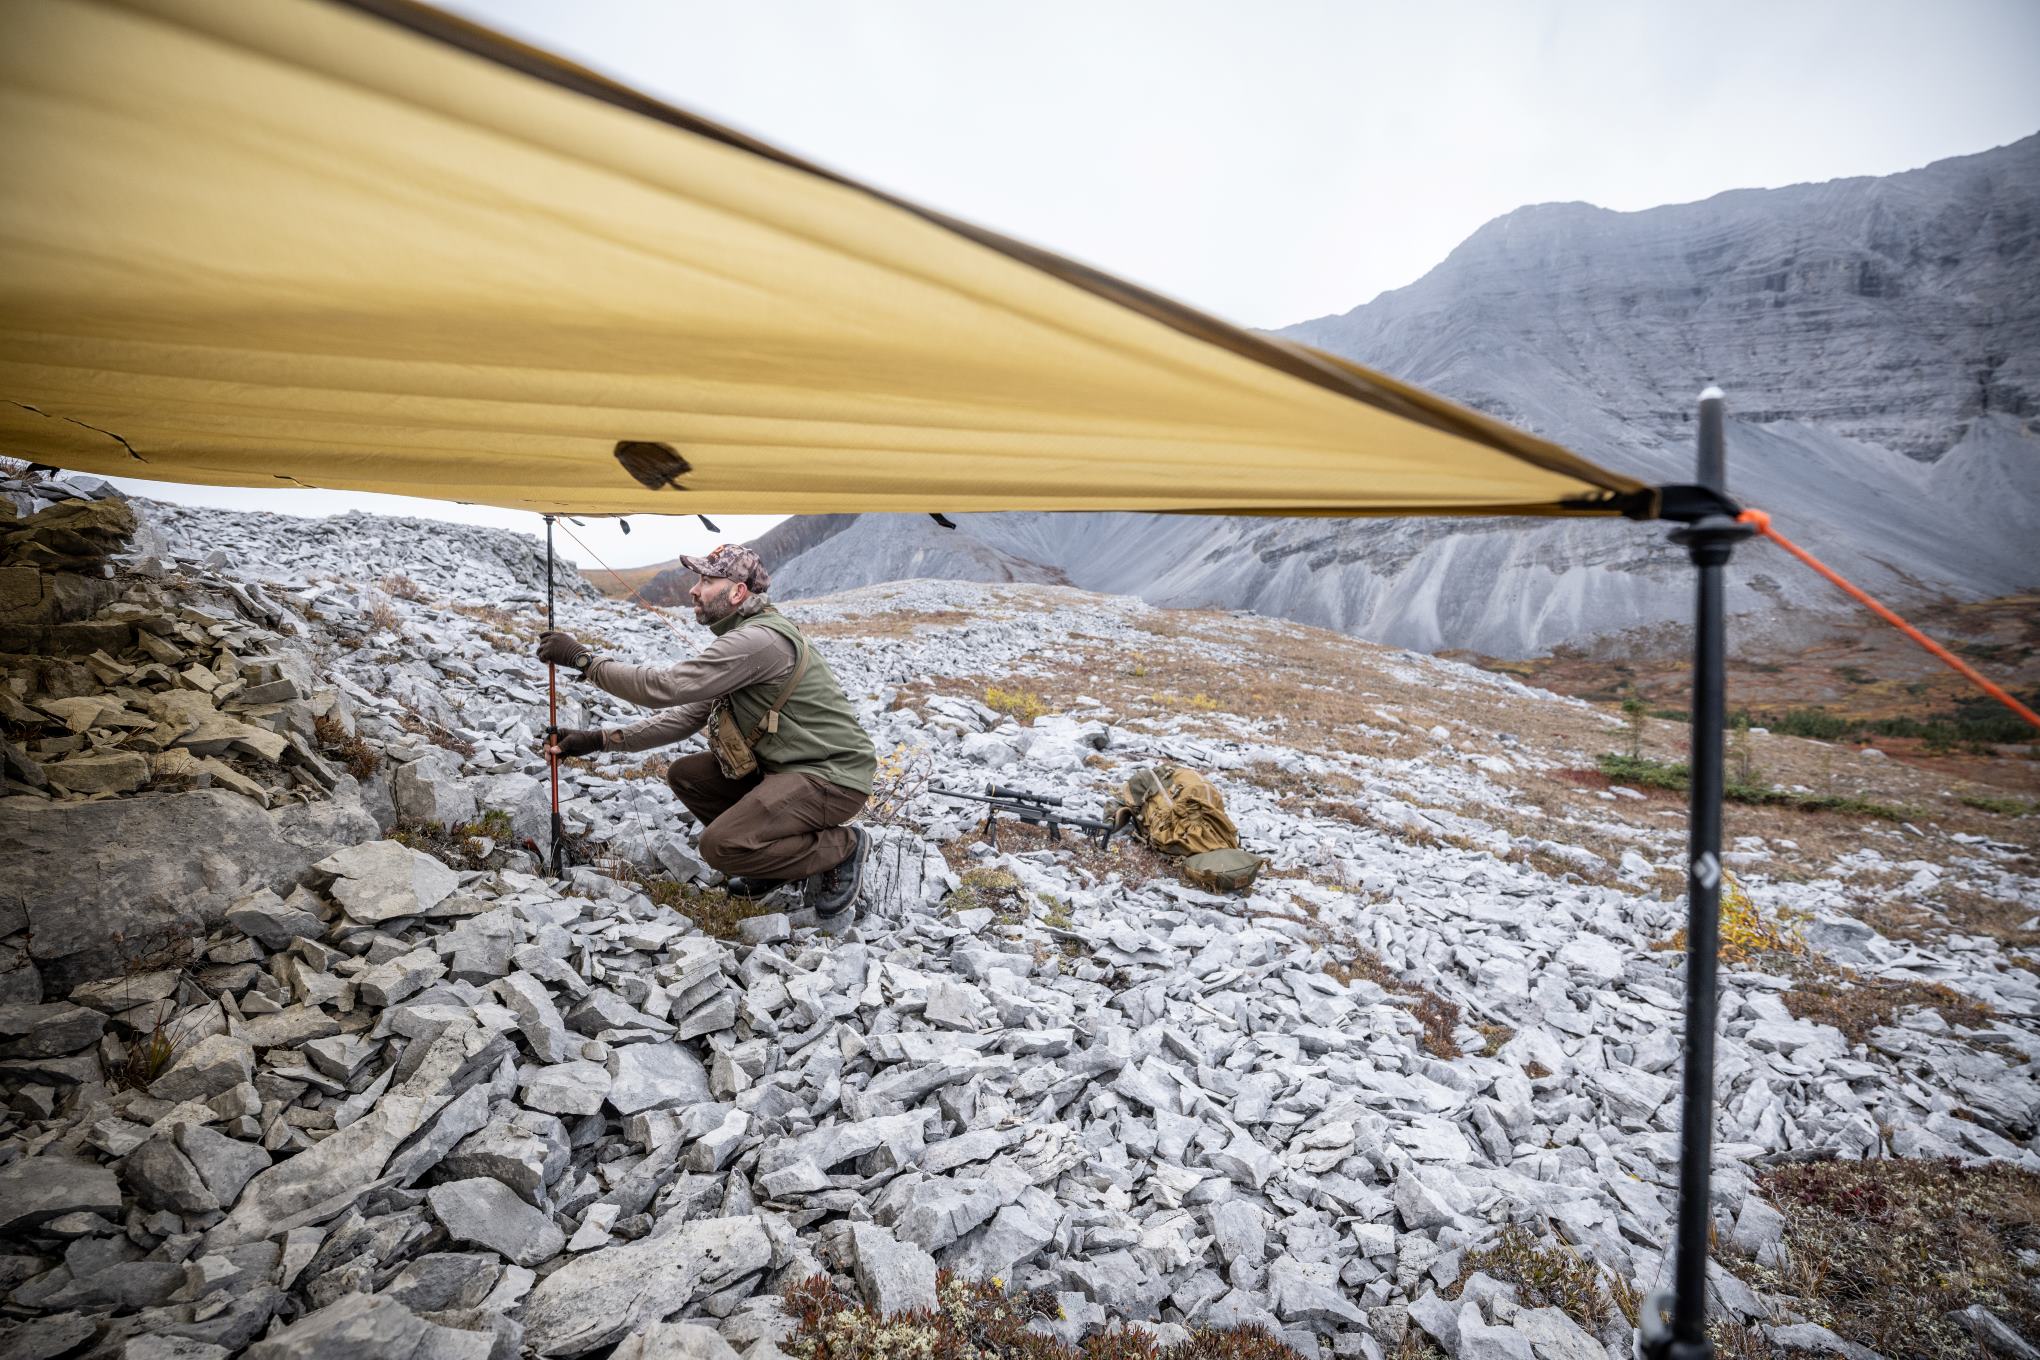
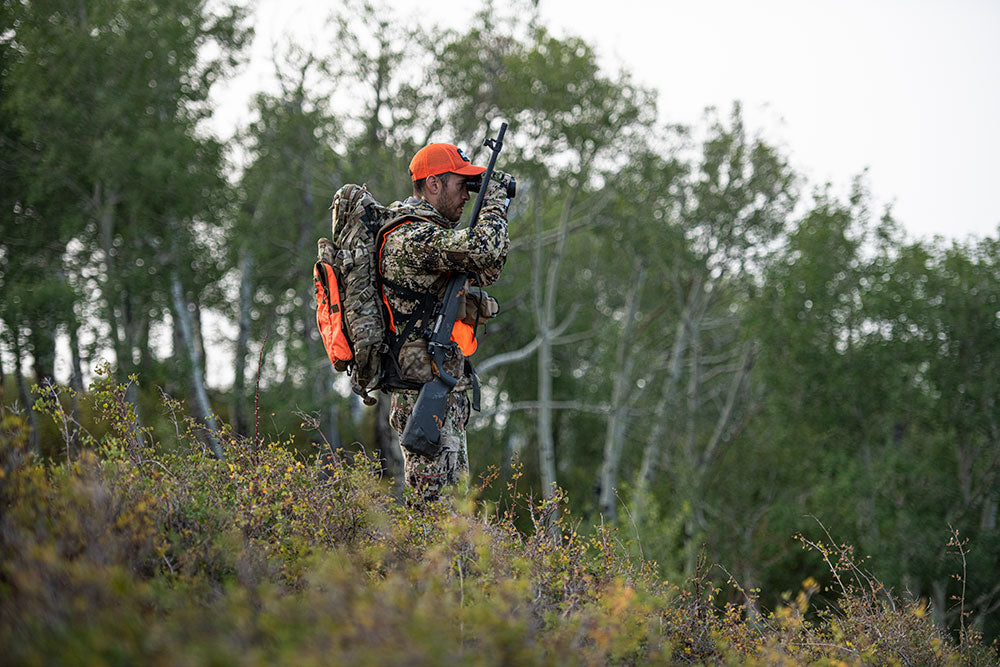
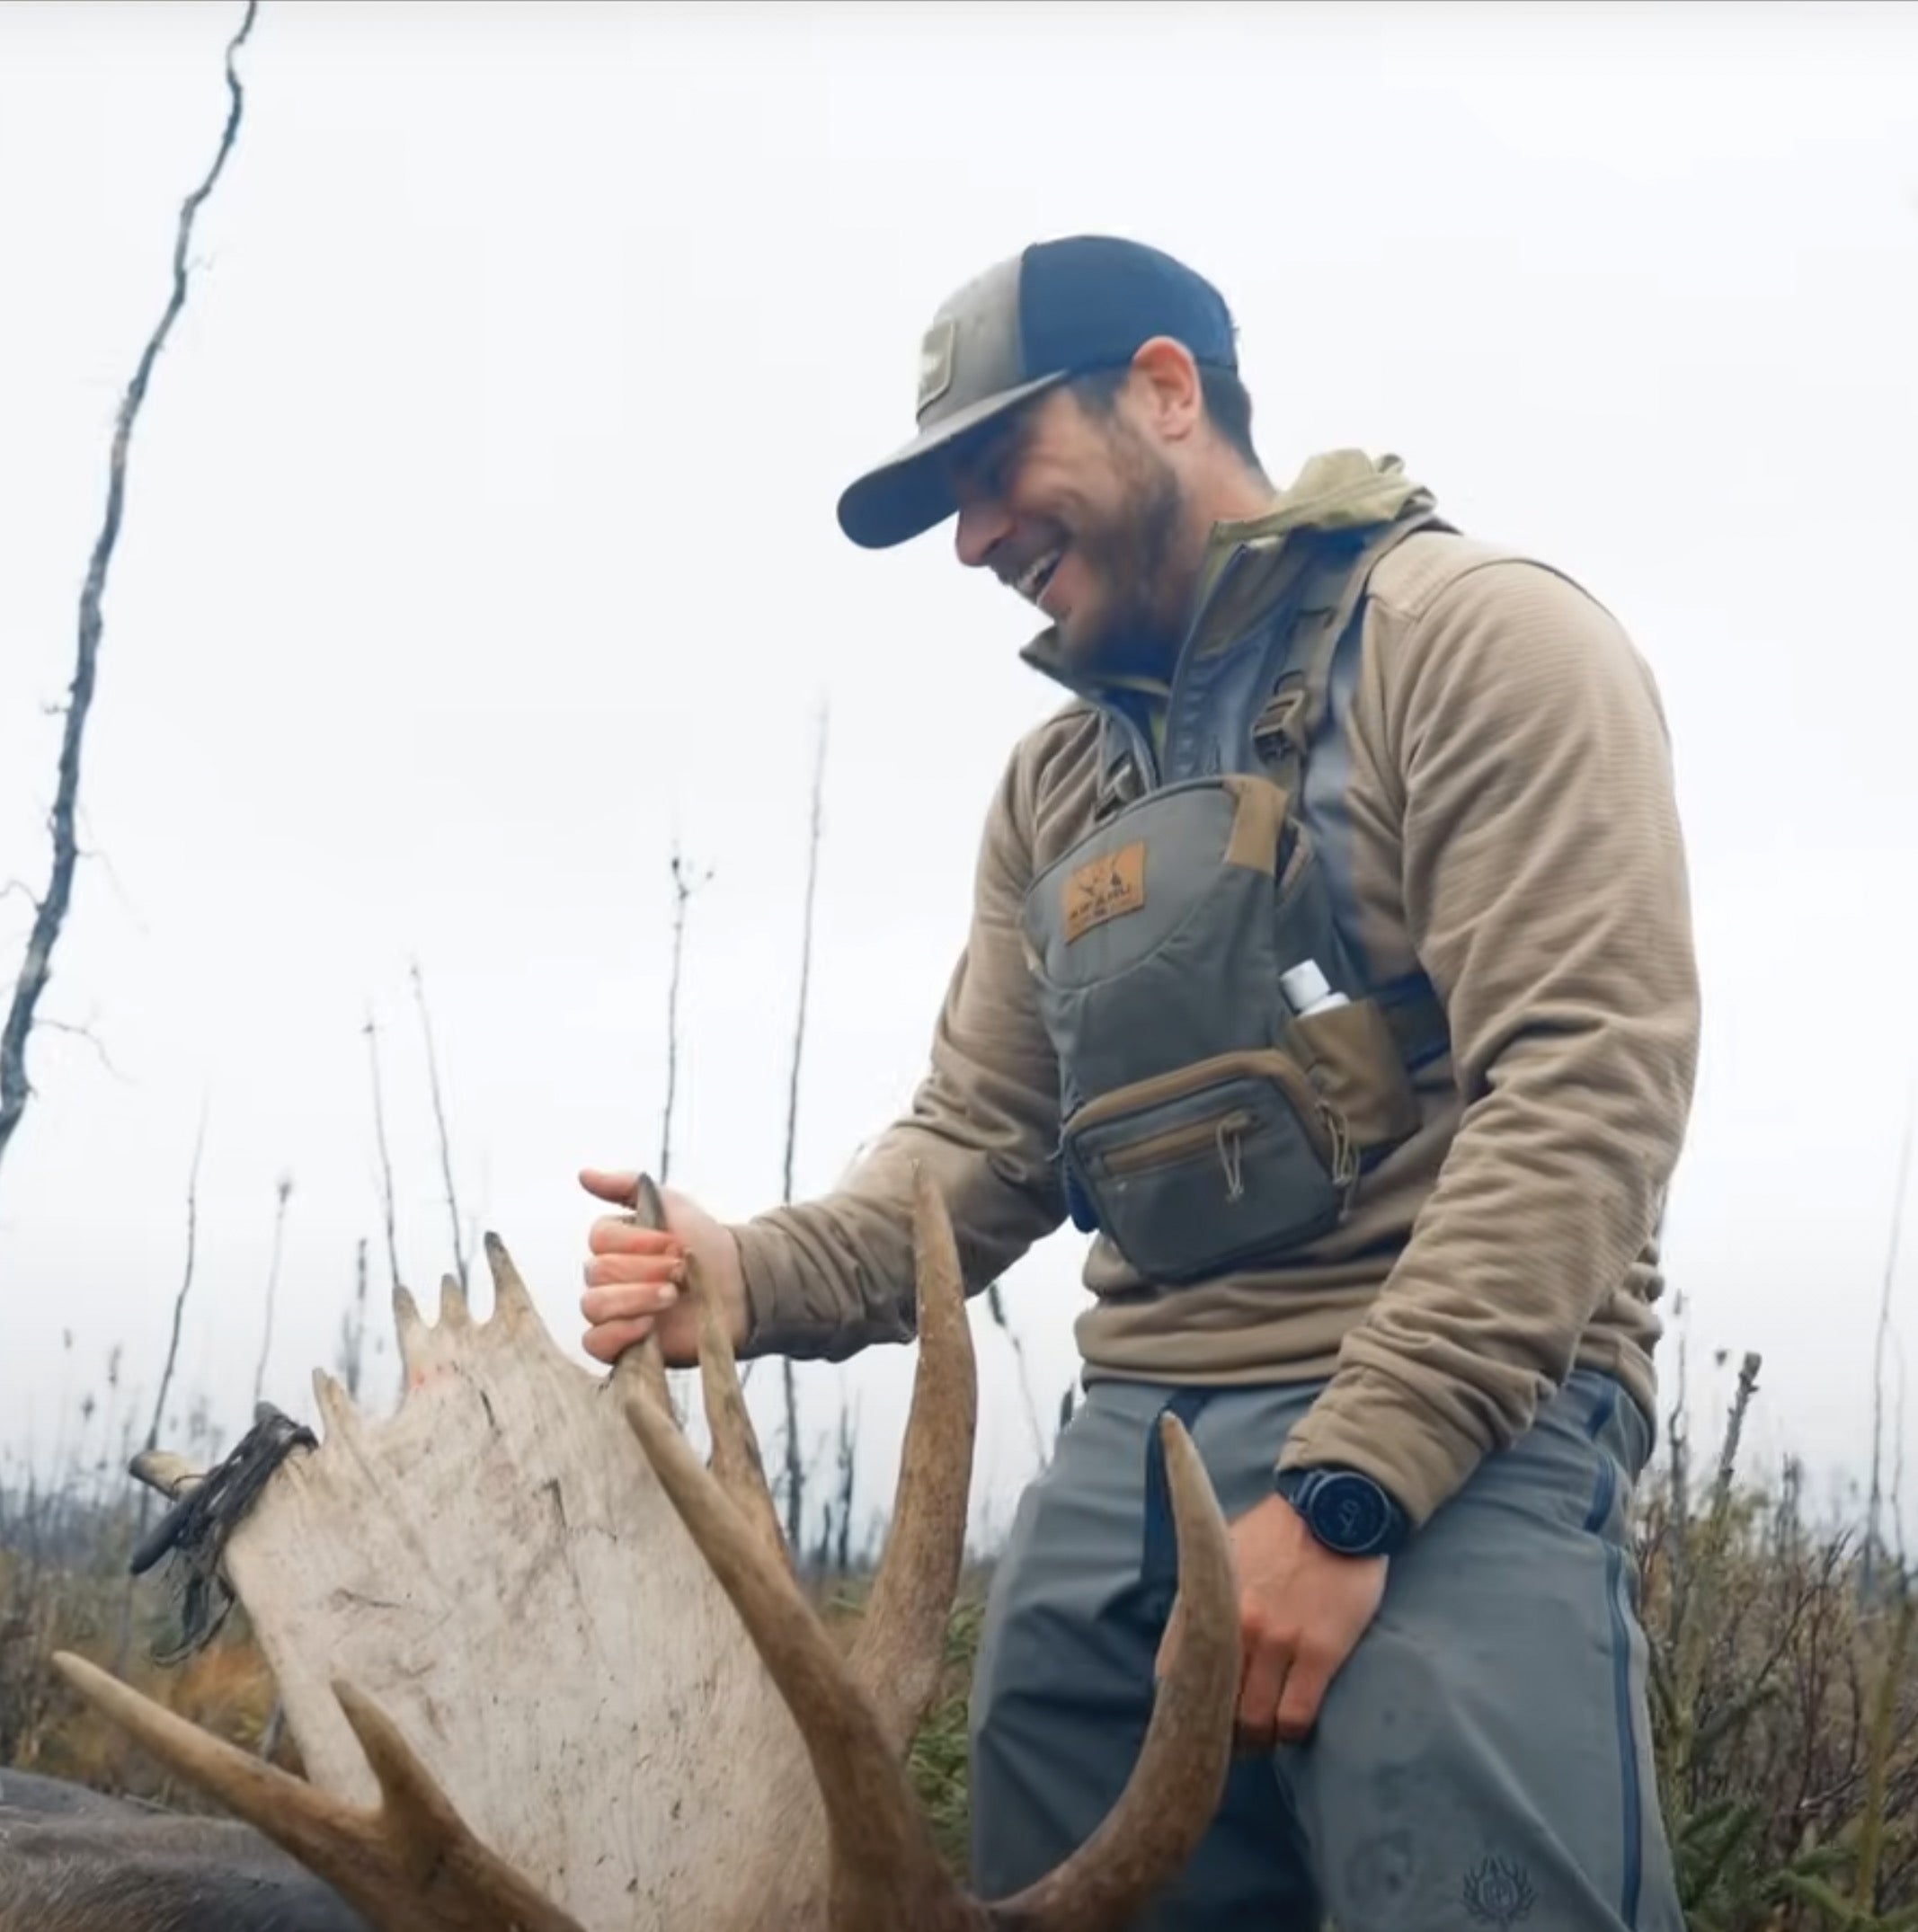
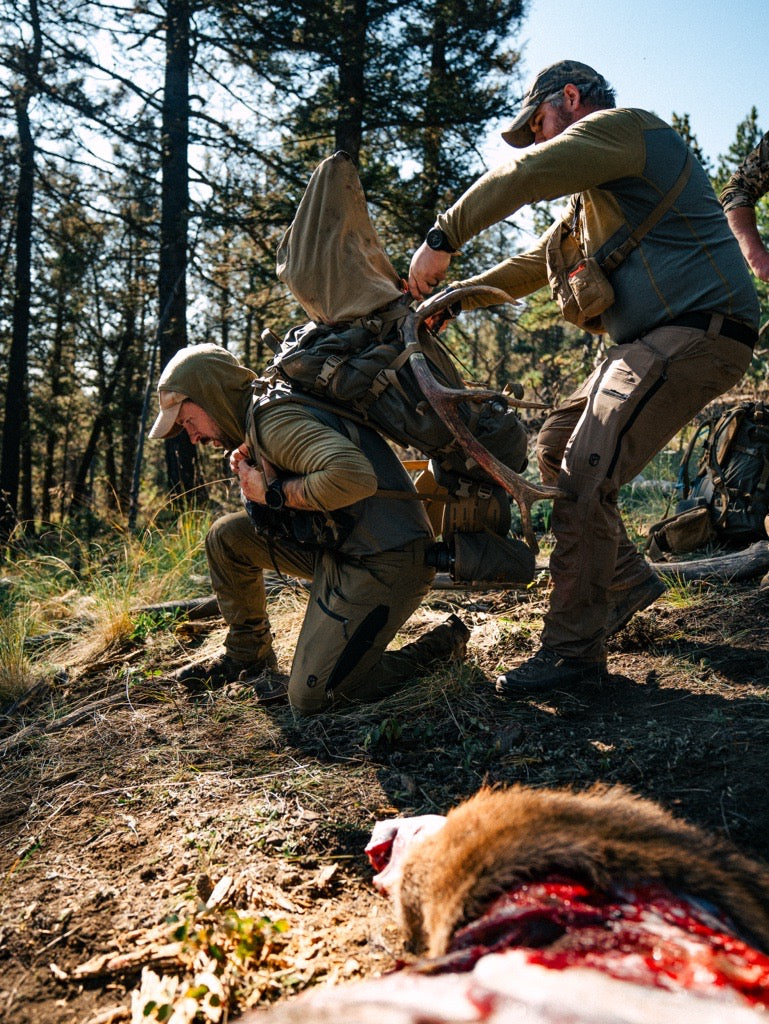
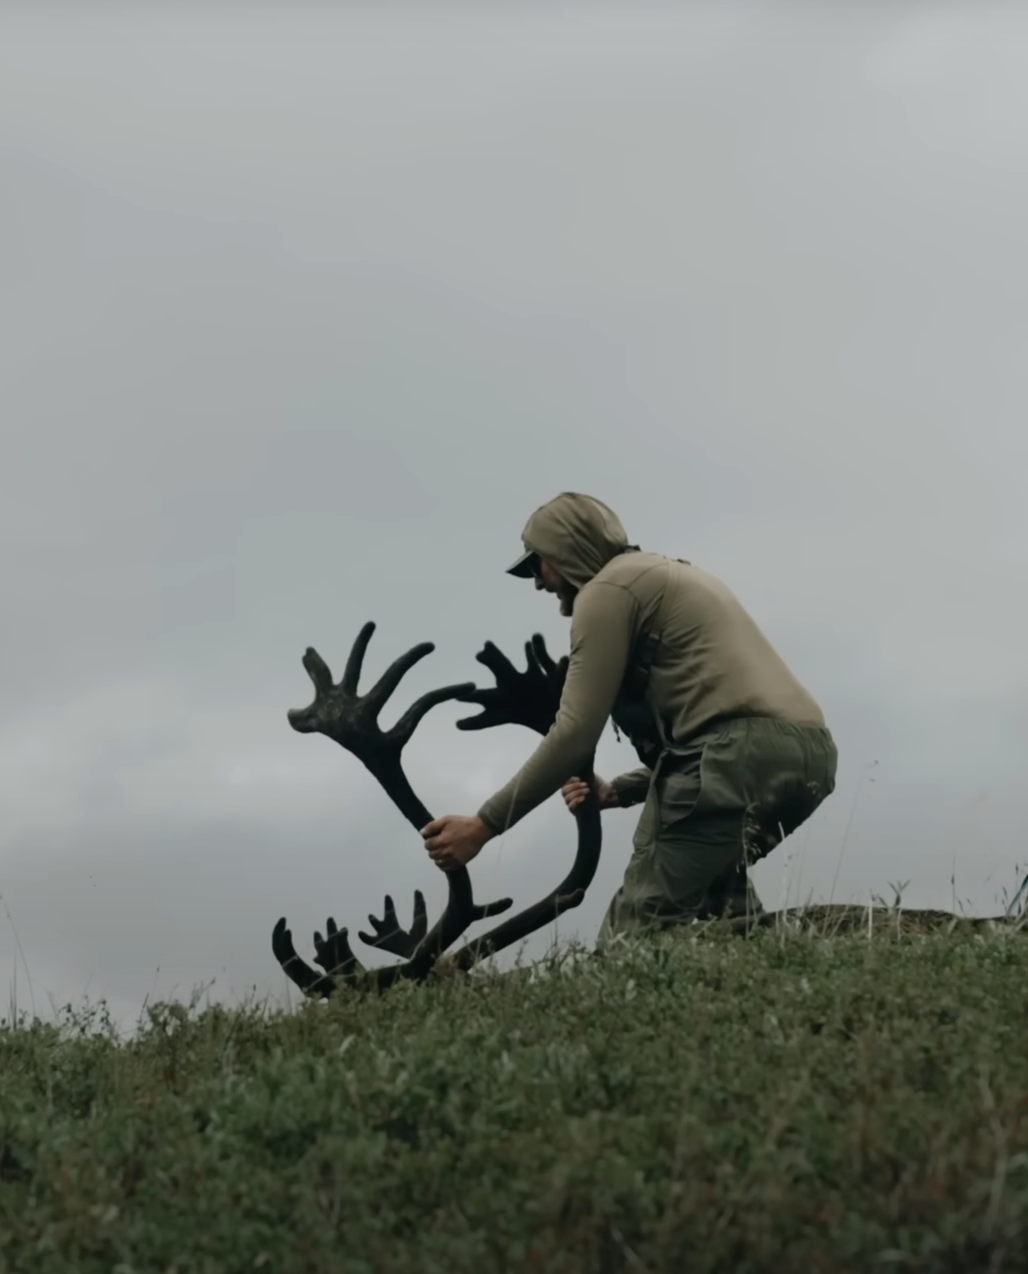
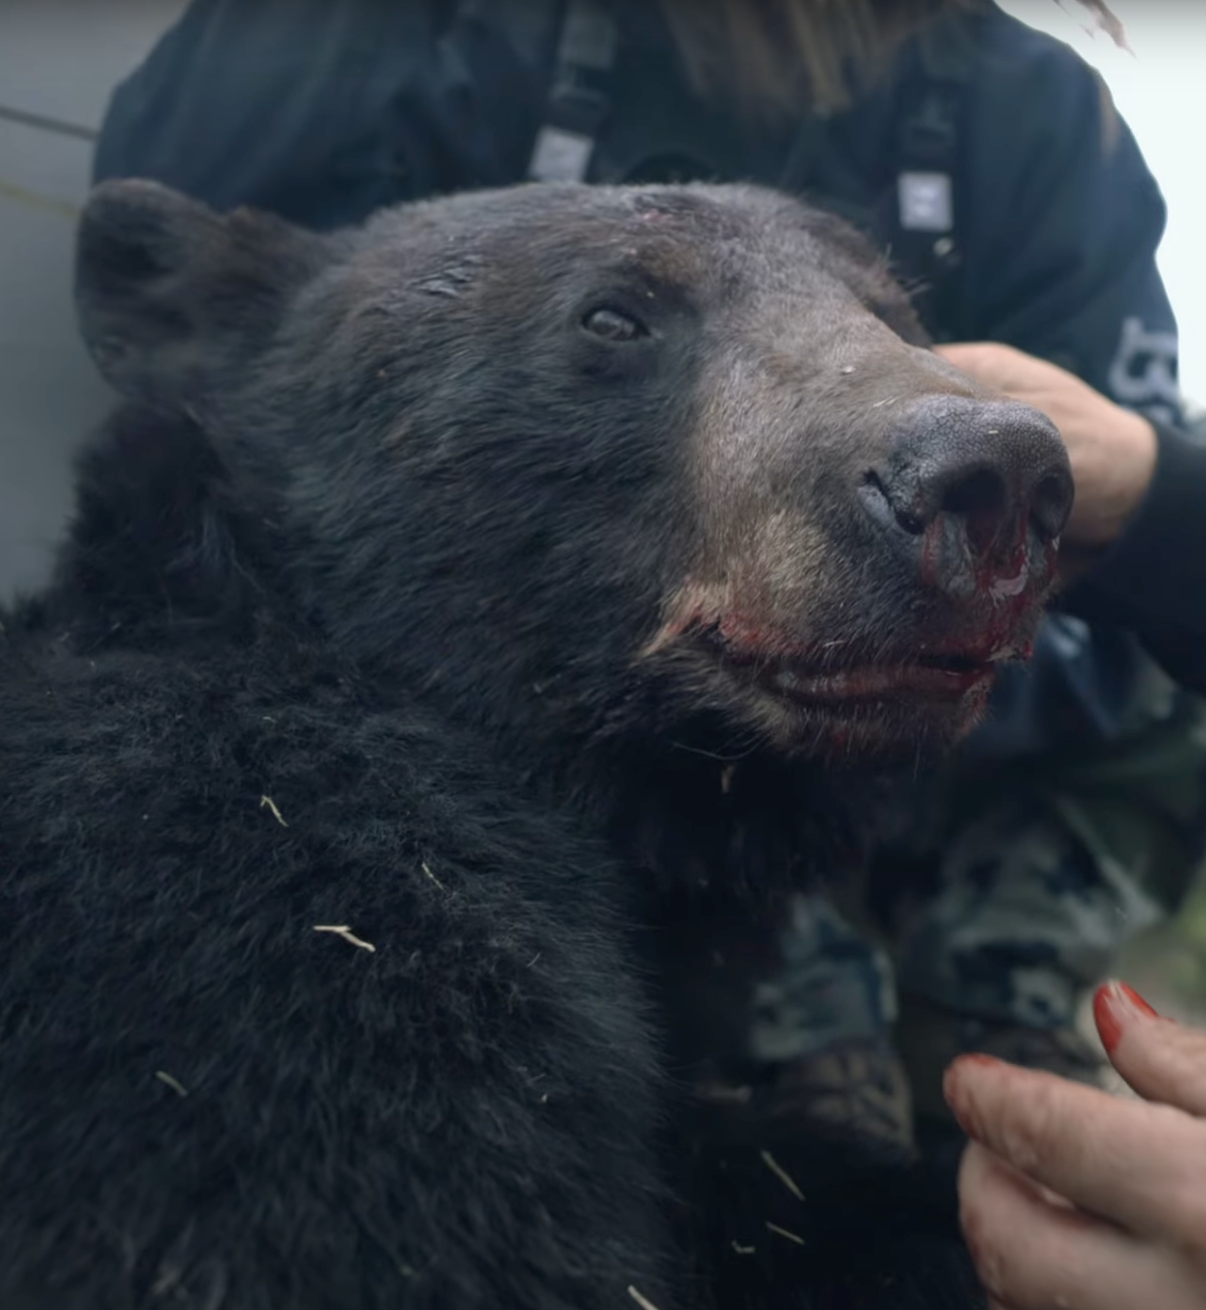
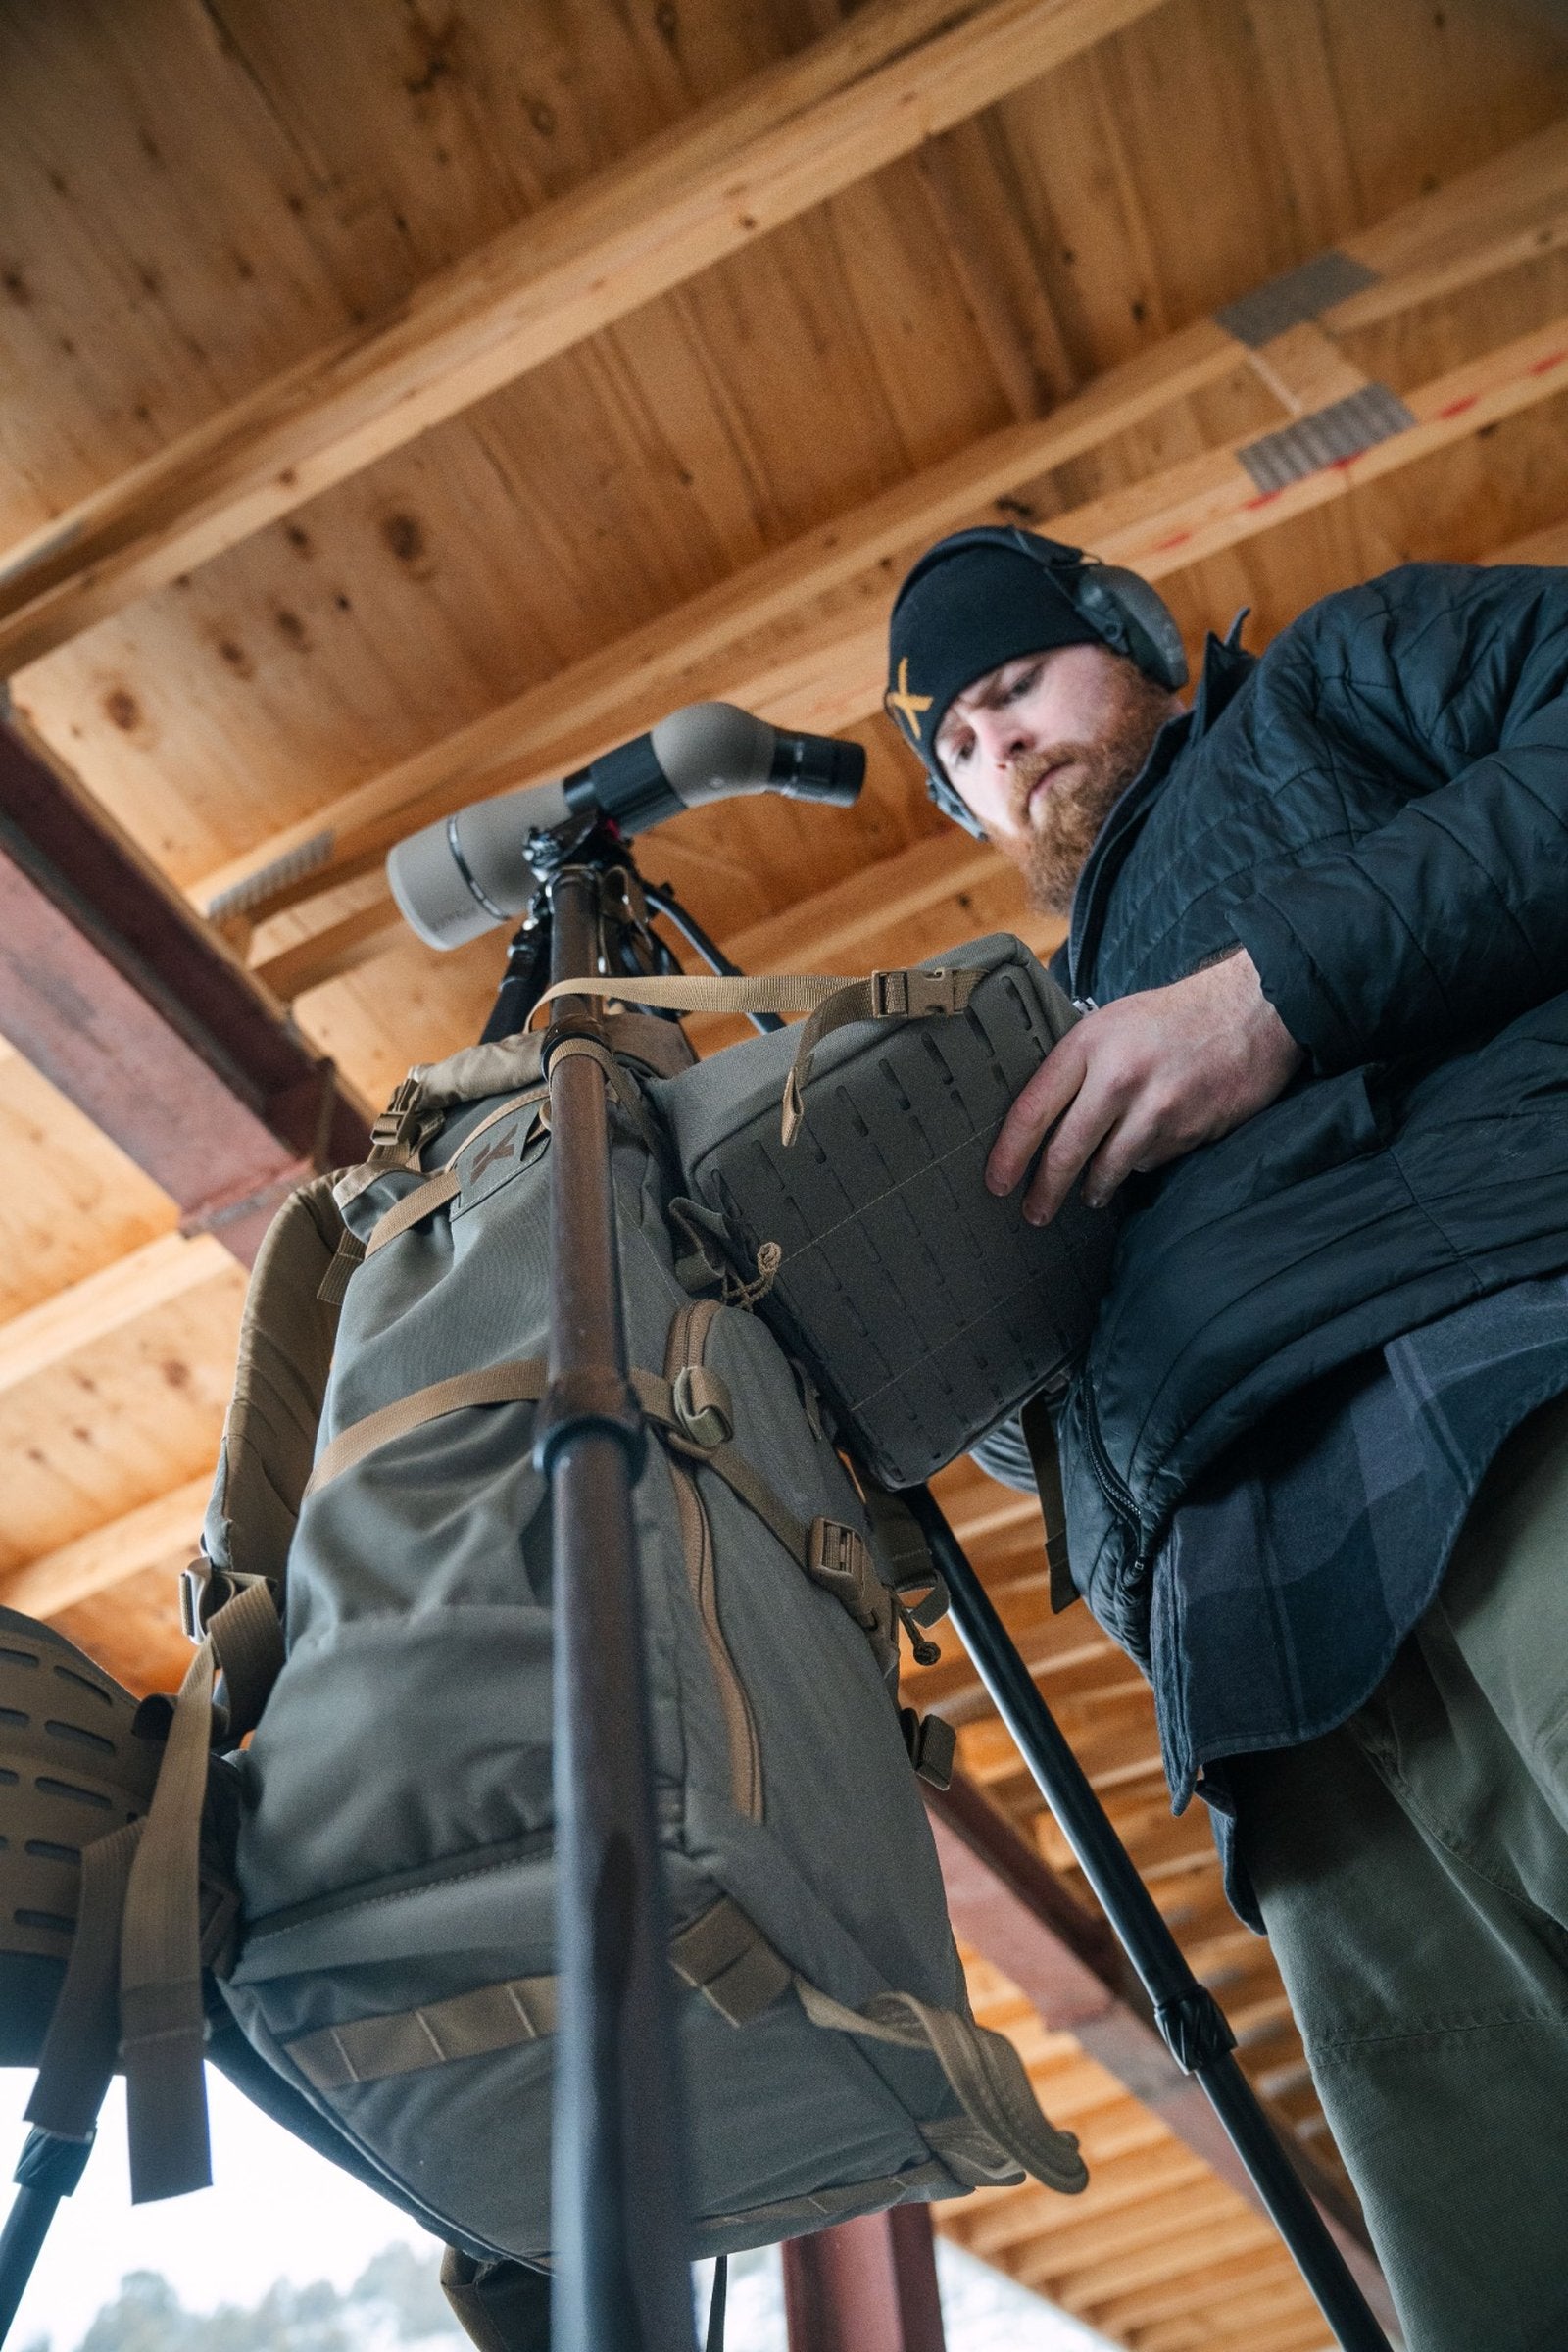
Backed by Media


KIFARU FILMS
Stories brought to you by the Kifaru community. Check out all the adventures by visiting the Kifaru YouTube channel.